Showing posts with label Idea-ology. Show all posts

Friday, August 18, 2023

By the Numbers

 The Funkie Junkie Inspiration Avenue is focused on numbers and how they can be inspiring!  The numbers had me cutting out numbers, stacking numbers and looking for numbers in patterned papers.

I spent time using left over pieces of cardboard in various depths to cut out multiple sizes and quantities of different numbers.  I made sure I had enough of each number to stack at least 3 of each number.


I taped together the numbers to provide a series of stacked numbers.  Then the numbers were layered and placed randomly over the back of the card base.

The next background used a singles of each number and randomly placed across the backdrop.  Then the background was painted with white acrylic paint.


After a couple of white acrylic paint coats were applied and dried a mix of mica stain sprays were used to apply a shimmery background effect.
This background used a mica stain spray and the antique bronze distress stain spray.  The paint itself provided a layer of texture to the background.

This background used the merry mint along with a distress stain spray to give a mixed patina of green with brown hints.  

The card  used the Halloween backdrops from Tim Holtz to provide the numbers. 


The inspector was stamped using archival ink and then highlighted with color using watercolor pencils.  A remnant background piece spritzed with distress stains was added to layer in a different effect.  A piece of rusty metal (found in a parking lot) was added in the background.  A variety of metal numbers were embossed in gold and added to layer in.  The Inspector's hat got a final touch with a stamped metal piece. 

Thanks for dropping by!

Suzz

Products:

Friday, January 6, 2023

Favorite Things

At the Funkie Junkie Inspiration Ave we are highlighting our 2022 favorite things from Tim Holtz.  I picked a few of my favorites to highlight in the post today. 

 
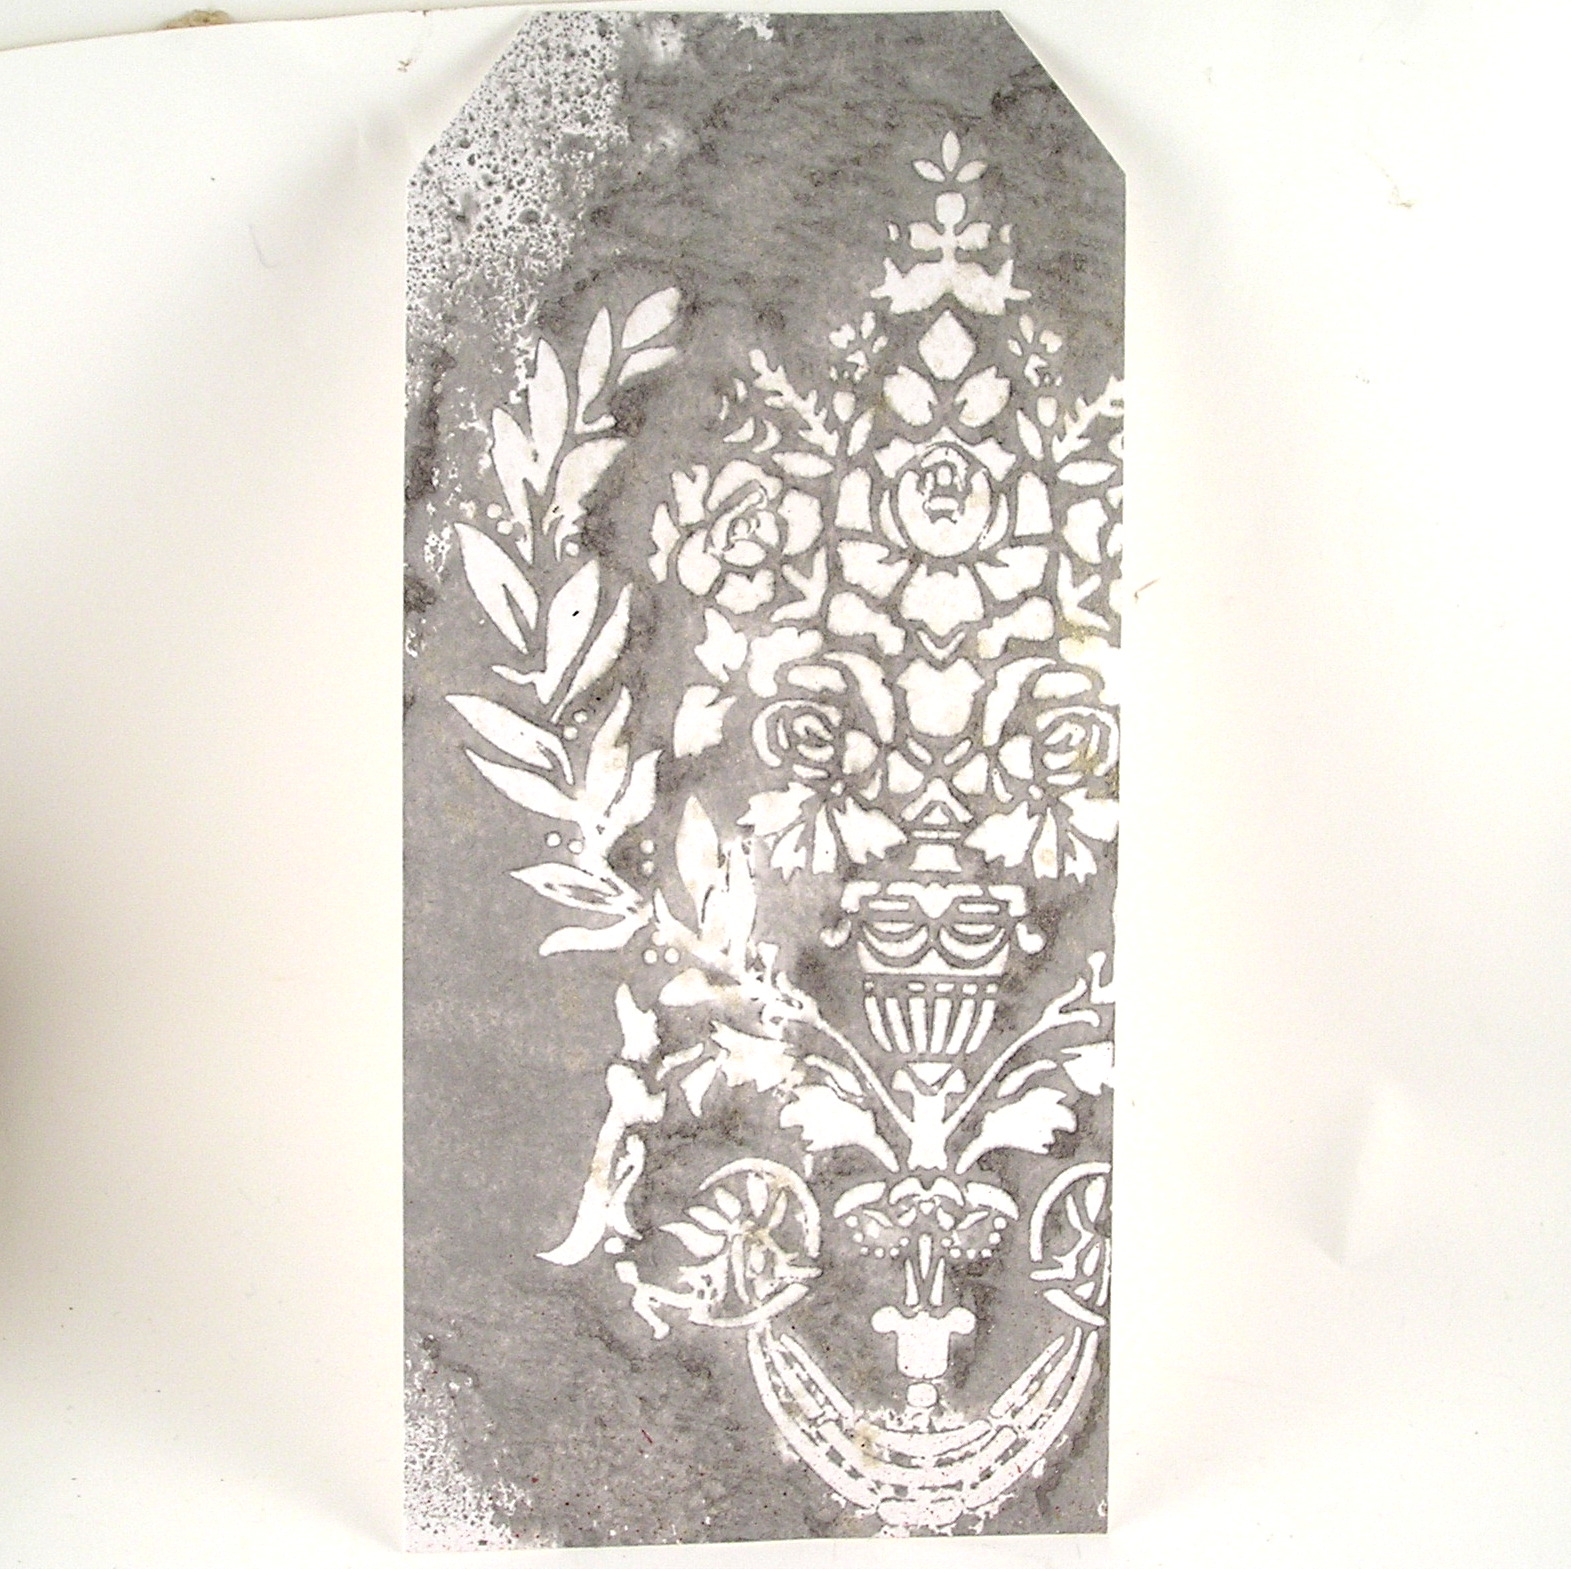
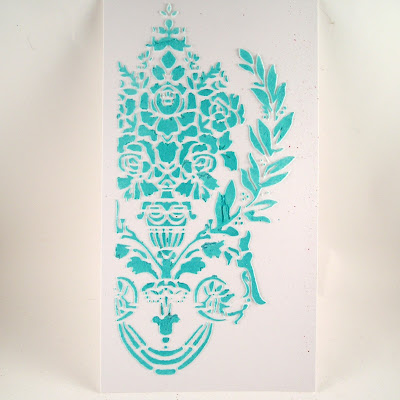
When I saw the Stampers Anonymous Tim Holtz Layering Stencil Crest I fell in love.  The image is so lovely and elegant.  I decided to pull that out along with the Ranger Distress Mica Seasonal Stain Sprays another of my favorite things from 2022.   

I spent some time just playing with the stencil and various mediums.
 
 
Some of the backgrounds involved just spraying the mica stain sprays over the stencil on white cardstock.

Using the inky stencil itself to pick up the reverse image with the mica stain spray remnants.
The opaque crackle paste on the black cardstock made quite an impression. :) 

While the embossing paste is still wet, sprinkle the rock candy distress effect and spray it with the gold mica stain spray.   The effect was beautiful! 

A paper bag left over from shopping was used as the next backdrop to the embossing paste and mix of mica stain sprays.

The embossing paste was spread over the layering stencil and let it dry.  After it dried spritz it with multiple layers of pink, gold, and water.  The water helps blend the colors together and allows them to blend together.  At the end it was splattered with white watered down paint.  

To get the next image with depth the stencil was place on white cardstock and  distress opaque embossing paste was applied.  Without removing the stencil blue mica stain spray was spritzed over. 

After all the images were dry they were all mounted on various backgrounds.

Sometimes deciding what should be used as the frame is like finding the perfect color of pants to go with a favorite shirt. 


Lovely gold cardstock was used to frame the pink and gold combinations.
 

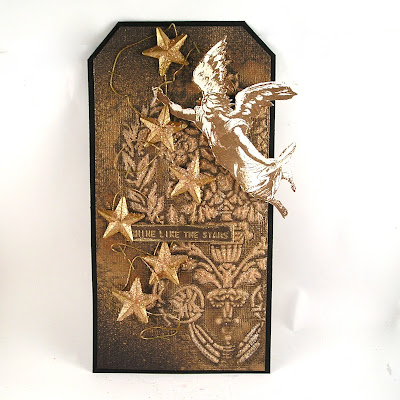
Then it was time to use a few of the backgrounds in a few different projects.  I started with the black and gold because the effect was so striking.

The angel seemed like a beautiful accent for the rich black and gold tag.  I had a string of rusty stars on wire in my stash. I pulled them out and painted them with gold paint.  I then coated them with the rock candy and sprayed them with the same gold mica spray.  I attached them with the tiny attacher but painted the staples gold before I put them in the stapler.   I found a tiny text sentiment (another of my all time favorite stamp sets)  and stamped it to coordinate.  

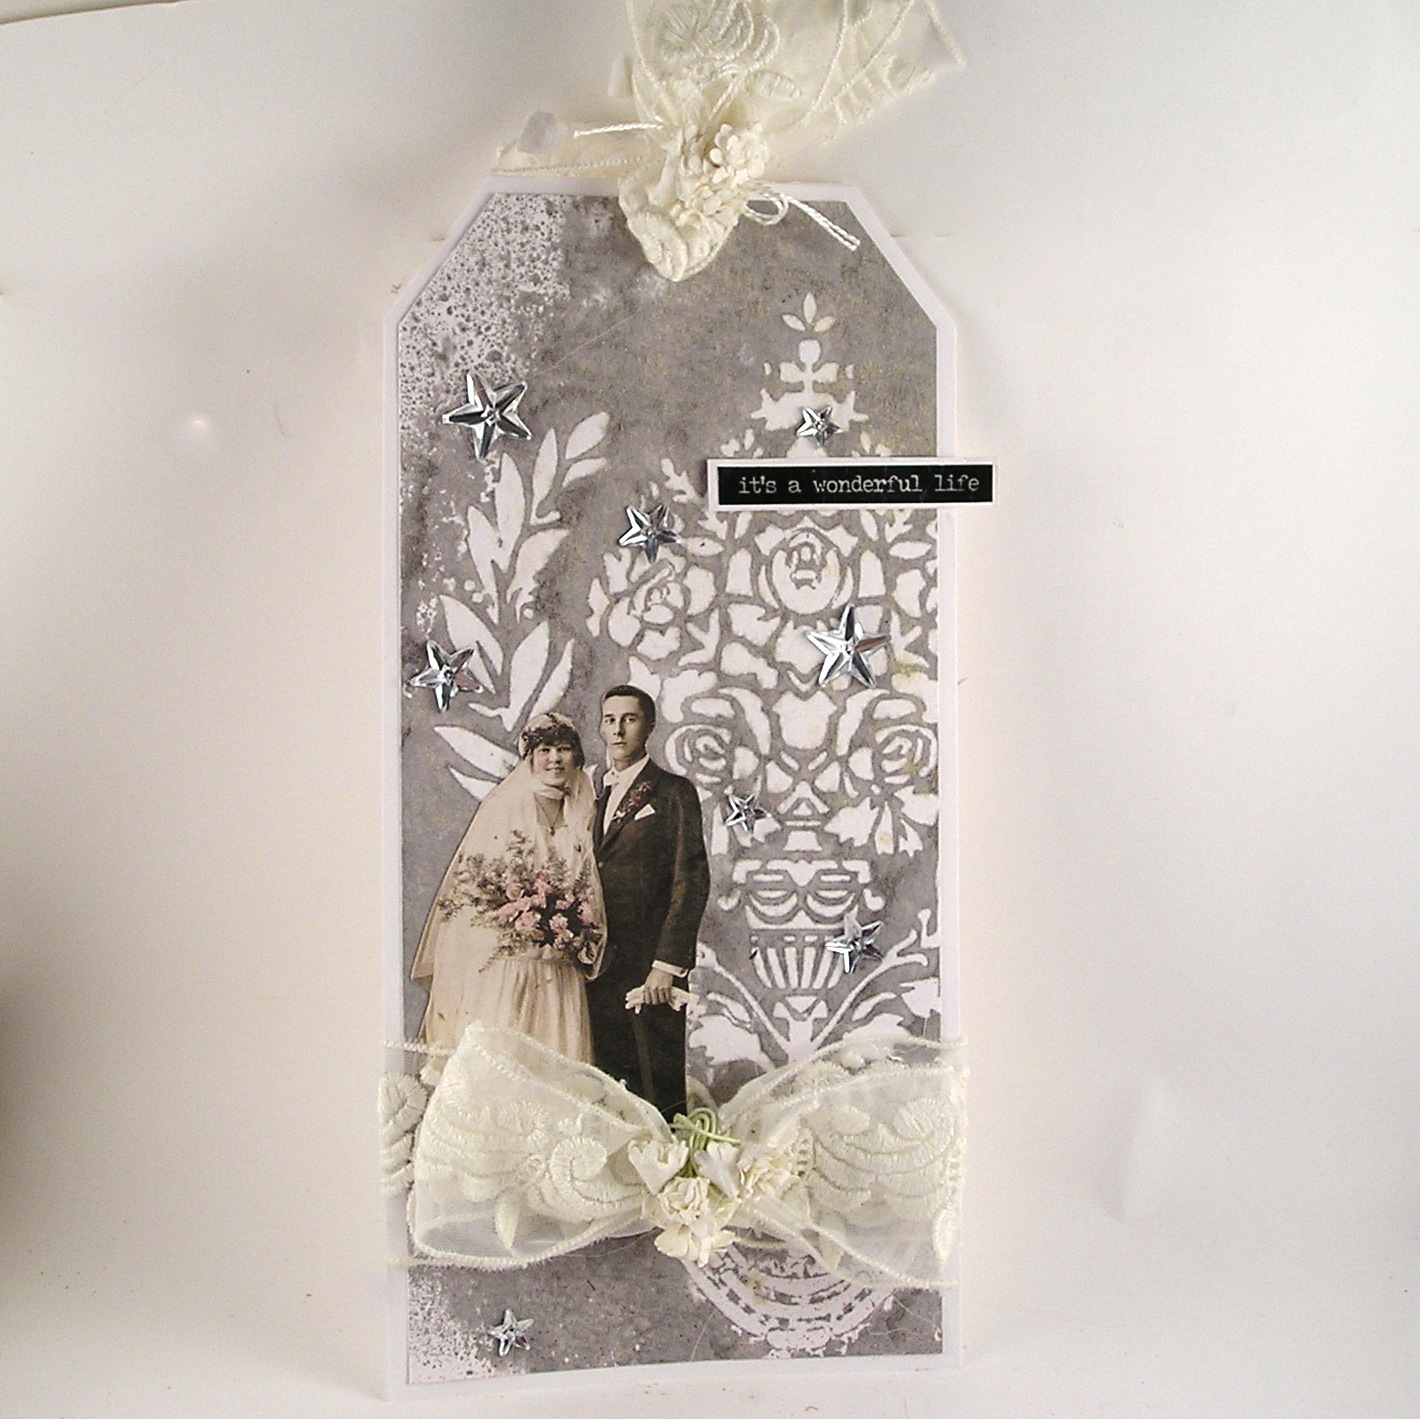
Next I took the beautiful reverse image in silver and created a wedding inspired tag.


I added a layer of sparkle with the shimmery stars splattered around the background.  Some vintage lace created a beautiful bow that emulated the lovely crest pattern.  

I hoped you have enjoyed the inspiration! 

Suzz

Products: 

Friday, November 25, 2022

Shimmer & Shine

Hi!  The team at The Funkie Junkie Inspiration Ave is inspiring us this time around with the Christmas Tim Holtz Idea-Ology!  This is where my inspiration led me!


 There was so much beautiful shimmer and shine between the deco papers, droplets, and bells!  I decided to use the beautiful droplets to create a Christmas wreath.

I used a circle die cut to trace a circle in the center of the card and then I applied tape in the circle.  I then pulled out the color combination of droplets I wanted to use in various sizes. (light blue, silver, white).  

I placed the largest droplet size in one color and place them equally spaced around the circle.    I repeated the process with the next color until all the large sized droplets were placed.  I then repeated the process with the next size down.  I ended up having to shift some of them at the end with the smallest ones. 

To finish off the card I stamped a sentiment in gray ink and sprayed a shimmery ribbon with mica stain spray to blend with the colors of the wreath.

Next I started to play with the deco sheets.  I wanted to cut some snowflakes and stars from the shimmery paper.


I used some parchment paper and a metal shim to get a clean cut.  The thinlets required the extra pressure to help keep the edges cut with all the details.  I also ran them back and forth a few times to get the best cut. 

I used two different sized stars laid together on the cutting board to get my star outline.  I then cut a piece of deco as the background layer of my tag.  I accented with a few droplets and the sentiment.  I finished it off with some died ribbon and a shiny bell!  

My final tag highlights the shimmery snowflakes. 


The background was stamped with a silver ink using the beautiful renaissance stamp.  Then heat set the ink before adding an edge of silver embossing and a sentiment embossed in gold.  The snowflakes were cut and added with a touch of bling using the droplets.  

The ribbon was embossed using silver tinsel embossing powder.  I used versamark ink  to sponge the ribbon and then dipped it in embossing powder and heat set the embossing powder.  


Thanks for stopping by! 

Suzz

Products: 

Wednesday, February 23, 2022

For the Love of Mixed Media

 Time for another challenge!  The Funkie Junkie Boutique Challenge this week is about Mixed Media! 

We challenge you to create a mixed media project about or for someone /something you love. 

I spent some time creating a heart cut out of fabric tape.  I added a layer of goodies which are a mix of Idea-ology  embellishments, buttons, and baubles.  

I  used a lovely gold, pink and white paint mix to highlight and add depth.  The back is a vignette box painted with gold and embossed over with embossing paste. 

Please come share your mixed media with us! 

The overall winner will be offered the chance to be a Guest Designer at a future date at The Funkie Junkie Boutique Blog, and everyone who enters and follows the rules will go into the drawing for the chance to win a $25.00 spending spree at The Funkie Junkie Boutique. There are also Top 3 Badges for three additional outstanding entries, chosen by the Design Team.
 
Thanks for stopping by!
 
Suzz 
 
Products:  (Links to the Funkie Junkie Boutique) 


Wednesday, June 2, 2021

I'm Feeling Like Royalty!

 Happy Wednesday!  Today we have a new challenge at The Funkie Junkie Boutique and I am hosting it.  The challenge is called: I'm Feeling Like Royalty!

Here is the description of the challenge: 

"On June 2,  1953 the then 27 year old Elizabeth II was crowned Queen of the United Kingdom.  I thought why not honor this event by having a challenge that includes inspiration from royalty.  Think crowns, castles, elegant and regal patterns, or gilding your project  with touches of gold!  Create a shabby chic or vintage project inspired by royalty!" 

I was thinking of how I was going to approach this challenge when I was having a conversation where I said "She is the Queen Bee"  and that was it. 

I thought of the beautiful layered bee and how to use it in a card inspired by royalty.  I was playing with the Mandala die trying to form a crown.  I cut a little bit of the inside circle to frame the Queens head. 


The background consists of: 

  1. Sheet of Backdrops sponged around the edges with brown dye ink.  Embossed with a touch of gold embossing powder. 
  2. Mandala die cut from white cardstock and misted with a mix of blue and pearl ink spray. 
  3. Die cut the embossed frame from gold paper and emboss with a touch of gold/black embossing powder. 
  4. Die cut the bee from the backdrops paper and sponge the edges with vintage photo and emboss with gold embossing powder. 
  5. Cut the inside ring of the mandala and use as crown for the bee. 
  6. Accent with gems. 
  7. Cut sentiment from Clipping and emboss edges with gold embossing powder. 
  8. Spray flowers to match and accent frames. 
  9. Assemble Card. 

A different angle on the bee and frame:


Come join us in the challenge and check out the awesome projects the design team  has created! Everyone who enters and follows the rules will go into the draw for the chance to win a $25 spending spree at The Funkie Junkie Boutique. There are also Top 3 Badges for three additional outstanding entries, chosen by the Design Team.

Thanks for dropping by! 

Suzz

Products: 

Wednesday, August 22, 2018

Back to Nature

Hi!  Welcome back to the blog!  I have been busy playing with flowers!  The current challenge at Frilly and Funkie is hosted by the talented Sara Emily and she has asked us to be inspired by nature!

The challenge as described by Sara Emily:

"Having just returned from our annual trek to the mountains of West Virginia where we observed so much natural beauty on our hikes, I couldn't help but make my challenge nature themed. You can make anything you like, from a card or tag to altered art, just be sure to include a natural element in your vintage or shabby chic project. Think real twigs, leaves, shells, pebbles. Or you could include a die cut or a stamped or stenciled image representing a natural object."

This had me thinking about all the flowers in our yard during the summer.  I ran out and started gathering them. 
Stampers Anonymous Entomology Idea-Ology small talk Idea-Ology Story Sticks Wendy Vecchi Les Roses Tim Holz Paper Dolls Archival ink Watering Can For the Funkie Junkie Boutique
I shared the whole process behind the pressing of the flowers on the Frilly and Funkie blog on Saturday and this was one of the results of those experiments.


I saw this beautiful sheet of rose petals on pinterest.  That had me thinking what if I pressed a sheet of roses?  Well this is what happened:

First I set the flowers up like this in a folded piece of cardstock:

Rose Flower Pressing Big Shot for The Funkie Junkie Boutique

After I ran it through the big shot it looked like this when I opened it up:
Rose Flower Pressing Big Shot for The Funkie Junkie Boutique
 And after I moved them around and ran it through a few times this is what I ended up with:

Rose Flower Pressing Big Shot for The Funkie Junkie Boutique

 It wasn't what I had expected but I used it as a background and created my card:

Stampers Anonymous Entomology Idea-Ology small talk Idea-Ology Story Sticks Wendy Vecchi Les Roses Tim Holz Paper Dolls Archival ink Watering Can For the Funkie Junkie Boutique
 I stamped over the background with a background stamp about roses.  I then created my butterflies and guess what their bodies are made of..... I used some dried lavender. The moths around here have such fuzzy bodies it just reminded me of them!

I hope this has you thinking of how you can incorporate nature into your art!  Come join us in the challenge! 

The winner will earn the chance to be a Guest Designer here at Frilly and Funkie, and everyone who enters and follows the rules will go into the draw for the chance to win a $25 spending spree at The Funkie Junkie Boutique. We are also awarding Top 3 Badges for three further outstanding entries, chosen by the Design Team, because we can't pick just one favorite!

Thanks for stopping by!

Suzz

Wednesday, February 7, 2018

Love

Hello!  I am back today sharing a lovely tag for the Frilly and Funkie Challenge "All You Need is Love".  The fabulous Zoe is hosting the challenge this time and she describes the challenge as:

"With Valentines just a couple of weeks away, I've chosen "ALL YOU NEED IS LOVE" as the challenge theme. It's time to let cupid draw his paintbrush and create a vintage or shabby chic project with the word "LOVE" somewhere on the project. It can be the focus or just a tiny detail."


I can't tell you how many half finished projects I have on my desk right now. I started with so many wonderful ideas and got lost along the way in finishing them. 


I found this lovely little script and started stamping it over and over again on a painted background and that is when I finally picked up steam and finished this sweet tag.

I painted mixed media paper with white gesso to give a base to my creations.  I then stamped repeatedly the love letter using archival ink.

I took out the Abandoned Coral Spray and dripped and splashed and spritzed with water to get the inky mess in the background.

I let that dry and then traced a few hearts in black watercolor pencil.  Used a waterbrush to soften and shade those hearts.

Then the lovely couple jumped onto my tag.  I then had this thought of draping baby hearts as banners and voila!  The tag finished itself.

Well I hope you have time to share your love with us and join in the challenge!  The winner will earn the chance of a Guest DT spot here at Frilly and Funkie, and everyone who enters and follows the rules will go into the draw for the chance to win a $25 spending spree at The Funkie Junkie Boutique. And there are Top 3 Badges for three further outstanding entries, chosen by the Design Team, because choosing just one winner is so hard!

Thanks for stopping by!

Suzz