Hi! The summer is flying by here! I can't believe we are near the end of July! The birthday parade is still happening this month so a perfect time to share a few projects with the new Darkroom Door Eclectic Stamp - Candles!
I love the simple pattern of them and the fun polka dots! I started by creating a few mini bags for either party favors or gift cards! I used a die to cut out the bag shape which required some simple scoring and taping together. I used a larger paper bag as my material.
I then left them flat and unfolded to play around with the surfaces. One was painted white acrylic paint on the surface with a splattering of pink dye ink. The other was stamped with white acrylic paint. I did the same thing on both sides of the bag.
I then took out some tissue paper and stamped the candles multiple times on the tissue paper to use as filler for the treat bags.
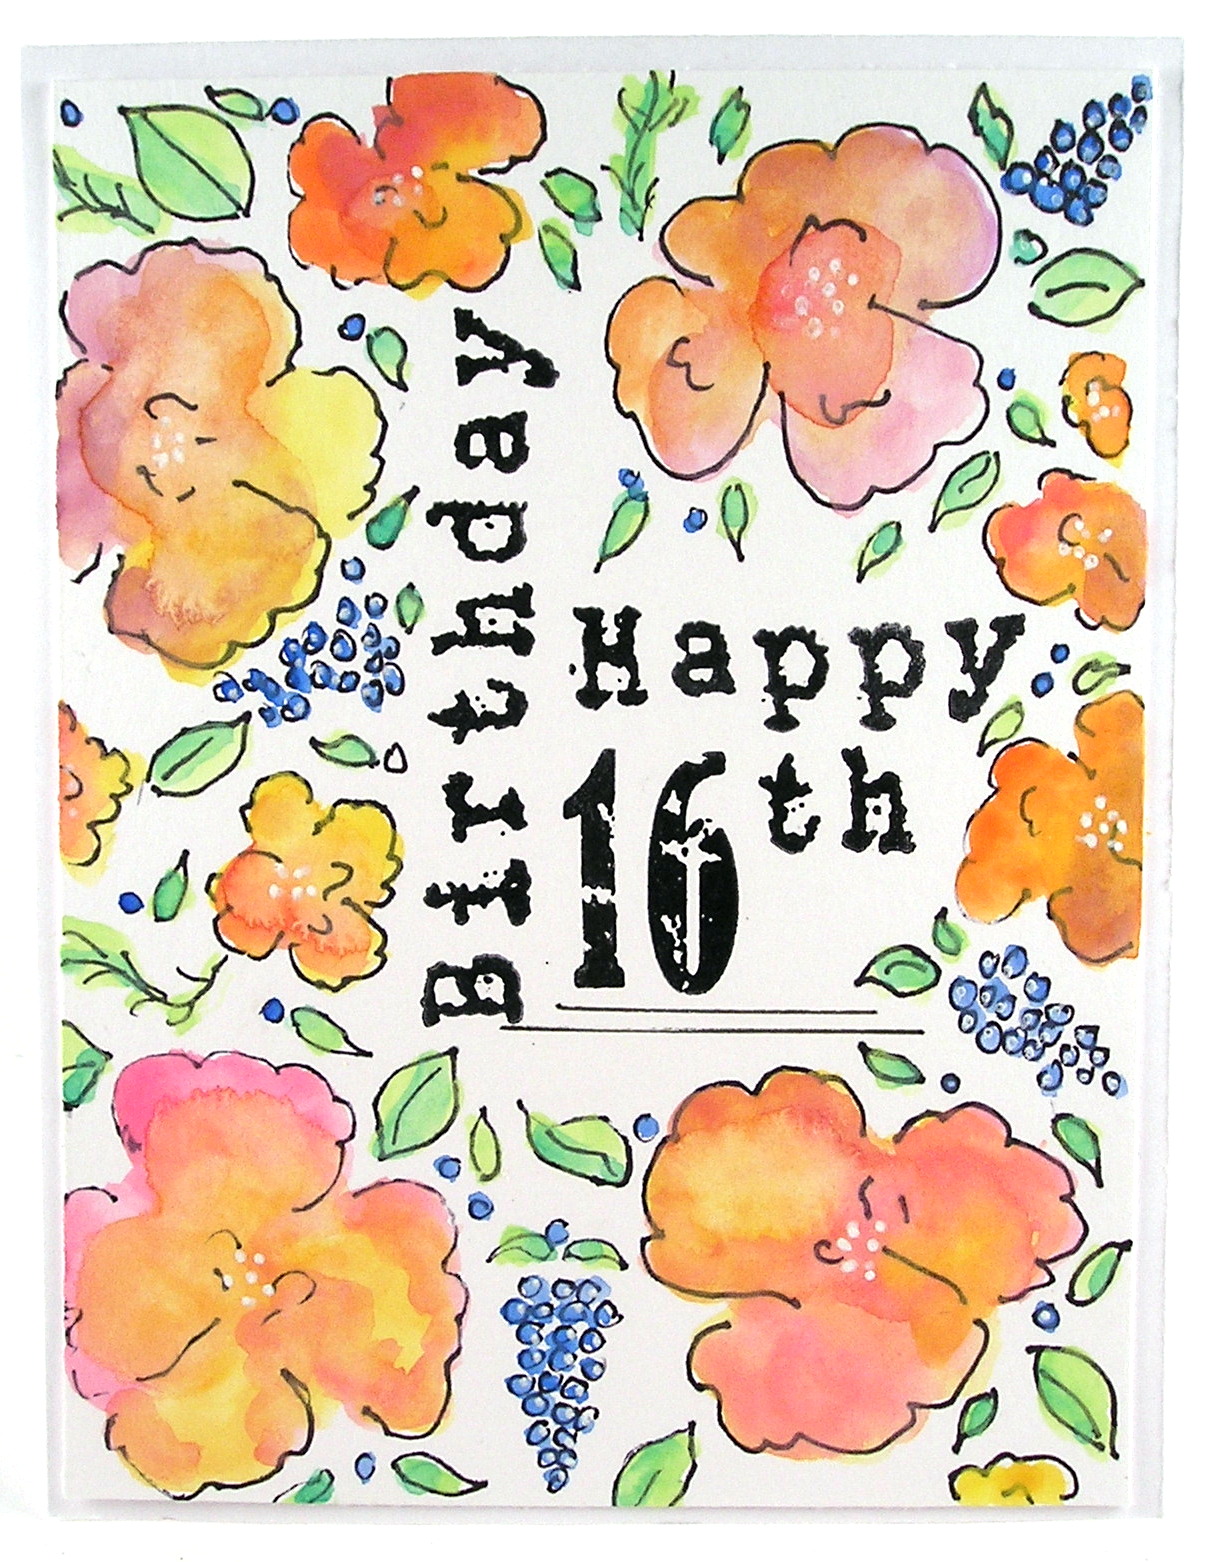
To add a little whimsy I created mini tags and stamped the happy birthday sentiment. (I could have used the Thank You sentiment for party favors.)
I also wanted to create a bigger tag to use as a gift card holder.
I stamped a fun frame stamp first onto the tag and then stamped the candles inside of the frame. After that I added the sentiment on the top. I had a leftover sentiment on a piece of cardstock that made a perfect gift card pocket on the reverse side.
I then just stuck the tag inside of the bag to give as a gift with a gift card for a local restaurant. The recipient is going to be very happy!
After I played with the pinks and hints of purple I wanted to play with blues and greens and these two cards formed themselves!
I pulled out the Rubber stamp Set Stars and started stamping stars in a mix of green and blue. I then stamped the candles in the same colors. I cut them out and started layering and mixing them up.
I thought wouldn't it be fun to give a candle background inside of the outline star. I stamped a series of the stars and stamped over them with the candles. I then just cut out the stars that I wanted to use and paired them with a coordinating candle.
I inked up some twine and colored some sequins with alcohol markers to coordinate. The cards probably took me a lot longer in composition than anything I did for the individual pieces. ;)
I then decided to try a pretty violet color and did a layering of candles with a simple sentiment.
I stamped the candles multiple times across the card base. I stamped the candles on another piece of cardstock and then cut them out. I added a hint of shadows on the base card with a gray watercolor pencil and a waterbrush. I pop dotted the top layer and alternated the candles.
The final touch was to add the stickles to give light to the candles!
I wanted to finish with the card I shared the other day to show how fun it is to use markers to color the candles different colors.
Thanks for stopping by!
Suzz
Products: (Linked to Darkroom Door Site)
Darkroom Door - Eclectic Stamps - Candles
Darkroom Door - Rubber Stamp Set - Stars
Darkroom Door - Rubber Stamp Set - Simple Sayings Vol 1
Darkroom Door - Frame - Emulsion
Darkroom Door - Small Stamp - Birthday
Ranger Archival Ink - Violet, Thistle, Magenta Hue, Forget-Me-Not, Leaf Green
White Acrylic Paint
Staedtler Watercolor Pencils
Waterbrush
Copic Alcohol Markers
Sequins
Twine, Raffia
Ranger Distress Watercolor Markers
Stickles
Showing posts with label Birthday. Show all posts
Wednesday, July 24, 2019
Sunday, July 7, 2019
Happy Birthday!
Hi! Happy Birthday to all you July Birthdays! We have a big month of birthdays in July in our family. This month had me working in overtime creating cards! Lucky for me I had the new Darkroom Door Birthday stamp to help inspire some of my cards for this month.
My first inspiration was to play with the coordinating Darkroom Door Candles stamp and create an overlapping sentiment with the fun birthday candles.
I colored the candles with watercolor markers and spritzed with a little water and stamped them. I repeated the colors and did it again to give me a fun row of candles.
Next I colored the sentiment with the same markers and stamped onto cardstock. I cut the sentiment out and layered it up.
I then found some white raffia and colored it with the same markers to coordinate and wrapped it around the card front and tied it.
My final touch was to add gloss to the balloon and pop dot the sentiment over the raffia. A quick and easy birthday card!
My next card I wanted to add one of the sweet birds from the new bird life set. I stamped him first in the corner. I then masked the balloon on the sentiment with a post - it note and inked up the sentiment. Pulled off the post-it note and stamped the sentiment.
I liked the idea of the balloon, that inspired me to cut a slit under the beak of the bird. I colored some coordinating twine and inked up cardstock with the same colors. After that I drew a balloon and cut it out to coordinate. (I originally tried the balloon on the sentiment but it was very out of proportion and I had to hand draw mine. :)
I colored the bird with some watercolor pencils and a waterbrush. Another sweet and simple card for a family member.
Next up a little Fireworks inspiration! This card took me quite a few tries as I was trying different ideas to get the fireworks to light up!
I actually created this sentiment for the first card but didn't like how the ombre effect didn't pop with the candles. Hence the ombre background on the card with the fireworks to coordinate.
I ended up creating three versions of the ombre with the fireworks. This version was my favorite. I stamped the fireworks on white cardstock with versamark and heat embossed it with clear embossing powder.
I then sponged the three distress oxide inks over and blended them together. I used dry paper towels to brush off the excess ink and brighten the fireworks. I added a few tiny gems for pop of sparkles.
Last but not least was a simple flower card with the fun sentiment with the balloon masked again.
I inked up the daisy stamp with distress oxide ink around the edges and colored the center with a marker and spritzed with water. I stamped off the image a few times to get a softer image on the background. I repeated with the script and butterflies.
I then stamped the sentiment over the stem with an archival ink.
Thanks for stopping by!
Suzz
Products:
Darkroom Door Small Stamp - Birthday
Darkroom Door Eclectic Stamp - Candles
Darkroom Door Eclectic Stamp - Daisy
Darkroom Door Texture Stamp - French Script
Darkroom Door Rubber Stamp Set - Bird Life
Darkroom Door Rubber Stamp Set - Wings
Darkroom Door Rubber Stamp Set - Celebration
Ranger Distress Markers - Seedless Preserves, Crushed Olive, Worn Lipstick, Gathered Twigs, Fossilized Amber
Ranger Distress Oxides - Seedless Preserves, Crushed Olive, Worn Lipstick, Fossilized Amber ,
Gathered Twigs
Ranger Archival Ink - Jet Black, Peat Moss
Versamark Watermark Ink
Clear Embossing Powder
Twine
Raffia
Ranger Glossy Accents
Tiny Gems
Staedtler Watercolor Pencils
My first inspiration was to play with the coordinating Darkroom Door Candles stamp and create an overlapping sentiment with the fun birthday candles.
Next I colored the sentiment with the same markers and stamped onto cardstock. I cut the sentiment out and layered it up.
I then found some white raffia and colored it with the same markers to coordinate and wrapped it around the card front and tied it.
My final touch was to add gloss to the balloon and pop dot the sentiment over the raffia. A quick and easy birthday card!
My next card I wanted to add one of the sweet birds from the new bird life set. I stamped him first in the corner. I then masked the balloon on the sentiment with a post - it note and inked up the sentiment. Pulled off the post-it note and stamped the sentiment.
I liked the idea of the balloon, that inspired me to cut a slit under the beak of the bird. I colored some coordinating twine and inked up cardstock with the same colors. After that I drew a balloon and cut it out to coordinate. (I originally tried the balloon on the sentiment but it was very out of proportion and I had to hand draw mine. :)
I colored the bird with some watercolor pencils and a waterbrush. Another sweet and simple card for a family member.
Next up a little Fireworks inspiration! This card took me quite a few tries as I was trying different ideas to get the fireworks to light up!
I actually created this sentiment for the first card but didn't like how the ombre effect didn't pop with the candles. Hence the ombre background on the card with the fireworks to coordinate.
I ended up creating three versions of the ombre with the fireworks. This version was my favorite. I stamped the fireworks on white cardstock with versamark and heat embossed it with clear embossing powder.
I then sponged the three distress oxide inks over and blended them together. I used dry paper towels to brush off the excess ink and brighten the fireworks. I added a few tiny gems for pop of sparkles.
Last but not least was a simple flower card with the fun sentiment with the balloon masked again.
I then stamped the sentiment over the stem with an archival ink.
Thanks for stopping by!
Suzz
Products:
Darkroom Door Small Stamp - Birthday
Darkroom Door Eclectic Stamp - Candles
Darkroom Door Eclectic Stamp - Daisy
Darkroom Door Texture Stamp - French Script
Darkroom Door Rubber Stamp Set - Bird Life
Darkroom Door Rubber Stamp Set - Wings
Darkroom Door Rubber Stamp Set - Celebration
Ranger Distress Markers - Seedless Preserves, Crushed Olive, Worn Lipstick, Gathered Twigs, Fossilized Amber
Ranger Distress Oxides - Seedless Preserves, Crushed Olive, Worn Lipstick, Fossilized Amber ,
Gathered Twigs
Ranger Archival Ink - Jet Black, Peat Moss
Versamark Watermark Ink
Clear Embossing Powder
Twine
Raffia
Ranger Glossy Accents
Tiny Gems
Staedtler Watercolor Pencils
Sunday, June 25, 2017
Happy 3D Birthday!
Happy Sunday!
I wanted to share a card I made from leftovers from my last project with the butterflies and tiny tattered florals.
After I finished my canvas with the butterflies and flowers, I cleaned up my desk. While cleaning I found the long strip of cardstock with the negative images of the flowers I had cut out.
I thought what a pretty strip of paper. I decided to use it as a stencil and laid it over another piece of cardstock and sprayed a mix of yellow orange and red.
The beauty of that was I ended up with two strips of cardstock one with the sprayed flowers. (I haven't used it yet) and the other the die cut strip with a mix of flowers. I decided to take that and cut off a section and foam dot it up onto a white cardbase and voila a card!
All I had to do was stamp a sentiment and add some seed beads as the centers and add a sentiment to the inside.
A different angle to show the shadowing of the cut-outs.
Have a blessed sunday!
Suzz
Monday, March 27, 2017
Pop Up Twist
Howdy! I have a pop-up twist card that I spent all weekend creating for a birthday. The tutorial is form Splitcoast Stampers and can be found here.
I started with the fun Graphic 45 Masquerade papers. I die cut tons of stars. Stamped and colored a series of these silly birds from a Simon Says Stamp
This is not a card to be sent in an envelope. It got quite bulky with the layers of paper and die cuts and I even pop dotted a few of the stars.
When you start to open the card you can see how the inside starts to turn and pop out.
And then fully open:
When it lays flat the center keeps it open
I think they will have fun with this card and I added a lot of the silly birds to make it a happy and fun card.
Thanks for stopping by!
Suzz
I started with the fun Graphic 45 Masquerade papers. I die cut tons of stars. Stamped and colored a series of these silly birds from a Simon Says Stamp
This is not a card to be sent in an envelope. It got quite bulky with the layers of paper and die cuts and I even pop dotted a few of the stars.
When you start to open the card you can see how the inside starts to turn and pop out.
And then the inside starts to open up:
And then fully open:
When it lays flat the center keeps it open
I think they will have fun with this card and I added a lot of the silly birds to make it a happy and fun card.
Thanks for stopping by!
Suzz
Thursday, March 9, 2017
Amazing Birthday
Hi! This is my take on a 30 minute card which ended up taking an hour to complete.
I had a need for a birthday card for a family member in her 20's and wanted something with graphic and fun colors and design.
I decided to play with some color shines as their color is a little more metallic and not as striking in color depth. I used the three colors to spritz and add a hint of color to the background.
I came back and stamped some splatter, the frame, stars, and word using Darkroom Door stamps and a variety of inks.
I then used some leftover stars to add a pop of fun and created a few banners to go with the pretty sentiment.
I finished with a touch of embossing pasted for texture and a few glittery confetti that I glued randomly to the surface.
Well here is my 30 minute card that took an hour. :) Have a wonderful Thursday!
Suzz
Products: Darkroom Door - Word Block Stamp - Happy New Year, Darkroom Door - Background Stamp - Brushed Stars, Darkroom Door Texture Stamp - Splatter, Darkroom Door - Frame Stamp - Stitched Threads, Heidi Swapp Color Shine - green, blue, pink, Archival Ink - black, Forget-Me-Not, Magenta Hue, Versafine - Orange, Ranger Distress Ink - Twisted Citron, Tim Holtz Mini-Layering Stencil, Wendy Vecchi - Embossing Paste, Simon Says Stamp - Sentiment
Saturday, January 14, 2017
Doodley Doo
Over winter break my daughter asked me to create a canvas inspired by some she had seen on pinterest. It involved doodling lots of doodled flowers and leaves. I was hesitant as I had not done any doodling successfully before. I used the doodles on pinterest as my inspiration and created her canvas. This inspired me to use the same concept on a 16th birthday card.
This was an interesting process as each step along the way I wasn't sure of how it looked or if I liked what was being created. My advice is to go with it because you will be surprised by how it looks when you finish. :)
I was pleased with the end result of my doodling and more importantly my daughter liked it too!
I started with mixed media paper. This would have worked even better with watercolor paper. I stamped the words and letters with Stampendous clear alphabet stamps lined up on a clear block with lines to help keep the letters straighter.
I then took a sharpie with a fine point and drew the flowers, leaves, and other images. When I did the canvas I used a pencil on a gessoed surface. I was able to erase most of my pencil marks but try this out before you spend a large amount of time and find the eraser is not removing the pencil marks. After the pencil is done and you are happy you can then use the sharpie to draw the permanent outlines. I tried a micron and another pen I had and a few of them tended to bleed. So try all of your doodles on the surface before putting it on canvas or on paper.
After that I used a waterbrush and watercolor paints to paint the mix of colors. The beauty of this is that you don't have to paint in the lines. It is more of a free form painting and having extra or too little color is acceptable.
Well a long post for a simple project and I hope it inspires you to try doodling some lines on your next project.
Suzz
Saturday, June 6, 2015
Tropical Birthday
I haven't played along in the Hero Arts Blog challenge in forever and a day! But I just received one of their new layering stamps sets which allows you to stamp the different layers in different colors and decided to play along in their fun "Tic Tac Toe" challenge that is going on all month!
I played around with the colors to try different shades and after a few different attempts I ended up with something very similar to the shades used on the packaging. :) I went browsing at Lin's blog as she is always so inspiring with the flowers and came up with this design:
I decided to cut out the flowers and layer them onto an acetate card. I went to the crafty store for some tape refills and came out with some fun bamboo washi tape which had me die cutting the letters from it and then I used the Hero Arts Chevron background stamp on the bottom of the cardstock with the same green used on my leaves.
I followed the tic tac toe line of "Background Stamps", "Die Cuts", and "Birthday".
The Hero Arts Challenge is all month long and they have 4 prizes up for grabs.
Products: Hero Arts Color Layering Hibiscus, Hero Arts Cling Chevron, Simon Says Stamp - Birthday Die, Bamboo Washi Tape, Ranger Distress Inks - Shabby Shutter, Peeled Paint, Barn, Mustard Seed, Rusty Hinge, Ranger Archival Ink - Black
Happy Sunday!
Suzz
I played around with the colors to try different shades and after a few different attempts I ended up with something very similar to the shades used on the packaging. :) I went browsing at Lin's blog as she is always so inspiring with the flowers and came up with this design:
I followed the tic tac toe line of "Background Stamps", "Die Cuts", and "Birthday".
The Hero Arts Challenge is all month long and they have 4 prizes up for grabs.
Products: Hero Arts Color Layering Hibiscus, Hero Arts Cling Chevron, Simon Says Stamp - Birthday Die, Bamboo Washi Tape, Ranger Distress Inks - Shabby Shutter, Peeled Paint, Barn, Mustard Seed, Rusty Hinge, Ranger Archival Ink - Black
Happy Sunday!
Suzz
Labels:
Birthday,
Hero Arts,
Hero Arts Challenge,
Tropical
Tuesday, July 1, 2014
25 to 50
Our oldest niece is turning 25 this year! My hubby and I were dating when she was first born. I remember going to their house to see the new baby. Where has all the time gone? With her birthday coming up I was thinking of what I could do for her birthday. I went to Pinterest and checked my pins for cards and I decided to CASE this striking card from Gay Peplow.
So how do you go from 25 to 50? My sister's big birthday is coming up too! In the process of making my version of the card let's just say about 5 tries to get to one card. CAS for me takes 5 times as long as my distressed shabby chic/vintage look.
I ended up making three variation and I just popped a 50 over one of the 25's to use for my sister.
Here is the finished card. I wanted to overlap the damask with the pretty script and add her birthday number in the top right and finish it off with a butterfly.
I created a second butterfly to cut out and add a layer.
Products: Stampers Anonymous - Damask, 7 Gypsies - Numbers, Darkroom Door - Eclectic - Butterfly, Darkroom Door - Textures - Script, Memory Box - Sentiment, STAEDTLER Karat Aquarelle Watercolor Pencils
One of my attempts I stamped the sentiment in Ranger Archival Magenta Hue and added a watercolor circle around the numbers. I didn't like the effect of the watercolor circles so I softened them with water and then I added the #50 over the top .
This one I stamped the sentiment crooked and had to keep cutting to cut it off. I tried layering the sentiment and it didn't work. I do like the black card base as it really pops.
I also had to make a boy's birthday card for this week so I pulled out my wild west stamps and created this:
I was playing with Tim Holtz Layering Stencil - Stars and sponging on the mix of browns with dye inks over an inky background. After it was done I decided to pair it with the Wild West Cowboy and the Verses Rubber Stamps Birthday stamp.
Have a fabulous Tuesday!
Suzz
So how do you go from 25 to 50? My sister's big birthday is coming up too! In the process of making my version of the card let's just say about 5 tries to get to one card. CAS for me takes 5 times as long as my distressed shabby chic/vintage look.
I ended up making three variation and I just popped a 50 over one of the 25's to use for my sister.
I created a second butterfly to cut out and add a layer.
Products: Stampers Anonymous - Damask, 7 Gypsies - Numbers, Darkroom Door - Eclectic - Butterfly, Darkroom Door - Textures - Script, Memory Box - Sentiment, STAEDTLER Karat Aquarelle Watercolor Pencils
One of my attempts I stamped the sentiment in Ranger Archival Magenta Hue and added a watercolor circle around the numbers. I didn't like the effect of the watercolor circles so I softened them with water and then I added the #50 over the top .
This one I stamped the sentiment crooked and had to keep cutting to cut it off. I tried layering the sentiment and it didn't work. I do like the black card base as it really pops.
I also had to make a boy's birthday card for this week so I pulled out my wild west stamps and created this:
I was playing with Tim Holtz Layering Stencil - Stars and sponging on the mix of browns with dye inks over an inky background. After it was done I decided to pair it with the Wild West Cowboy and the Verses Rubber Stamps Birthday stamp.
Have a fabulous Tuesday!
Suzz
Labels:
Birthday,
Darkroom Door,
Memory Box,
Stampers Anonymous
Sunday, September 15, 2013
Birthday Cupcake
Blessed Sunday to you! I went to my favorite LSS yesterday and they had a new shipment of Penny Black stamps in house. I couldn't resist this cutie pie as I am pretty sure it is a Mo Manning illustration. I decided to create a oh so elusive (in my house) cute and pretty birthday card.
My daughters are always looking for something not vintage, shabby chic or steampunk for birthday cards and it is hard to find here. :) I love this image and decided to put together a card using him and some MME papers. I started creating banners and couldn't stop. :)
I stamped him using Ranger Archival Ink and colored him with STAEDTLER watercolor pencils.
Have a wonderful Sunday!
Suzz
Labels:
Birthday,
MME,
Mo Manning,
Penny Black,
STAEDTLER
Tuesday, August 20, 2013
Happy Birthday
How about a quick birthday card using the new Darkroom Door Simple Sayings sentiment?
The sentiment style had me thinking of a CAS design focusing on the sentiment. I paired the sweet sentiment with a little bouquet of flowers. This card is ready to send off to our niece for her birthday.
The Bold Blooms flowers are stamped using Ranger Archival Ink - Chrome. The sentiment is stamped using Ranger Archival Ink - Magenta Hue. I sprayed a touch of pink using water and a watercolor pencil.
Have a wonderful day!
Suzz
Subscribe to:
Posts (Atom)