Wednesday, March 21, 2018

Knock on Wood

This time around I am hosting the Frilly and Funkie Challenge and my challenge is to "Knock on Wood".  

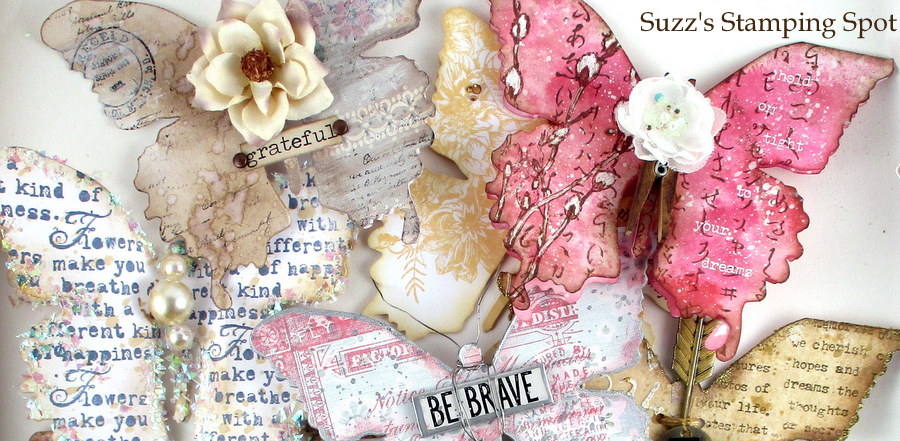
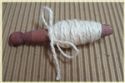
I decided to challenge everyone with adding a touch of wood to your art this challenge. For this challenge you need to dig through your crafty stash and look for some type of wood to incorporate into your art. This can be any kind of wooden object like a wood spool, a wood button, a mini ruler or even a branch.

The winner will earn the chance of a Guest DT spot here at Frilly and Funkie, and everyone who enters and follows the rules will go into the draw for the chance to win a $25 spending spree at The Funkie Junkie Boutique. And there are Top 3 Badges for three further outstanding entries, chosen by the Design Team, because choosing just one winner is so hard!
I wanted everyone to dig through their creative stashes and pull out the wood elements / bases to use in their art for the challenge.  The Frilly team has shared their projects last week and this week the funkie side of the team is sharing their art.

I definitely have a stash of wooden objects that I had fun digging through.  This whole project started with the wooden rulers and wanting to frame out a shadow box with them. 

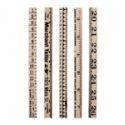
I decided that I wanted to create a box effect.  To achieve that I measured the rulers and cut strips of cardboard to layer under the ruler to create sides.  I cut a piece of cardboard for the bottom and then attached the sides using tape.  

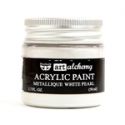
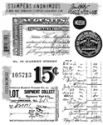
I added a coat of white gesso to the inside edges and the inside of the shadow box. I cut a piece of paper to go inside my box.  The paper was distressed around the edges. Sponged with antique linen oxide ink.  I then stamped the ledger onto the background.  After all that it went inside the shadow box.

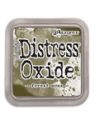
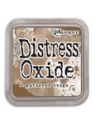
Next I spritzed my wooden rulers with a mix of antique linen and tea dye sprays.  I smudged white paint over the surface and left them to dry.  After they dries I attached them to t he cardboard edges.

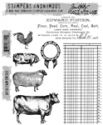
Next up was just stamping the cow on an antique linen inky background using black archival ink.  I cut him out and traced him on cardboard. I cut three layers of cardboard to give him depth.  I then attached him to the background.

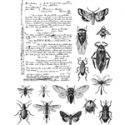
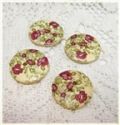
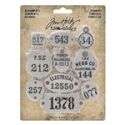
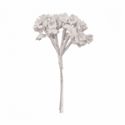
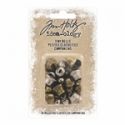
The rest of the pieces were gathered and distressed with some ink to soften the white colors with antique linen.  I splattered everything with white paint at the end.

Don't forget to check out the challenge  and all the beautiful inspiration from my teamies!

Thanks for stopping by!

Suzz 


Tuesday, March 20, 2018

Our Daily Bread Designs 10th Anniversary!

Hi!  Today I am happy to share with you a few cards made to celebrate the 10th Anniversary of Our Daily Bread Designs

They are celebrating with a special release of stamps and dies made just for the celebration! And they have a special offer to everyone in celebration of their anniversary.  Go here to see the reunion posts and see the special deal they are offering!

On this card I used: God Quotes 2, Fancy Circles - Dies, Blushing Rose Collection Paper Pad,  Brown Ink, White Acrylic Paint, Buttons and Silk Ribbon

On this card I used the Bird, Blushing Rose Collection Paper Pad, God Quotes 2, Fancy Circles Dies,  Watercolor Pencils, Black Ink, Brown Dye Ink.

On this card I used Butterfly Branch, Fancy Circles - Dies (as a mask), God Quotes 2, Water Color Pencils, Mist Spray, Glitter, Brown Ink
 
Please head over to the ODBD Blog to see the reunion of all the talented Design Team members and the current Design Team art with the anniversary release!

Thanks for stopping by!

Suzz

Wednesday, March 7, 2018

Things that Fly

It's time to fly!  The challenge at Frilly and Funkie this time around is "Get in on the Action".  The extremely talented Kathy is hosting and here is her description of the challenge:

" Adding an interactive element on a card, tag, layout or canvas adds a bit of fun to any project. For this challenge, create a vintage or shabby chic project that incorporates an interactive element of one sort or another in the design. You can add a pocket and tag, a hidden tag, a hinged page, a flap, a flip, a tuck spot, a special fold or any kind of interactive element that appeals to you. Be sure to tell us in your post what makes your project interactive, as it may or may not be apparent in a photo. "

Having just received the new Stampers Anonymous Entomology stamp set it  had me thinking of flying tags!


And since Kathy challenged us to be interactive. I thought it would be fun to use the bugs as the pulls on the tags.  I created multiple pockets with multiple tags to pull in and out.

Each tag has it's own stamped images along with a layered bug.  I stamped each bug in black on the same background paper and then added acetate wings.

The background is a mix of smooshed water and ranger distress oxides.  I also just acquired the new colors of inks and wanted to try them out.  I smeared, spritzed and smeared again the colors on my craft mat.  I added lots of water and swirled together the colors and then dabbed it up on mixed media cardstock.

After I had finished everything I matted it onto black cardstock and then flicked white acrylic paint over everything to lighten up the dark areas.


I hope this has inspired you to try out an interactive project!  If you play along you will have a chance of a Guest DT spot at Frilly and Funkie, and everyone who enters and follows the rules will go into the draw for the chance to win a $25 spending spree at The Funkie Junkie Boutique. And there are Top 3 Badges for three further outstanding entries, chosen by the Design Team.

Thanks for stopping by!

Suzz