Friday, March 31, 2017

Shine

Happy Friday!  I have new stamps in the house which always makes me happy.  I am sharing today a card inspired by vintage Hollywood. 


I recently acquired new stamps from Graphic 45 Vintage Hollywood and I paired it with a Marilyn Monroe stamp from Deep Red. 

I had a white star die cut from my previous project. I thought it would be the perfect frame for Marilyn. I stamped her off to the side and then everything kind of flowed from that idea.   I then colored her lips with the red and decided to go with the classic black, white and red combo.

I found my Yvonne Blair stamps from Impression Obsession while pulling out something and looked through them and found the Believe sentiment and felt it was a lovely sentiment to go with the image.

Have a blessed Friday!

Suzz

Monday, March 27, 2017

Pop Up Twist

Howdy!  I have a pop-up twist card that I spent all weekend creating for a birthday.  The tutorial is form Splitcoast Stampers and can be found here.

 I started with the fun Graphic 45 Masquerade papers.  I die cut tons of stars. Stamped and colored a series of these silly birds from a Simon Says Stamp

This is not a card to be sent in an envelope.  It got quite bulky with the layers of paper and die cuts and I even pop dotted a few of the stars.  

When you start to open the card you can see how the inside starts to turn and pop out. 
 And then the inside starts to open up:


 And then fully open:

 When it lays flat the center keeps it open

 I think they will have fun with this card and I added a lot of the silly birds to make it a happy and fun card. 

Thanks for stopping by!

Suzz


Wednesday, March 22, 2017

All Folded Up

Welcome back!  It is Frilly and Funkie Time again and the current challenge is hosted by Kathy.  Kathy's Challenge is "You've got to know when to fold em".  She describes the challenge as:

"This challenge is all about using folded paper in a way that goes beyond just folding it in half. Create a vintage or shabby chic project that uses folded paper in a way that elevates the design. You can make a fancy fold card, or add folded embellishments to a card or layout."


At the end of the challenge the team will choose their top four picks. The first place winner will be invited to join as a Guest DT spot at Frilly and Funkie. Three additional talented participants will receive badges to display on their blogs. Everyone who enters and adheres to the challenge guidelines will be entered into a drawing to win a $25 spending spree at The Funkie Junkie Boutique!Frilly and Funkie Folded Challenge

I saw a fun fold the other day and have been wanting to try it out, this challenge gave me the perfect opportunity to play.
Head over to Splitcoast Stampers where Deb Valder shared her Z pop up card for all the details on how to cut, score and to create the fold.

I was still playing with my Wendy Vecchi goodies this week and used them to create a fun little spring scene.

I used the square grid stencil and a black dye ink to sponge an ombre effect on the bottom of the folder. I also did this on the inside folded pieces.

I stamped the lace trim along the top of the squares.  I then use the flower stencil to create a garden of flowers along the back of the card. I stamped the rose text in the background using a soft gray dye ink.  I splattered black dye ink over the entire surface.

I finished with some little signs created with sentiments popping out of the folds on the inside.


I added a seam binding ribbon died with pink in to match and a pretty heart charm.

Please come join in on the challenge with us and hop over to the blog to see what the DT created!

Suzz


Sunday, March 19, 2017

Happy Spring

Hi!  In looking at the forecast the next ten days looks very spring-like.  Wet, warmer and a few dips into the 40's.  I was looking at a little scrap of distress oxide inks and thought it would look pretty with a row of flowers.

I just stamped the flowers using cobalt blue and then colored with water color pencils.  I added the tiny sentiment and the pretty little butterflies and I was done.  (Products: Stampers Anonymous - Flowers, Memory Box - Happy Spring, Stampers Anonymous - Butterflies, Ranger Distress Oxides, STAEDTLER - Aquarelle Watercolor Pencils)

A tiny card to be sent off and share a little spring with a friend.

Happy spring to you!

Suzz

Tuesday, March 14, 2017

Oh so Pretty

Distress Oxides are in the house!  I spent a bit of the weekend having a lovely time inking up and playing with the new distress inks. 


I made many backgrounds and I did manage to create one tag/card. 
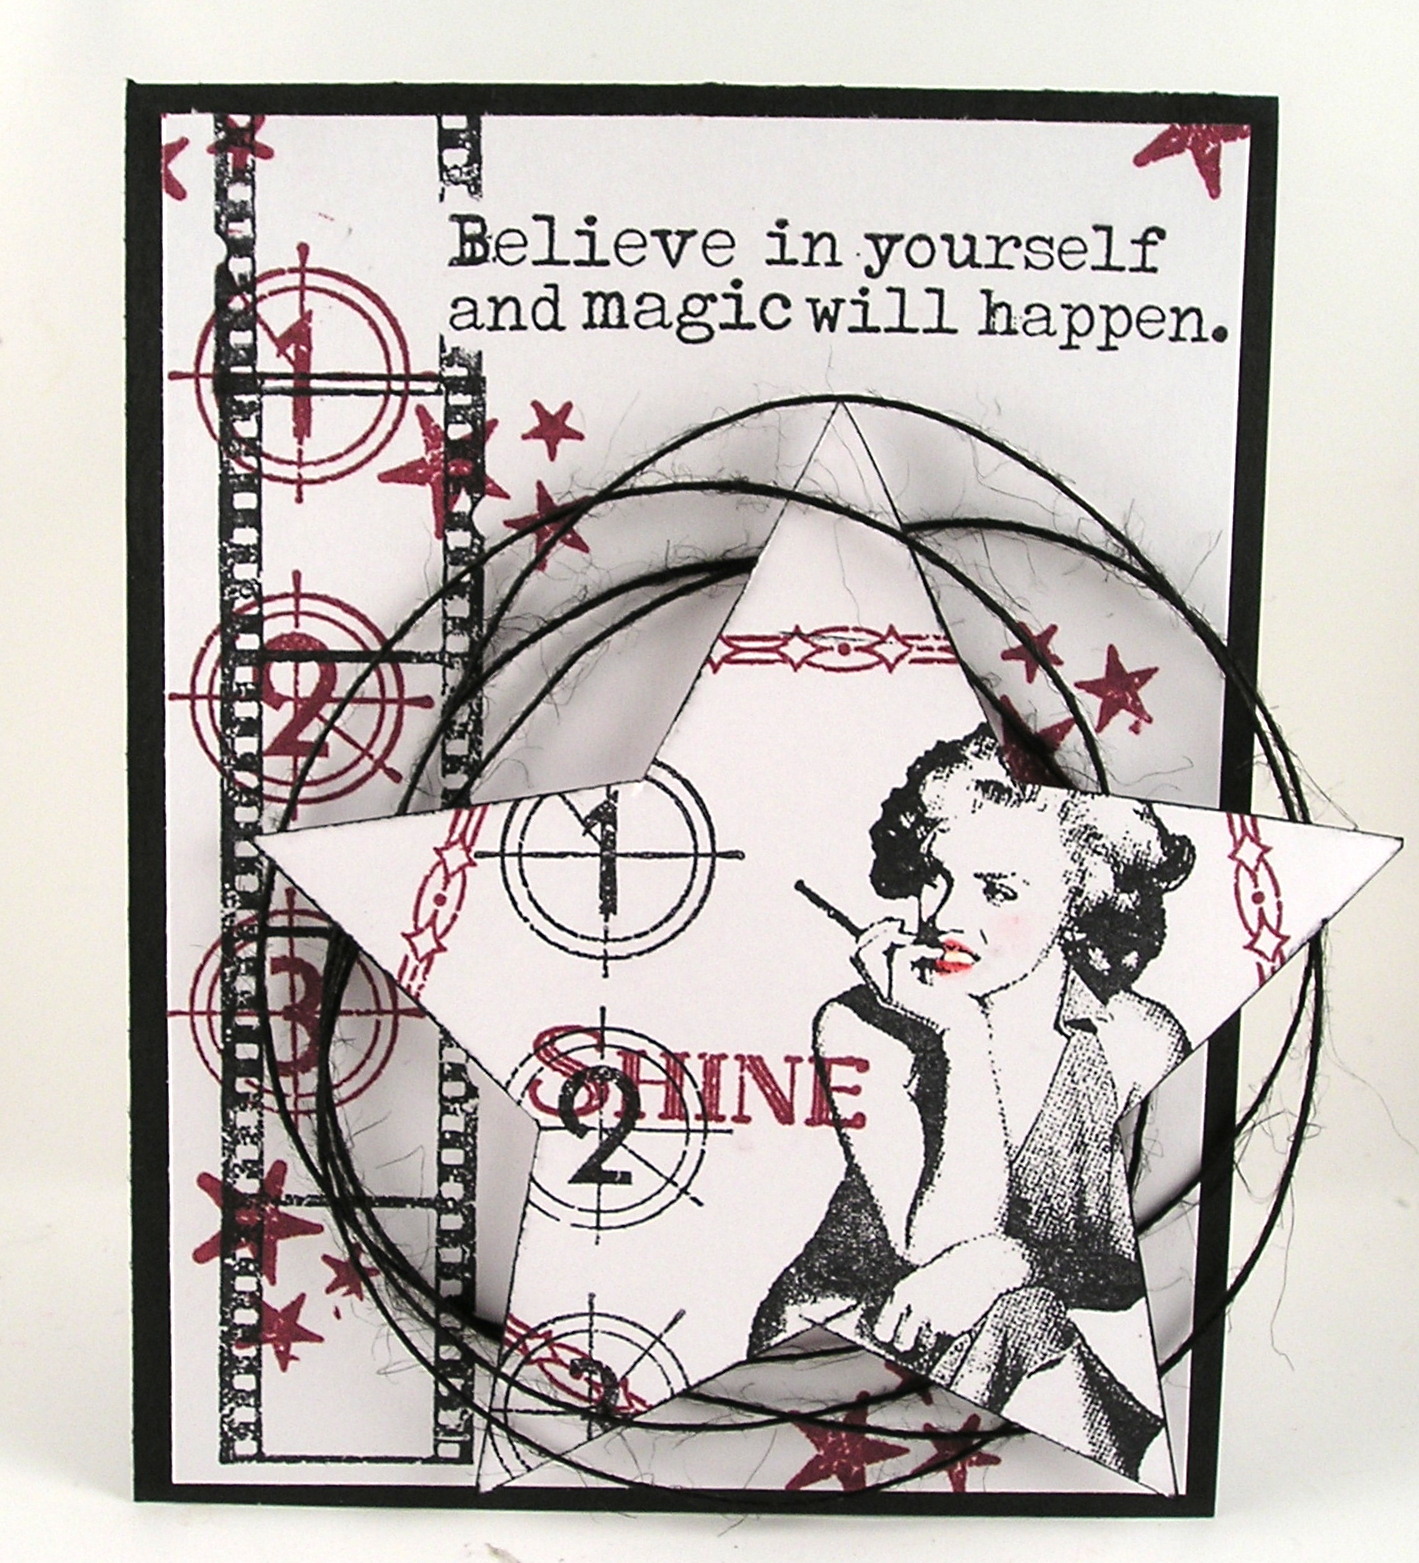
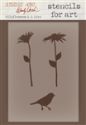
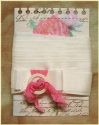
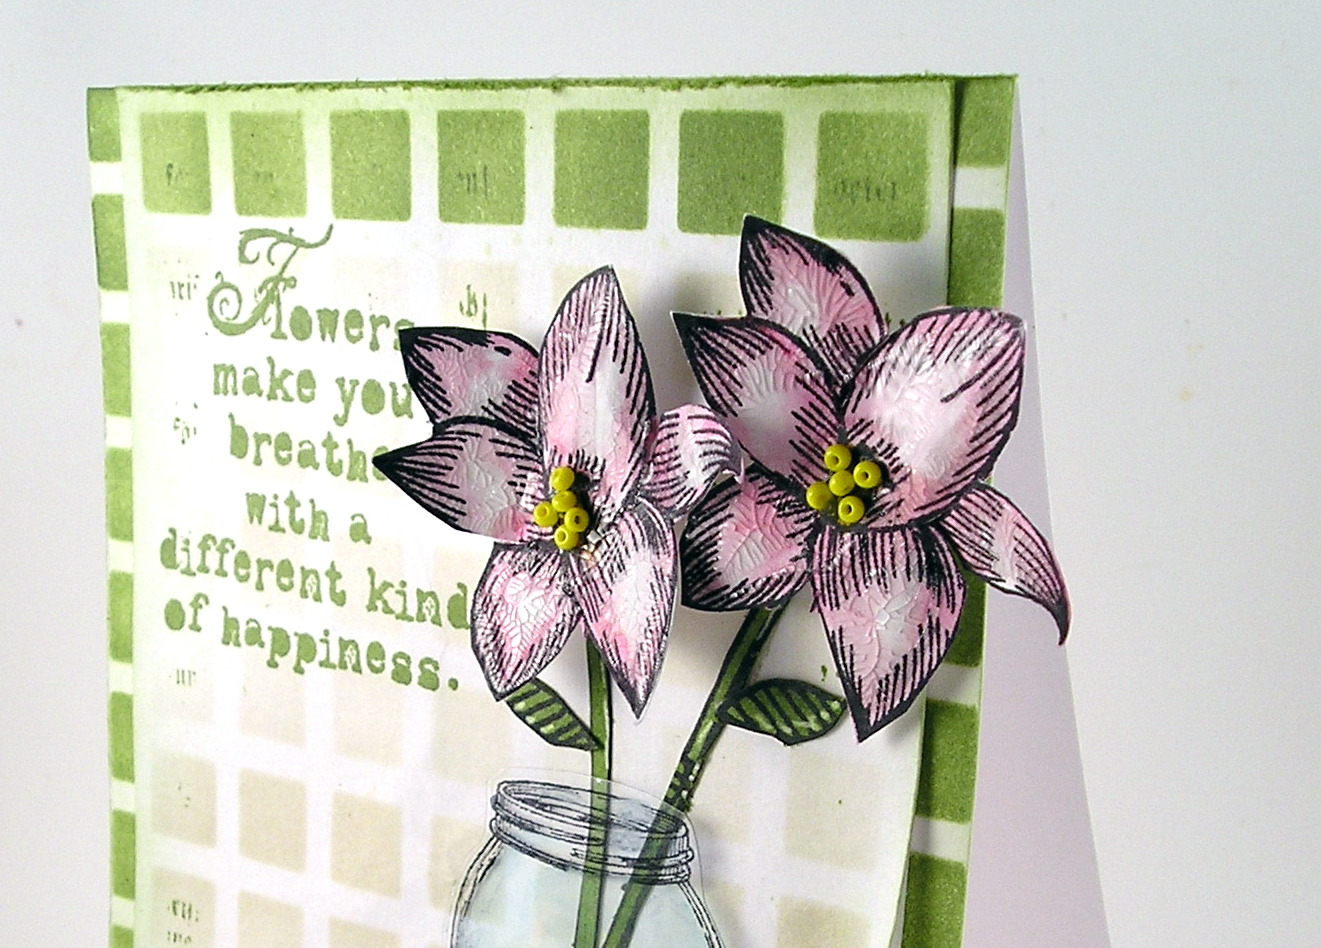
This was sponged with the new inks over one of the new layering stencils.  I wanted an ombre effect and I sponged heavily along the bottom and continued upwards with a lighter and lighter inking.

When I was done I added water to the leftover ink on the craft mat and dabbed it up with the tag to get a few inky splatters.

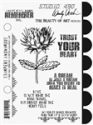
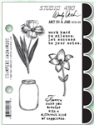
Then I stamped the new flowers and mason jar on the front.  I added a few butterflies and was done.
 But then I thought this would look good on a tall and narrow card. So I cut off the top of the tag and put it onto a card base.  Now I can send it out to a friend.

I wanted to share all the fun I had this weekend so I took photos of my backgrounds.

I love how the inks run and blend.  On the left sample I smeared the ink across the mixed media paper in three bands of ink.  I then just used water to get it to drip down the paper and blend.

On the right I sponged on the inks to create the gradient colors and then splashed with water.  I love how the watermarks pop on the new ink.

The one on the left is ink smeared directly onto the piece of mixed media paper and then multiple iterations of water sprayed, dried and sprayed again over the surface.  The one the right picked up the leftover ink on the craft mat in yellow, blue and brown.  This one I have started a new project with and love where it is going. Hopefully to be finished this week.


I sponged the Amber color through the new stencil on my left tag and then spritzed with water to see if it would get a more speckled effect.  The right side was ink on a acrylic block spritzed with water and placed on the cardstock.  I then came back and flicked water on the surface.
Finally another piece of smeared ink and spritzing with water to get the drip down effect.  I did the green and blue first and then came back and added brown along the top to overrun the other colors. I wanted the colors to intensify after they dried so I covered the surface with Versamark ink and heat embossed with clear embossing powder.

Thanks for sticking around to see all the fun backgrounds.

Suzz

Thursday, March 9, 2017

Amazing Birthday

Hi!  This is my take on a 30 minute card which ended up taking an hour to complete.

I had a need for a birthday card for a family member in her 20's and wanted something with graphic and fun colors and design.
I decided to play with some color shines as their color is a little more metallic and not as striking in color depth.  I used the three colors to spritz and add a hint of color to the background.

I came back and stamped some splatter, the frame, stars, and word using Darkroom Door stamps and a variety of inks.

I then used some leftover stars to add a pop of fun and created a few banners to go with the pretty sentiment.

I finished with a touch of embossing pasted for texture and a few glittery confetti that I glued randomly to the surface.

Well here is my 30 minute card that took an hour. :) Have a wonderful Thursday!

Suzz

Products:  Darkroom Door - Word Block Stamp - Happy New Year, Darkroom Door - Background Stamp - Brushed Stars, Darkroom Door Texture Stamp - Splatter, Darkroom Door - Frame Stamp - Stitched Threads, Heidi Swapp Color Shine - green, blue, pink,  Archival Ink - black, Forget-Me-Not, Magenta Hue, Versafine - Orange, Ranger Distress Ink - Twisted Citron, Tim Holtz Mini-Layering Stencil, Wendy Vecchi - Embossing Paste, Simon Says Stamp - Sentiment

Wednesday, March 8, 2017

Spring

Frilly and Funkie Time!  Nancy is hosting the challenge this time around and it is all about welcoming spring.  Here is how Nancy describes the challenge:

"Our theme this time around is 'Welcome, Spring!' It's fresh, soft breezes and fragrant blossoms have finally arrived. Create any vintage or shabby chic project that welcomes the advent of this glorious season. Think budding trees, birds and nests, butterflies, and beautiful blooms!"

At the end of the challenge the team will choose their top four picks. The first place winner will be invited to join as a Guest DT spot at Frilly and Funkie. Three additional talented participants will receive badges to display on their blogs. Everyone who enters and adheres to the challenge guidelines will be entered into a drawing to win a $25 spending spree at The Funkie Junkie Boutique!

I decided to create a card celebrating the beautiful blooms of spring that are wonderful to capture and put in a simple mason jar on the table. 

I started playing with a mix of the Wendy Vecchi products that were just released.  I was inspired by Wendy's style of cardmaking and tried to emulate the patterns she mixes so beautifully into her designs.


I started with using her squares stencil and layering in a soft shading of antique linen in the background.  I then used the Archival ink to stamp the vintage test through the stencil in various areas to add a little depth. 


I decided to cut that panel out and then stencil the edges of the cardbase  using the leaf green archival ink.  After I finished that and layered the panel on top of the card base I decided I wanted to add that same green to the top and bottom of my panel.  I sponged over my original antique linen with a green row of ink.

I then stamped the mason jar on acetate using Stazon ink.  I colored the backside of the jar with an alcohol marker to give it a hint of blue.

I cut out the mason jar.  I then stamped the flowers and stems a few times and colored them with distress markers and the same ink used on the background.  I cut them out and added a crackle glaze to the flowers.  The flowers got a smattering of glass beads for the center.

I stamped the lovely sentiment in coordinating ink on my background which decided where my flowers and jar were going to be placed.

Thanks for stopping by and please come join us in the challenge on the Frilly and Funkie blog!

Suzz