Hi! It is my turn to host the fun Frilly and Funkie Challenge! I chose the theme of
In the Kitchen for the challenge this time around.
Here is why I chose the challenge of "In the Kitchen":
This time of the year we find ourselves in the kitchen either preparing
food for family and friends or just gathering around the kitchen table
with family. Your challenge is to incorporate the kitchen somehow in
your project. You can use an object from the kitchen in creating your
project or you can use a sentiment or image that reflects the kitchen.
You decide how to represent being in your kitchen in your art.
I love using or re-using items from the kitchen and this had me thinking of salt, recipes, old cookbooks, foil, wax paper, spoons, forks, etc.
I decided to use some beautiful backgrounds I created awhile ago using salt. I love this technique!
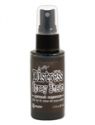
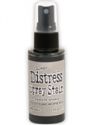
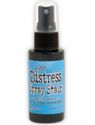
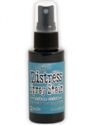
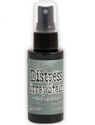
I started with some heavy duty mixed media cardstock. I laid it out on my desk and then I pulled out a variety of the Ranger Distress Stain Sprays.
I sprayed on a mix of blues, browns and greens. Create pools of color randomly on the surface. Next take your salt and liberally cover areas of the paper.
The salt will absorb the ink and create punches of color all over the paper. Now you have to be very patient and wait for it to dry. You can use your heat gun to expedite but be careful as you can scorch your paper. (Don't ask this impatient person how we found that out!)
Best to walk away and let this dry overnight. The next day you can use a plastic ruler to scrape off all the dried on salt from the paper.
After I scrapped off the excess I thought look at all that beautiful color in the salt..... So of course I took that salt and randomly scattered it over the surface of a new sheet of mixed media paper and re-activated the inks with spritzing it with water. That turned out like this:
 |
| (Clear Embossed) |
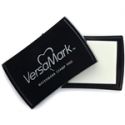
After the pieces dried completely they will soften in color and intensity. I wanted to bring back that color so I covered the surface with versamark and heate embossed with clear embossing powder.
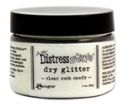
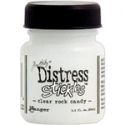
On another piece I covered it with clear rock candy glaze to see what it would look like:
 |
| Glaze (Rock Candy) |
I think the clear embossing powder makes it look like a glorious marble tile:
 |
| (Clear Embossed) |
And my final piece I cut out and embossed:
 |
| (Clear Embossed) |
I created a tag with the background created from the salt infused with color:
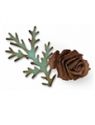
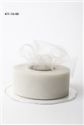
and to finish off my marbleized background I decided to create some roses using wax paper and aluminum baking cups.
After I created them I frosted them by dipping them face down into liquid glue and then dipping them into glitter.
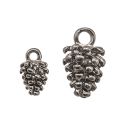
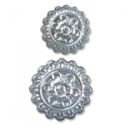
I repeated the process with the medallions cut from wax paper and the quote chips. I clear embossed the quote chips to give it a glaze over the shimmer.
 |
| Click to Enlarge |
I hope this inspires you to join in the challenge! The winner will earn the chance of a Guest Designer spot here at
Frilly and Funkie, and everyone who enters and follows the rules will go into the draw for the chance to win a $25 spending spree at
The Funkie Junkie Boutique.
And there are Top 3 Badges for three further outstanding entries,
chosen by the Design Team!
Thanks for stopping by!
Suzz