Showing posts with label Ranger Distress Inks. Show all posts

Wednesday, April 20, 2022

A Study in Contrasts

 Hello!  Today is a new challenge at The Funkie Junkie Boutique Challenge.  It is hosted by the talented Lisa and she is challenging us to be inspired by A Study in Contrasts! 

Her description: 

"The seasons are changing and the cold greys and browns of winter are giving way to the warm greens and colors of spring! For your challenge highlight contrasts in your projects.  It could be themes, colors, textures or forms.  We are looking forward to your creative interpretations and juxtapositions of things that are contrasting!" 

I have been recently reading the book The Book of Hope - A survival guide for Trying Times -  by Jane Goodall and Douglas Abrams.  In it they discuss hope and here is a direct quote from their conversation:  "There is a lot of darkness, but our actions create the light. (Jane Goodall)  "So it seems we can shift our perspective to see the light and also to work to create more of it.(Doug Abrams)"  This inspired me of how hope is a light in times of darkness.  

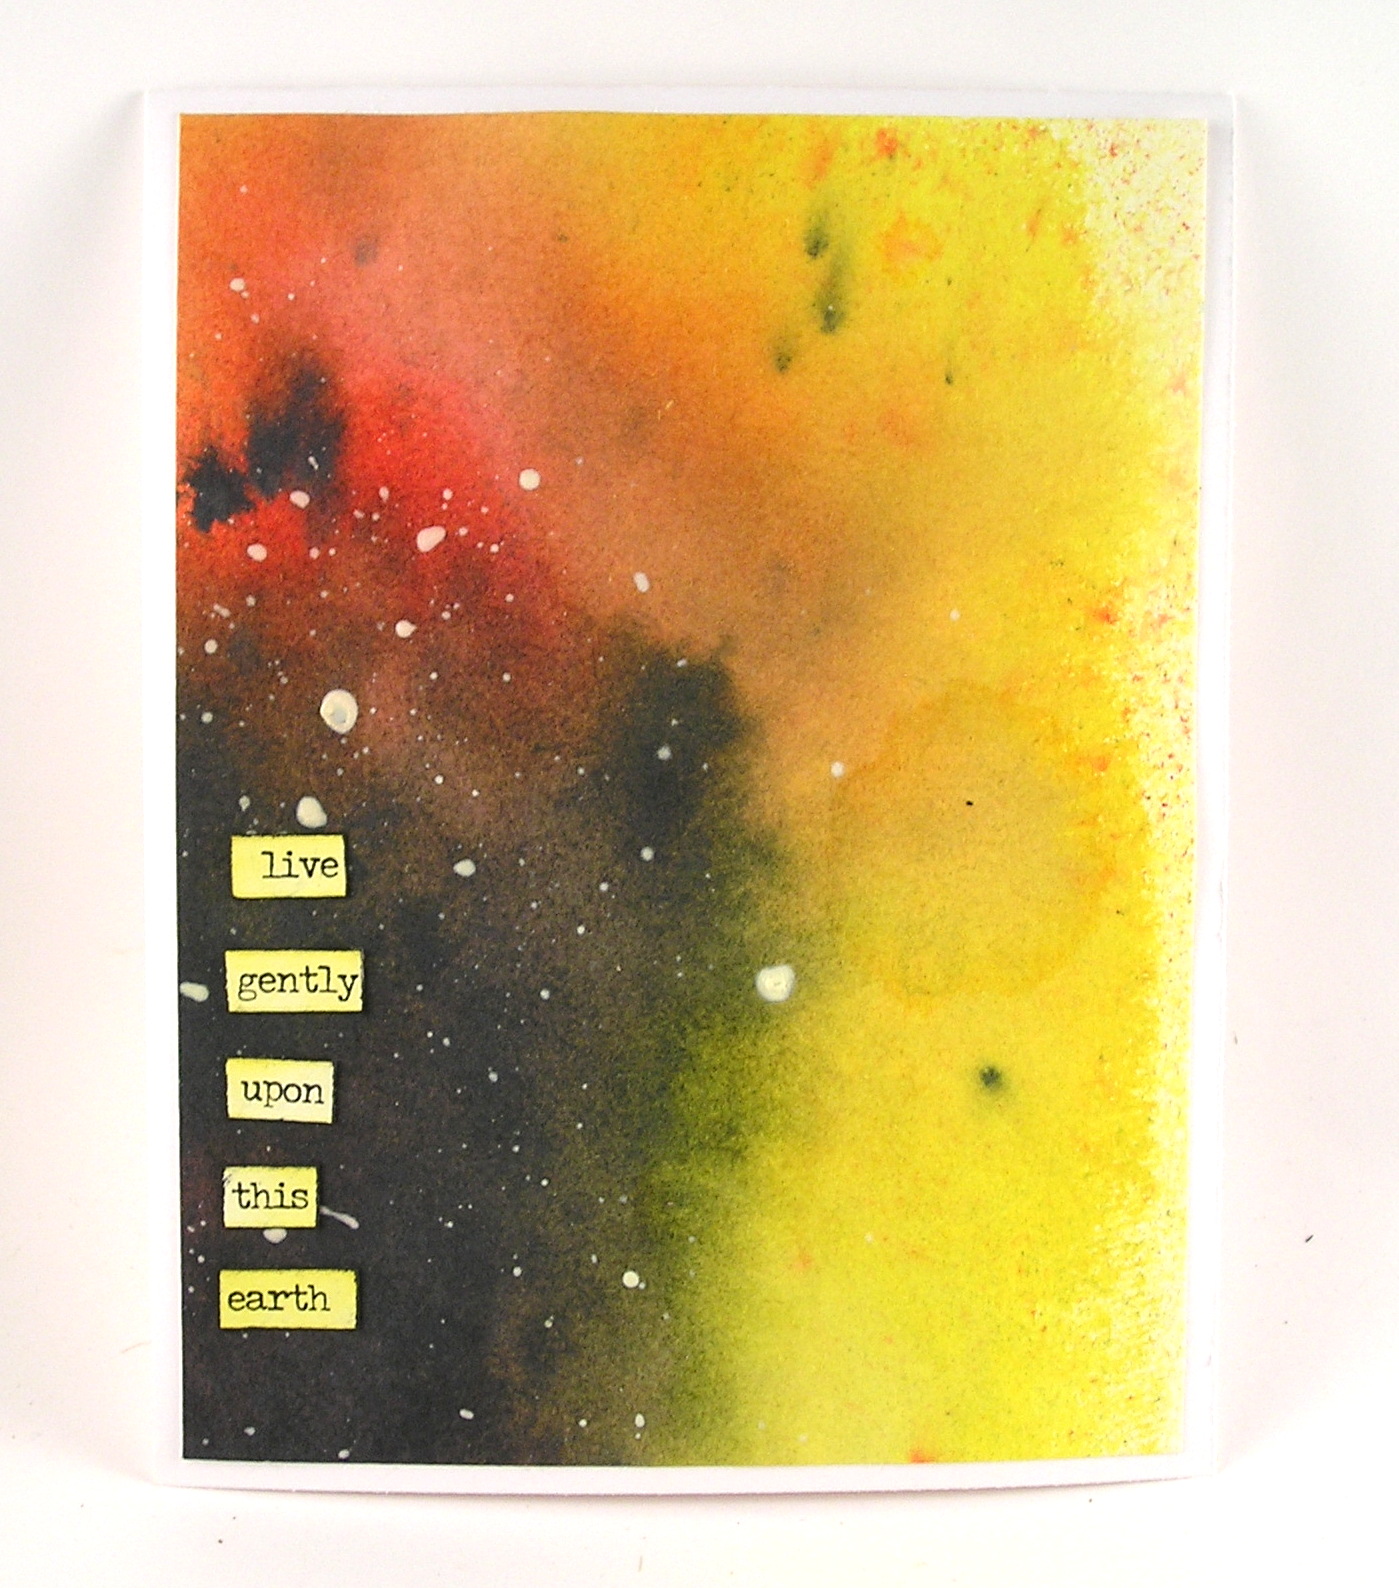
I used that idea to start with light and show how darkness can spread as well as light. 

Which started from this:


The power of the water added to the dark or light colors makes them spread exponentially.  

In the Wrinkle in Time - Madeleine L'Engle said “A book, too, can be a star, “explosive material, capable of stirring up fresh life endlessly,” a living fire to lighten the darkness, leading out into the expanding universe.”

I started with one large sheet of mixed media cardstock.  I sprayed a yellow background across the paper. 

Then I started adding red spray ink along with spritzing with water. 
After that started blending I brought the black spray ink in areas. I used additional water to force the dark to disperse and more yellow spray ink with water to push the colors.
Once I finished with my mix of dark and light inks I dried the layers and then added a splattering of white paint mixed with yellow inky spray.  I wanted to add light spots of hope into my dark areas.
I cut up my paper into sections to form three cards.  Then I decided to look for words of hope, inspiration, or of light to add to my cards. 
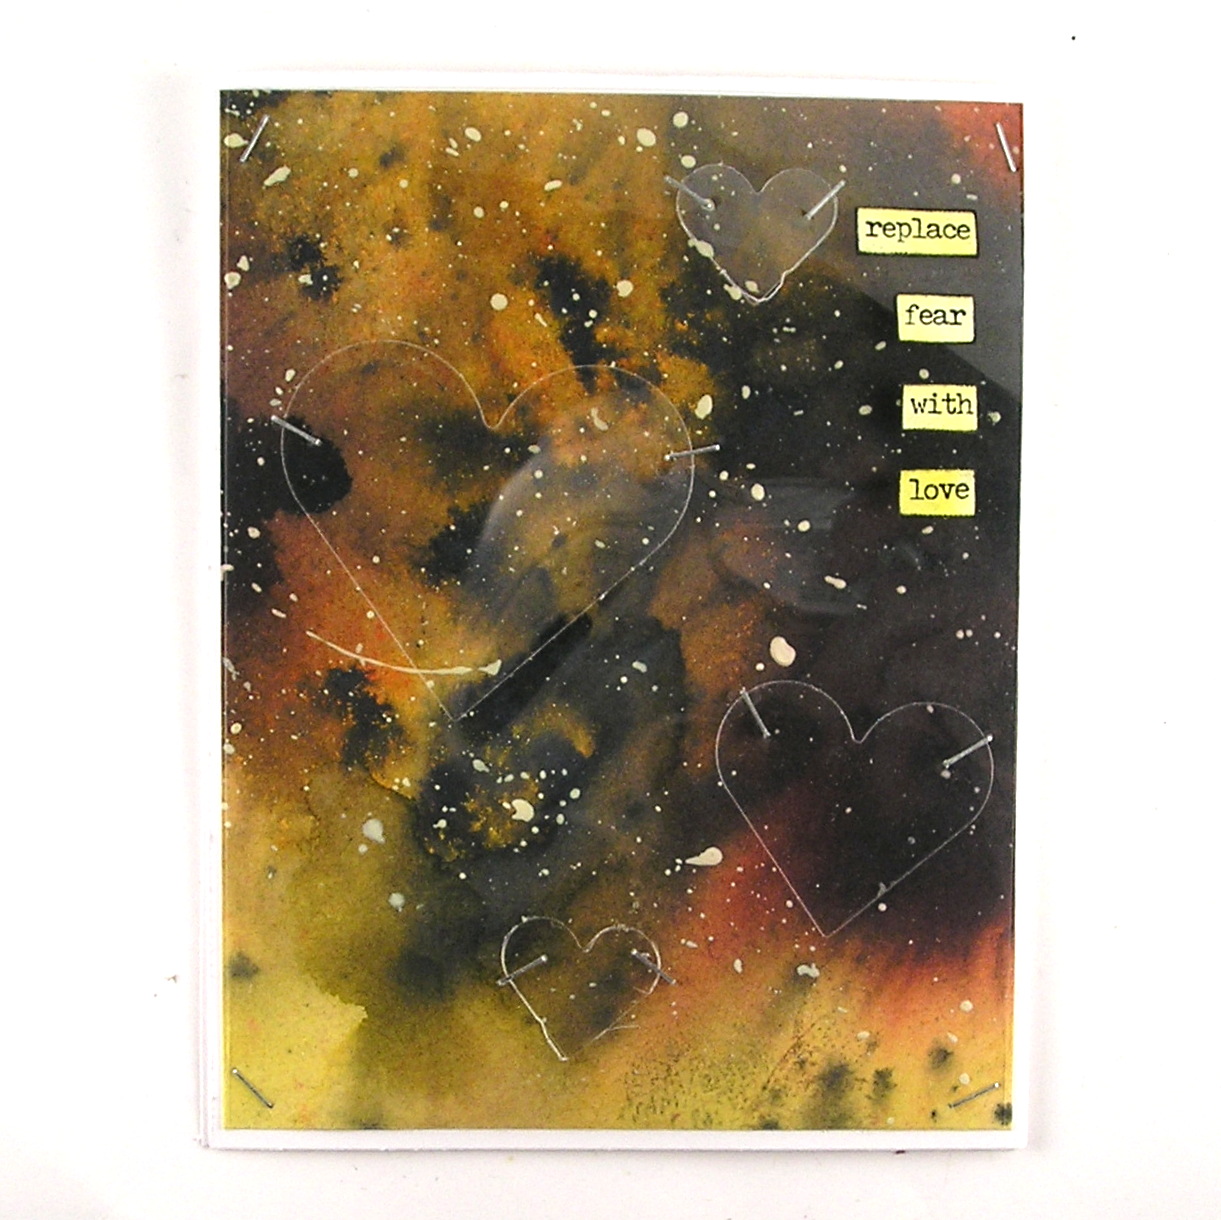
After playing with the phrases on the backgrounds, I decided to add a sheet of acetate over every front of the card to give a added sheen to the backgrounds.
That gave a highlight but I went one step further and cut some shapes out of the acetate to highlight the sentiments but not detract from the contrast of the background.
The hearts for love and the stars to represent our universe.


Please come share your contrasting art with us at The Funkie Junkie Boutique Challenge!  The overall winner will be offered the chance to be a Guest Designer at a future date at The Funkie Junkie Boutique Blog, and everyone who enters and follows the rules will go into the drawing for the chance to win a $25.00 spending spree at The Funkie Junkie Boutique. There are also Top 3 Badges for three additional outstanding entries, chosen by the Design Team.
Sending you light and hope. 

Suzz

Products:  


Wednesday, June 24, 2020

Cattywampus

Hi!  Welcome back for another fun challenge from the Funkie Junkie Boutique Team!  The talented Sara Emily is hosting and she gave us a wonky challenge this week called Cattwampus:

"Cattywampus is a funny sounding southern slag term I hear a lot around the house. According to the On Line Slang Dictionary it has several meanings including "appearing off center, diagonal from, crooked or not level, appearing askew, tilted or lopsided". Taking inspiration from any one of these definitions, include something cattywampus in your vintage or shabby chic project. Be sure to tell us what that cattywampus thing is; we might miss it!'"

I knew I wanted to play with diagonal  on a tag and here is what I ended up with:


I started with drawing a line on a diagonal and  using that as my guidance.  I then stenciled the numbers using the crackle paste. I stenciled the left side as you would expect and then flipped the stencil upside down and stenciled the numbers the right side.

After everything dried I spritzed with antique linen and milled lavender.

I repeated the process on the butterflies to put them on the angle in the split colors and stenciling.

I then added a few wildflowers in alternating colors and the sentiment.

Here are two other tags with backgrounds using the diagonal approach:


These used two opposing stencils and stronger colors for more of a contrast.


While making my first tag I was picking up excess ink and happen to get a shadow print from the wildflowers on the card.  I decided to  use that to make a quick card.  I added a hint of the butterflies by sponging over the die cuts. 


Thanks for stopping by!  Come share your Cattywampus inpsired projects with us!  The winner will earn a chance to be a Guest Designer at a future date at The Funkie Junkie Boutique Challenge blog, and everyone who enters and follows the rules will go into the draw for the chance to win a $25 spending spree at The Funkie Junkie Boutique. There are also Top 3 Badges for three additional outstanding entries, chosen by the Design Team.

Thanks for stopping by!

Suzz

Products:
Stampers Anonymous - Tiny Text
Stampers Anonymous Layering Stencil - Digits
Stampers Anonymous Layering Stencil - Dashes
Stampers Anonymous Layering Stencil - stripes
Ranger Distress Oxide Ink - Antique Linen
Ranger Distress Stain Spray - Antique Linen, Milled Lavender, Mowed Lawn, Mustard Seed, Gathered Twigs, Salty Ocean
Ranger Archival Ink - Pebble Beach
Sizzix - Wildflowers Die (I couldn't find the one I used but the new one has a similar shape)
Sizzix - Detailed Butterflies Mini 
Idea-Ology - Antiquated Gems 
Idea-Ology Baubles
Ranger Texture Paste Crackle

Wednesday, June 10, 2020

Positively Pensive


Today is Ballpoint Pen day!  I am hosting the challenge this time around at The Funkie Junkie Boutique and it is called: "Positively Pensive" in celebration of Ballpoint Pen Day!

Here is how I described the challenge:

The challenge is to thoughtfully use a ballpoint pen on your project.  You can doodle, journal, sketch or trace an outline using any color ballpoint pen on your art.  Create a vintage or shabby chic project with some form of ink from a ballpoint pen and if it isn't obvious how it was used make sure to tell us in your post!


Because I knew I wanted to play around and try some different ideas I decided to create Index Card Art.  It led to so many fun backgrounds I ended up with a variety of ideas, and pieces for future art!


I first created a variety of backgrounds: 
 I used the new dylusions paint on some of my background. I couldn't find my gel plate so I used my craft mat and acrylic blocks to try for a mix of colors.  I then used various tops to trace circles with my black ball point pen.

Then I used a stencil to overlay a pretty yellow on hot pink!
 After it dried I traced the outline with the black pen.  I love the effect it reminded me of a hawaiin shirt!
 I used a lot of number stencil backgrounds with distress oxides to vary the intensity and color of the numbers over the index card.  I thought it would be fun to parallel lines with the header line on the index card.

Then I thought what if I traced the outlines of the stencil onto the card directly?  So I traced the pattern and then sponged in the colors and embossed it with clear embossing powder.  That way I could put on another color and not worry about the overlay of the ink. 
For this one I just mixed together some stamping with a little doodling. 


 Then I thought why not draw something...


 I drew a few dragonflies and inked them up and even frosted one of them with a shimmery embossing powder.  The butterfly was die cut and painted.  I wrote words about the butterfly and summer.

I had played in an interpretative paint challenge before and decided to try it again with one of my inky backgrounds.

A few more backgrounds with a stencil and handwritten notes. 

 and finally a few more index cards turned into small cards:

The professor peeking out of a lined card: 

 Well I hope this has you wanting to get out your ballpoint ink pen and play along! The winner will earn a chance to be a Guest Designer at a future date at The Funkie Junkie Boutique Challenge blog, and everyone who enters and follows the rules will go into the draw for the chance to win a $25 spending spree at The Funkie Junkie Boutique. There are also Top 3 Badges for three additional outstanding entries, chosen by the Design Team.

Thanks for stopping by...

Suzz

Products:
Stampers Anonymous Tiny Text 
Stampers Anonymous - Flower Shop
Stampers Anonymous - Faded Type
Stampers Anonymous - Glitch 1 
Stampers Anonymous - The Professor 2
Stampers Anonymous Layering Stencil Tim Holtz Digits
Stampers Anonymous Layering Stencil #47
Stampers Anonymous Stencil Tim Holtz Rosette
Stampers Anonymous Layering Stencil Latticework
Ranger Distress Oxide - Iced Spruce,  Broken China 
Ranger Archival Ink - Saffron, Jet Black,
Ranger Distress Oxide Sprays - Picked Raspberry
Ranger Distress Sprays - Wild Honey, Antique Linen, Dusty Concord, Milled Lavender,  Tattered Rose, Mustard Seed
Dylusions Paints - Blue Hawaiin, Bubblegum Pink, Vanilla Custard, Balmy Night
Sizzix Die Cut - Wildflower
Idea-Ology - Antiqued Gems
Prima Arts Basics Heavy White Gesso 

Wednesday, December 12, 2018

In the Kitchen

Hi!  It is my turn to host the fun Frilly and Funkie Challenge!  I chose the theme of In the Kitchen for the challenge this time around.

Here is why I chose the challenge of "In the Kitchen":

This time of the year we find ourselves in the kitchen either preparing food for family and friends or just gathering around the kitchen table with family. Your challenge is to incorporate the kitchen somehow in your project. You can use an object from the kitchen in creating your project or you can use a sentiment or image that reflects the kitchen. You decide how to represent being in your kitchen in your art.

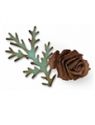
Ranger Distress Stain Sprays Sizzix Tim Holtz Tattered Pine Cone For the Funkie Junkie Boutique
I love using or re-using items from the kitchen and this had me thinking of salt, recipes, old cookbooks, foil, wax paper, spoons, forks, etc.


I decided to use some beautiful backgrounds I created awhile ago using salt.  I love this technique!

I started with some heavy duty mixed media cardstock.  I laid it out on my desk and then I pulled out a variety of the Ranger Distress Stain Sprays.


Ranger Distress Stain Sprays For the Funkie Junkie Boutique

I sprayed on a mix of blues, browns and greens.  Create pools of color randomly on the surface.  Next take your salt and liberally cover areas of the paper.

The salt will absorb the ink and create punches of color all over the paper.  Now you have to be very patient and wait for it to dry.  You can use your heat gun to expedite but be careful as you can scorch your paper. (Don't ask this impatient person how we found that out!)

Best to walk away and let this dry overnight.   The next day you can use a plastic ruler to scrape off all the dried on salt from the paper.

Ranger Distress Stain Sprays For the Funkie Junkie Boutique
After I scrapped off the excess I thought look at all that beautiful color in the salt..... So of course I took that salt and randomly scattered it over the surface of a new sheet of mixed media paper and re-activated the inks with spritzing it with water.  That turned out like this:

Ranger Distress Stain Sprays Versamark For the Funkie Junkie Boutique
(Clear Embossed)

After the pieces dried completely they will soften in color and intensity.  I wanted to bring back that color so I covered the surface with versamark and heate embossed with clear embossing powder.

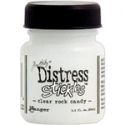
On another piece I covered it with clear rock candy glaze to see what it would look like:


Ranger Distress Stain Sprays  For the Funkie Junkie Boutique
Glaze (Rock Candy)


I think the clear embossing powder makes it look like a glorious marble tile:
Ranger Distress Stain Sprays  For the Funkie Junkie Boutique
(Clear Embossed)
And my final piece I cut out and embossed:
Ranger Distress Stain Sprays  For the Funkie Junkie Boutique
(Clear Embossed)

I created a tag with the background created from the salt infused with color:
Ranger Distress Stain Sprays Sizzix Winter Wonderland Tim Holtz Clippings  For the Funkie Junkie Boutique

and to finish off my marbleized background I decided to create some roses using wax paper and aluminum baking cups. 
Sizzix Tim Holtz Tattered Pine Cone Wax Paper For the Funkie Junkie Boutique

Sizzix Tim Holtz Tattered Pine Cone Wax Paper For the Funkie Junkie Boutique

After I created them I frosted them by dipping them face down into liquid glue and then dipping them into glitter.

I repeated the process with the medallions cut from wax paper and the quote chips.  I clear embossed the quote chips to give it a glaze over the shimmer.  

Sizzix Tim Holtz Tattered Pine Cone Wax Paper Medallion Quote Chips For the Funkie Junkie Boutique
Click to Enlarge

I hope this inspires you to join in the challenge!  The winner will earn the chance of a Guest Designer spot here at Frilly and Funkie, and everyone who enters and follows the rules will go into the draw for the chance to win a $25 spending spree at The Funkie Junkie Boutique. And there are Top 3 Badges for three further outstanding entries, chosen by the Design Team!

Thanks for stopping by!

Suzz