Wednesday, September 8, 2010

Moxie Fab World - Tuesday Trigger - Lipsylicious

When I saw the Moxie Fab World - Tuesday Trigger from Cath this week Lipsylicious:

Which was this picture


Lip Glamour from Oprah.com.  I love the rich colors and the rows of lipsticks.   Now in parallel with that I have also just received a RAK from Savannah. Go check out her fun blog HERE.  Love what she creates as well as being a super sweet friend.  She sent me a wonderful Ippity set called A Little Buggy along with some other fun items. Thanks Sav!

Well the Buggy set along with those lipsticks got me to thinking... :)  Here is what it inspired:

I used the flower (I think?)  from the set and decided to do lollipops in the warm tones of the lipsticks. I stamped with a rusty orange, deep red and  plum edged with brown. I then cut out all my flower friends, glossed them up and added glitter! (Thanks Cath and Sav I will be wearing that glitter today all day! :)

Guess what song I have been singing all morning?  "We represent the Lollipop kids, the Lollipop kids, the Lollipop kids" from The Wizard of Oz.

I will be back tonight to share the next PDCC colors. (Which by the way, I was really close to using this weeks colors on this card and didn't even realize it until I was finished)

Suzz

Tuesday, September 7, 2010

Mojo Monday Challenge - Week 155

The easiest card to make....

Beautiful sketch provided by Julee Tilman at Mojo Monday Challenge:


Beautiful papers from 7Gypsies:


and beautiful stamps by Hero Arts.

Edited: The trim around my circle is made using the Fleur De Lis from Spellbinders. I cut out enough of the individual pieces to frame the circle. :)


Thanks for stopping by...

Suzz

Monday, September 6, 2010

Happy Labor Day!

Hope you are a having a wonderful Monday. It is Labor Day and we are sitting around doing a little house chores and lazing around. I have been busy inking it up. Here is something I was playing with:


Everything on the card is Tattered Angels. The Owl is from their stamps and the flourish in the moon is a resist from their flourish.

I had so much fun coloring the beautiful wings on the owl!

Thanks for stopping by..

Suzz

Friday, September 3, 2010

Card Patterns Sketch #79

My anniversary with my DH is on Tuesday. We will be married 19 years this year.  I had this idea to do a card for our anniversary based on a school theme. I thought it would be fun to create it like it was the front of a book cover or paper from school where you doodled about the guy you were crushing on.

When we started dating I decided to finish off collage and go out and get a job with a big company. My boyfriend/future hubby was part of the reason why I pushed myself to do that and he helped fund a little of that education. :)

So this card is for my DH.  I used the sketch from the Card Patterns Challenge #79.

Here is the sketch:


and here is my anniversary card:

The silver is all from gum wrappers. Too funny right?  I wanted to doodle more on the card like you would on your book covers and I tried to write our initials on the main heart. Decided against it after a few failed attempts. But I think it is still a fun card and he will enjoy it.

Hope you have fun plans for the weekend. I am going to try to get in some more crafty time.

Suzz

Starfish Project

Well I was very excited to have my first official guest designer post over on the Artistic Outpost blog today!  I decided to pull out my Beyond the Sea set and create a starfish card. 

I started with creating a starfish shape.  After a few sketches I decided to trace a circle from the bottom of my glass onto white cardstock. I free-handed a leg of the starfish. I used the starfish stamp and a real starfish (dried out) from the kids bathroom as my inspiration. After I had created one leg, I cut it out and used it to trace the outline on the circle five times. That became my template.

Here is the starfish:


Recipe:
  1. Cut out starfish shape.
  2. Stamp Image of the couple using brown pigment ink. Color using watercolor and distress edges with brown dye ink.
  3. Stamp multiple shells and sea creatures using brown pigment ink. Sponge with Scattered Straw Dye Ink. Sponge edges with brown dye ink.
  4. Stamp music using brown pigment ink repeatedly across starfish.
  5. Sponge gold dye ink across entire starfish.
  6. Sponge edges of starfish with brown dye ink. Sponge using sea sponge brown dye ink to add a texture.
  7. Add touches of light blue to starfish by coloring light blue and blending with waterbrush.
  8. Versamark all images and starfish and heat emboss using clear embossing powder. Repeat if needed to get smooth surface.
  9. Tie twine around surface of starfish.
  10. Layer couple in boat and other images onto starfish using pop dots and glue dots.
  11. Accent clams with light blue pearls.
Now after that was done..... I decided I wanted a backdrop for my starfish and I created this:

I love the effect of the tool as it looks like water rippling and added a few pearls for the bubbles. I didn't have a frame so I will need to get one to put this in so I can hang it up. It goes with the decor in the den perfectly.

I hope you enjoyed the little starfish!

Thanks for stopping by.. Have a wonderful weekend!

Suzz

Wednesday, September 1, 2010

Play Date Cafe Challenge #45

It's Julie's turn this week to select the colors at the PDCC this week.  Look at the picture she selected this time, it looks like a barrel of fun. (Sorry I couldn't resist) Now I am thinking of the song "Roll out the Barrel" and of the Polka. :)


Love the colors. I know my red photographed a lot lighter than it is in real life. :)

I created two different cards to share. The first one is a mini card. It measures around 4" x 4". I was playing with this lovely background stamp from Hero Arts and liked how this little card came out. It will be a perfect card to house a gift card for one of the nieces. :)
 
The second card was created just for fun with a hen and her little chicks.


The stamps are from a variety of different companies and a few that I had never used. So I was very happy to pull them out and ink them up!

We have a fab guest designer this week... Sankari Wegman you can find her blog here: Sankari's Sunshine Corner.
As usual our Design Team has some great ideas that they have brewed up too!  We are also welcoming Andrea Ewen to our team. Welcome Andrea!

Play Date Cafe design team


Hope you get a chance to join in the fun!

Suzz

WMSC #12

I created a card for the Waltzing Mouse Sketch Challenge # 12

Here is the lovely sketch:
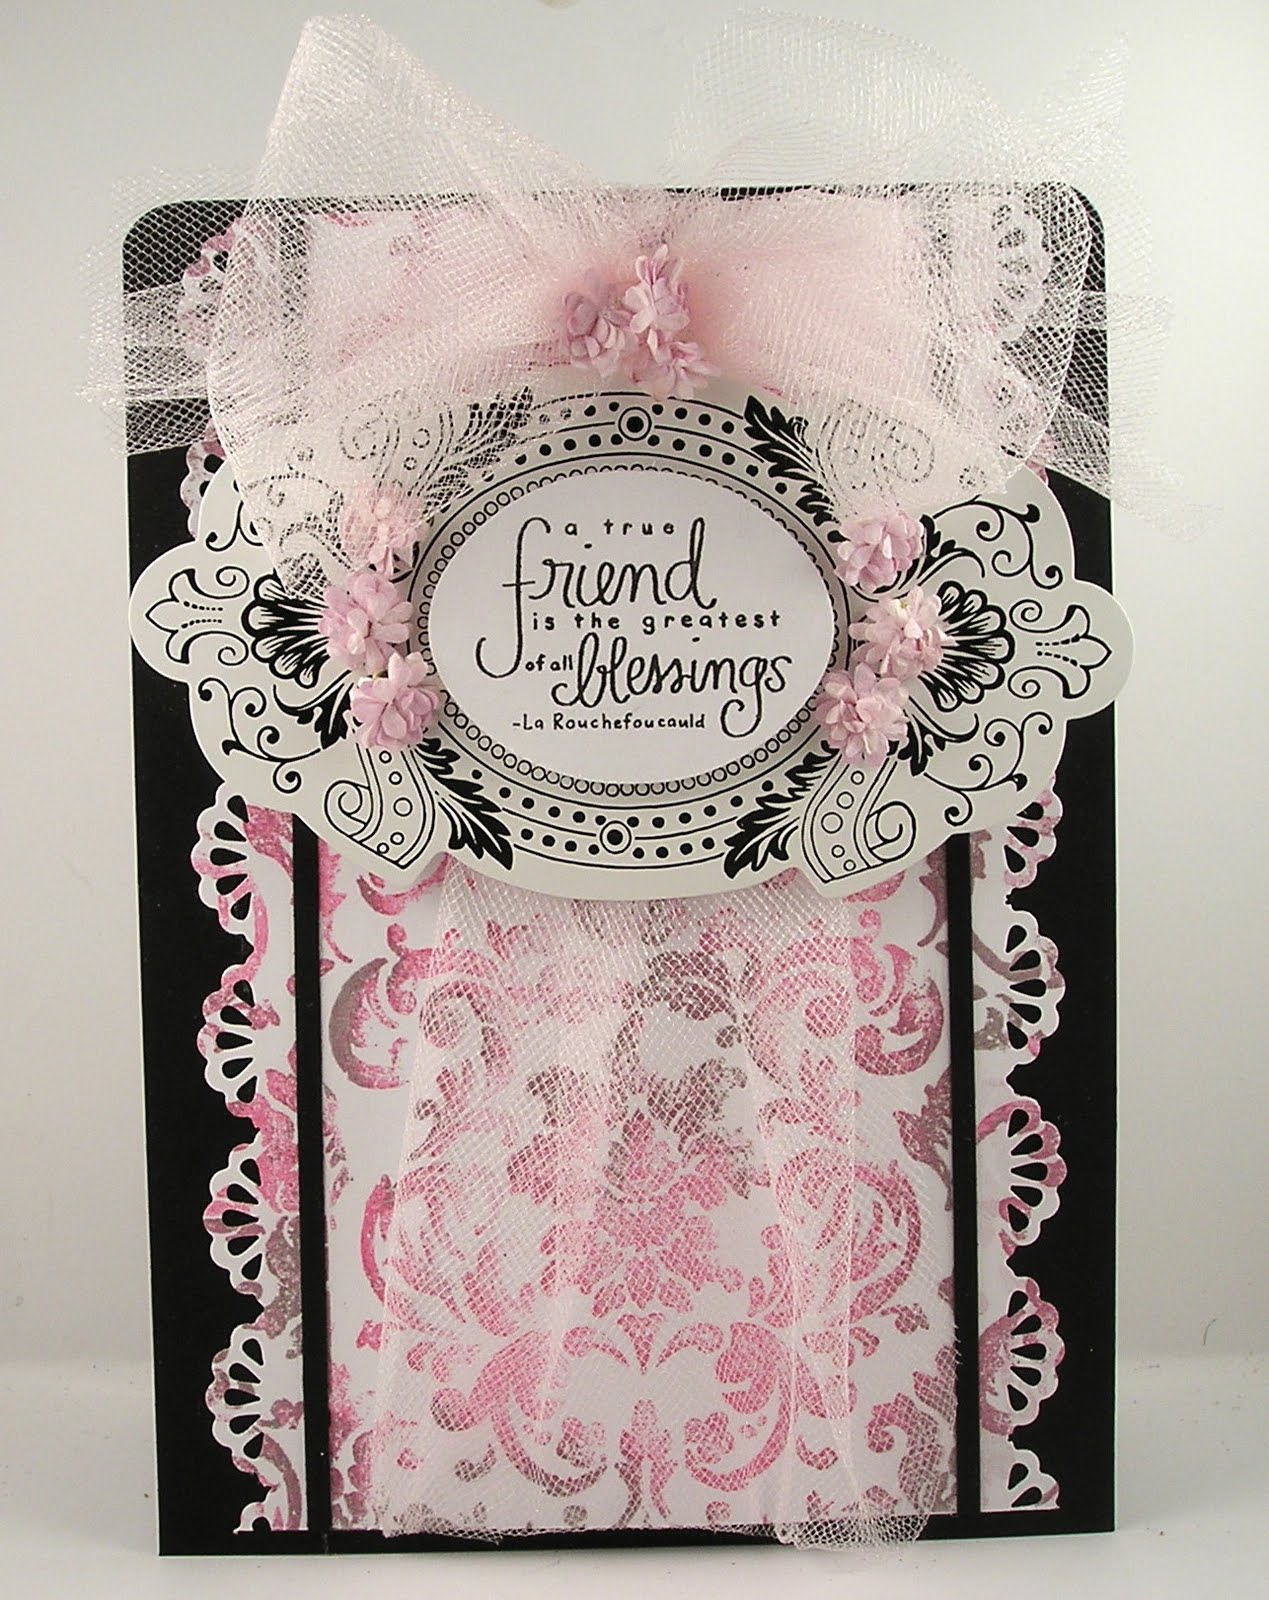
Here is my take on the challenge.


This card was so easy and simple. :)  The beautiful flourish and scroll was part of package and was perfect for the sketch. The background is stamped using Memento Rose Bud mixed with Versafine Smokey Grey. The Sentiment is stamped with Versafine Black Onyx and punched out using an oval punch.

Thanks for stopping by...

Later tonight I will be posting up the next PDCC.

See ya then!

Suzz