Friday, January 6, 2023

Favorite Things

At the Funkie Junkie Inspiration Ave we are highlighting our 2022 favorite things from Tim Holtz.  I picked a few of my favorites to highlight in the post today. 

 
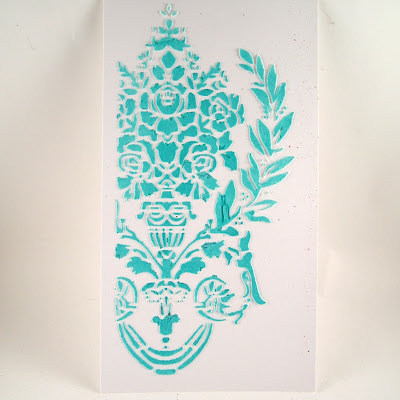
When I saw the Stampers Anonymous Tim Holtz Layering Stencil Crest I fell in love.  The image is so lovely and elegant.  I decided to pull that out along with the Ranger Distress Mica Seasonal Stain Sprays another of my favorite things from 2022.   

I spent some time just playing with the stencil and various mediums.
 
 
Some of the backgrounds involved just spraying the mica stain sprays over the stencil on white cardstock.

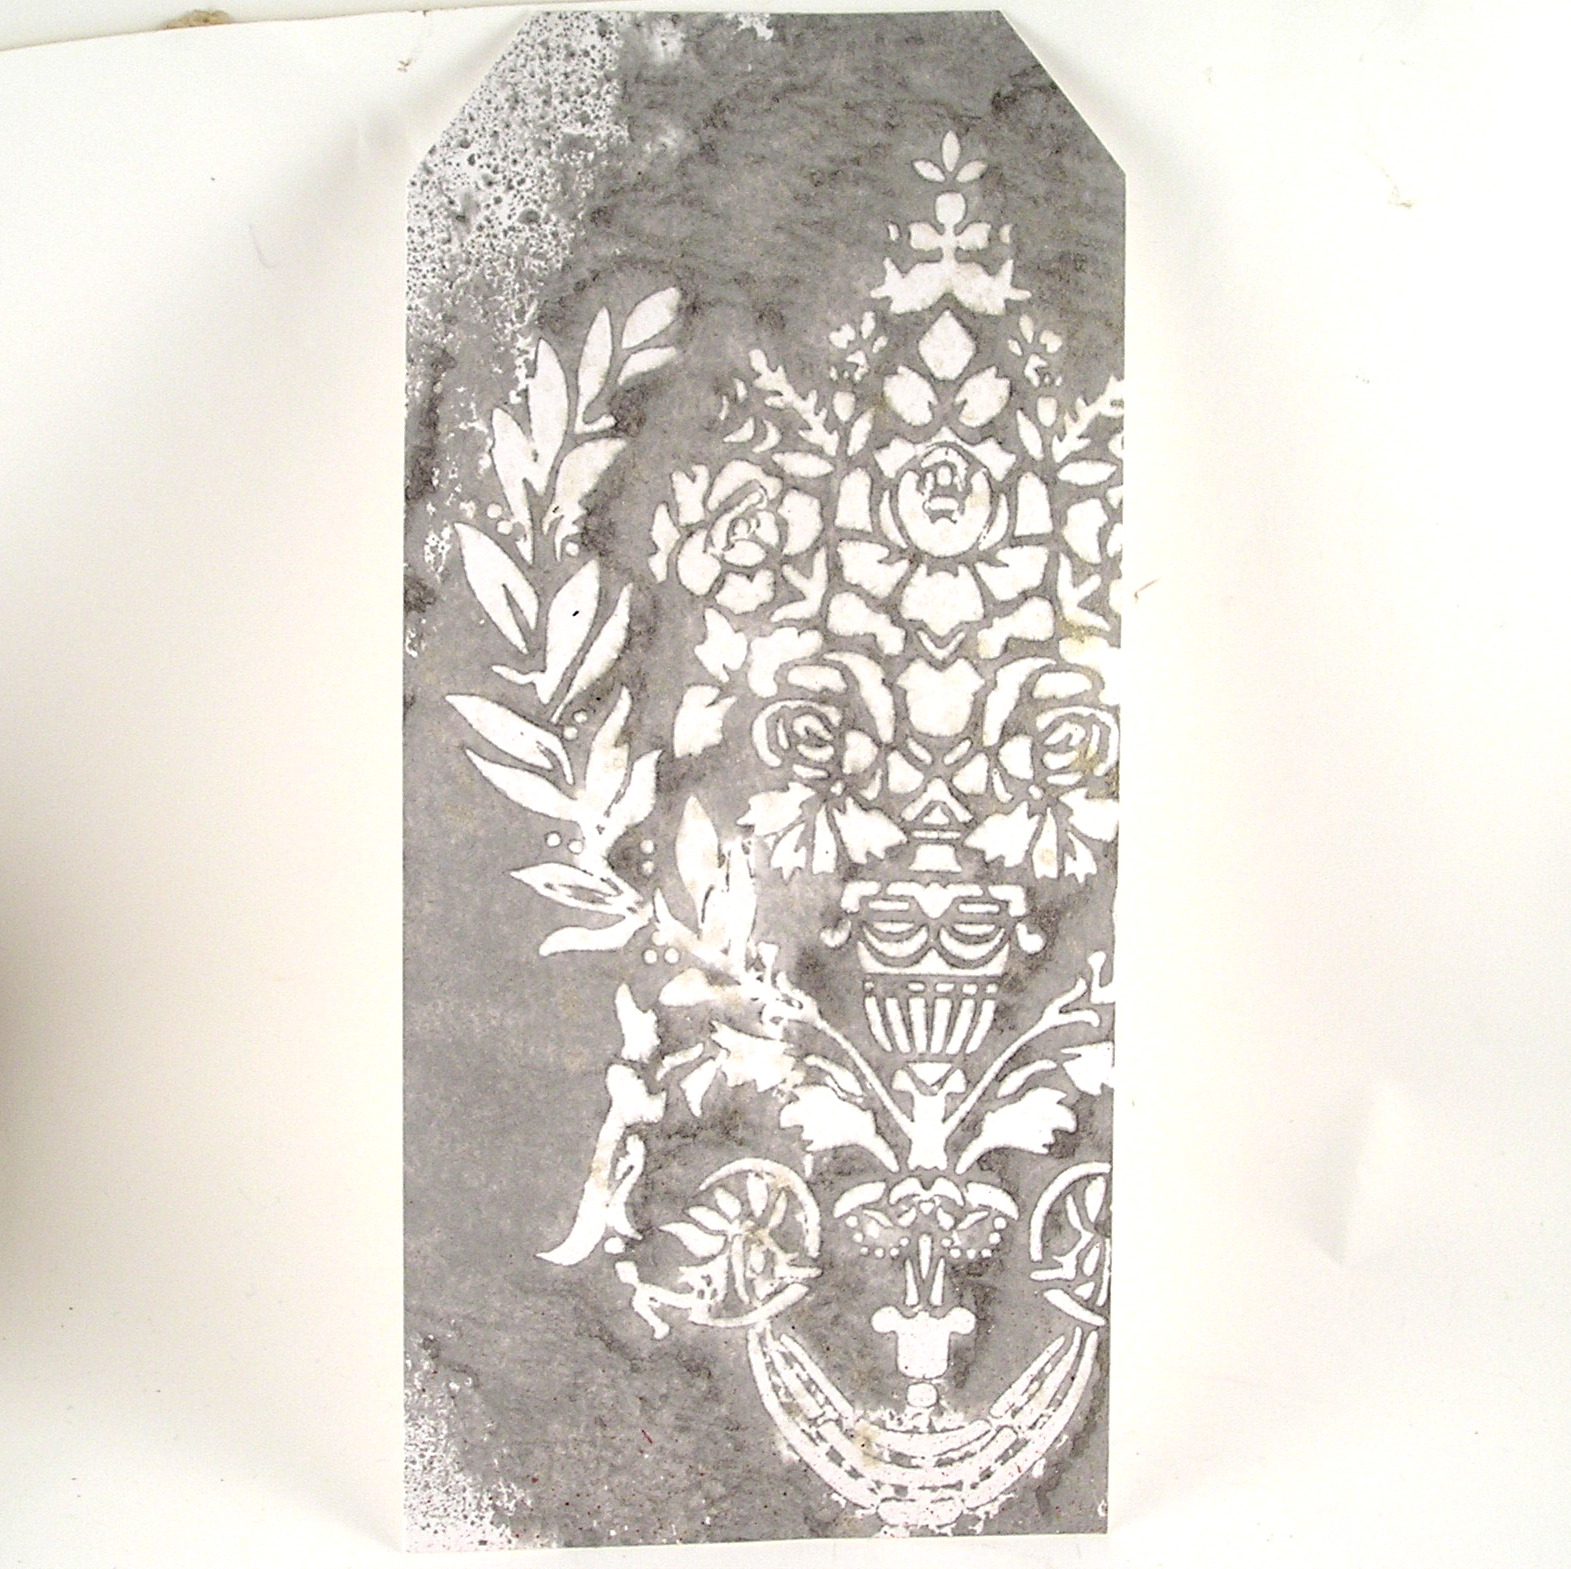
Using the inky stencil itself to pick up the reverse image with the mica stain spray remnants.
The opaque crackle paste on the black cardstock made quite an impression. :) 

While the embossing paste is still wet, sprinkle the rock candy distress effect and spray it with the gold mica stain spray.   The effect was beautiful! 

A paper bag left over from shopping was used as the next backdrop to the embossing paste and mix of mica stain sprays.

The embossing paste was spread over the layering stencil and let it dry.  After it dried spritz it with multiple layers of pink, gold, and water.  The water helps blend the colors together and allows them to blend together.  At the end it was splattered with white watered down paint.  

To get the next image with depth the stencil was place on white cardstock and  distress opaque embossing paste was applied.  Without removing the stencil blue mica stain spray was spritzed over. 
After all the images were dry they were all mounted on various backgrounds.

Sometimes deciding what should be used as the frame is like finding the perfect color of pants to go with a favorite shirt. 


Lovely gold cardstock was used to frame the pink and gold combinations.
 

Then it was time to use a few of the backgrounds in a few different projects.  I started with the black and gold because the effect was so striking.
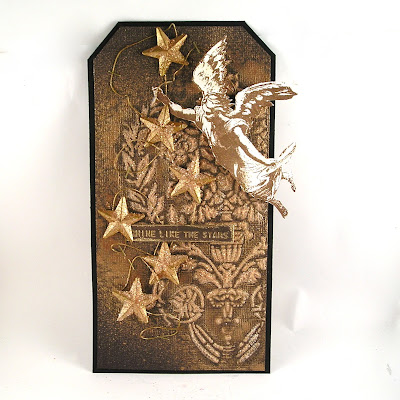
The angel seemed like a beautiful accent for the rich black and gold tag.  I had a string of rusty stars on wire in my stash. I pulled them out and painted them with gold paint.  I then coated them with the rock candy and sprayed them with the same gold mica spray.  I attached them with the tiny attacher but painted the staples gold before I put them in the stapler.   I found a tiny text sentiment (another of my all time favorite stamp sets)  and stamped it to coordinate.  

Next I took the beautiful reverse image in silver and created a wedding inspired tag.
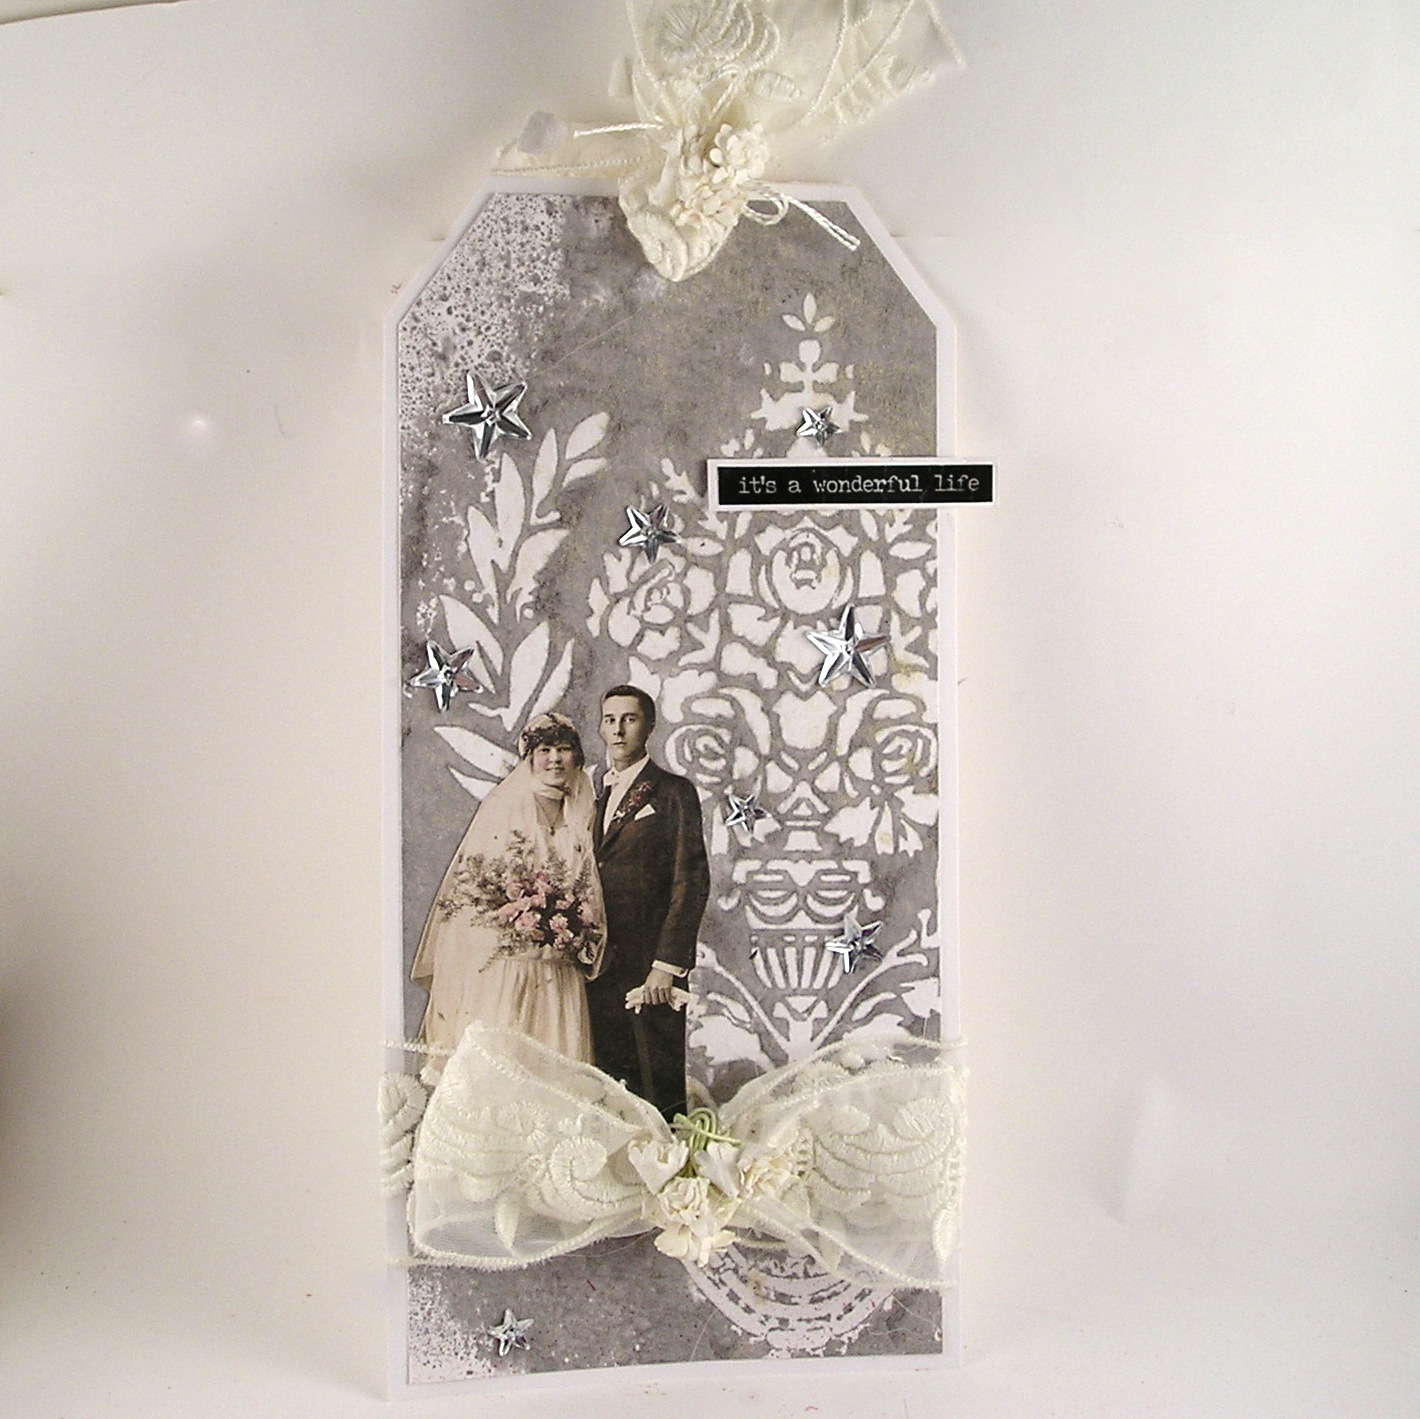

I added a layer of sparkle with the shimmery stars splattered around the background.  Some vintage lace created a beautiful bow that emulated the lovely crest pattern.  

I hoped you have enjoyed the inspiration! 

Suzz

Products: 

Friday, December 16, 2022

Envelopes of Fun!

 Hi! Time for some holiday fun!  I was inspired by the Sizzix Chapter 3 Thinlits Tim Holtz Postale dies! I love the idea of mini envelopes!  


I pulled out a mix of papers, stamps, and embellishments along with my dies to cut out the envelopes and embellish them. 

I cut out a series of envelope shapes from white cardstock and then played around with stamping different images.

For my first mini envelope, I created a woodland scene using a few different stamps with brown and green archival ink.  I cut out a mask of the deer to allow me to place a tree in the background.  


Next I used the papers from the worn wallpaper to cut the envelope from and then embellished it with stickers from Christmas sticker book.   

A little embellishment with some paper flowers behind the sticker flower along with some white gel highlights to make flower the focal point. 

The papers were so pretty I decided to create a second envelope from another pattern. 

Only this time I lined the inside of the envelope! 

Then I went back to stamping and used the festive collage stamps to drape the boughs of holly across the front of the envelope.

The little sprigs of holly along with the sentiment filled out the rest of the envelope.  The berries were all stamped twice and pop dotted to raise them up and add a little texture.  Then a sprinkle of glitter was added all over the branches and berries.   

The next envelope used some pretty mica sprays over a stenciled background. 


The envelope was laid flat and crackle embossing paste was  used with the layering stencil to add the festive words.

After the embossed background had dried the spray was misted over the front and then a different mica spray was spritzed over the back. I am going to add a lovely snowflake to the front when I get a few minutes! 

Next up is jolly St. Nick!

He was stamped on the white envelope while it was open and then colored with a hint of watercolor.  He has a little shimmer on his fur to highlight his lovely hat!  


Now I have a set of mini envelopes ready to put a special message and attach to a gift!


Thanks for stopping by!

Suzz

Products: 

Friday, December 9, 2022

Festive Collage


 Hi!  I am sharing some inspiration for The Funkie Junkie Boutique Inspiration Avenue!  We are focusing on Tim Holtz Stampers Anonymous stamps.  I love stamps and they always inspire me!  I used the Festive Collage stamps and played around with them using a variety of inks and ideas. 

This actually was my last card created and I loved how it turned out.  I started with stamping a background using a lovely green ink and various stamps at different angles.  I added a touch of inky distressing around the edges of the card and some splotchy ink spots. 

I then stamped Mr. St. Nick and colored him to put on the front.  I needed a little background to show off his fine attire so I stamped a tag using a lovely mix of gold and brown inks. 

The star was a piece of white cardstock that a star had been cut out from.  I just used my paper cutter to cut around the star shape and created a star frame.  The star frame got a coat of shimmery gold and brown dye ink.  I finished with a fun little sentiment and some embellishments. 

Next up is a cute little treat bag.  I purchased these muslin bags at the craft store.

I knew stamping directly onto the fabric would not give me the best effect.  I decided to stamp on tissue paper and then apply the tissue paper to the bag.


I stamped on the tissue paper multiple times.  It is really important to use an archival ink to get an image that won't be lost when applying the medium to adhere it to the fabric.  Also too much ink and too much pressing on the tissue paper will allow it to bleed and lose the sharpness of the image.  This was a rejected image because it bled a little too much on the leaves. 

Next I applied the decoupage medium to adhere it to the fabric.  I like to use a decoupage medium and find that if I put it on the surface first and then lay the tissue paper onto the wet surface and then apply another coat over the tissue paper I get the best results.  Also make sure you go over the edges with the medium. 

I also made sure to put a non stick surface inside my bag to keep the bag from sticking to itself. :) It made a cute little gift bag and I can stamp coordinating tissue paper to put inside with the gift! 

Next I decided to pull out my white ink and try it on a few different surfaces.

First I stamped on the kraft cardstock.  I used watercolor pencils to add a hint of color to the image. I then sponged the entire surface with versamark watermark ink.  I then embossed with clear embossing powder.  It added a lovely depth to the color of the cardstock and highlighted the coloring and the image. 

The next card was stamped on kraft as well but I used a neutral color and highlighted and shadowed with coloring pencils and white gel pen.

The image was stamped with a brown archival ink.  I then added color with watercolor pencils and a waterbrush.  I finished with a white gel pen to make areas pop on the card. 

After the soft effect of the white ink on the kraft card I decided to try to really pop the ink on a black background.

The image was stamped with white ink on a black background.  Then colored using the watercolor pencils.  A very simple effect but very eye catching!

Finally my favorite way which is to just stamp the beautiful image using a neutral color and then color the image with watercolor pencils. 


I stamped with a soft brown ink and then colored it with watercolor pencils and a brush.  I left it plain to have the image shine. 

I hope this has you inspired to try out the festive collage stamps!


Suzz

Products: 

Friday, November 25, 2022

Shimmer & Shine

Hi!  The team at The Funkie Junkie Inspiration Ave is inspiring us this time around with the Christmas Tim Holtz Idea-Ology!  This is where my inspiration led me!


 There was so much beautiful shimmer and shine between the deco papers, droplets, and bells!  I decided to use the beautiful droplets to create a Christmas wreath.

I used a circle die cut to trace a circle in the center of the card and then I applied tape in the circle.  I then pulled out the color combination of droplets I wanted to use in various sizes. (light blue, silver, white).  

I placed the largest droplet size in one color and place them equally spaced around the circle.    I repeated the process with the next color until all the large sized droplets were placed.  I then repeated the process with the next size down.  I ended up having to shift some of them at the end with the smallest ones. 

To finish off the card I stamped a sentiment in gray ink and sprayed a shimmery ribbon with mica stain spray to blend with the colors of the wreath.

Next I started to play with the deco sheets.  I wanted to cut some snowflakes and stars from the shimmery paper.


I used some parchment paper and a metal shim to get a clean cut.  The thinlets required the extra pressure to help keep the edges cut with all the details.  I also ran them back and forth a few times to get the best cut. 

I used two different sized stars laid together on the cutting board to get my star outline.  I then cut a piece of deco as the background layer of my tag.  I accented with a few droplets and the sentiment.  I finished it off with some died ribbon and a shiny bell!  

My final tag highlights the shimmery snowflakes. 


The background was stamped with a silver ink using the beautiful renaissance stamp.  Then heat set the ink before adding an edge of silver embossing and a sentiment embossed in gold.  The snowflakes were cut and added with a touch of bling using the droplets.  

The ribbon was embossed using silver tinsel embossing powder.  I used versamark ink  to sponge the ribbon and then dipped it in embossing powder and heat set the embossing powder.  


Thanks for stopping by! 

Suzz

Products: 

Friday, November 11, 2022

Gift Here and Gift There!

 Hi!  Posting some inspiration for inspiration Ave over at The Funkie Junkie Boutique Blog.  

We are highlighting the beautiful Distress Colors from Tim Holtz this season.

I decided to create a series of envelopes to hold gift cards as they are a popular gift for us to give over the holidays! 

Here are the variety of envelopes created with the beautiful seasonal mica stain sprays and stencils.


I used a variety of mini layering stencils to cover my gift card holders both on the front and back of the envelope.  

I made my own template by starting with a gift card and measuring around it.  Here is my template and measurements. 

 The full measurement is 5 1/4" x 3 3/4".  After you cut this you will score along the one side 1/4" and do the same along the bottom.  starting from the side with no score go in 2 1/2" and score in the middle.

I then cut out the corner piece and on the right side the bottom 1/4".  This is to allow you to fold the pieces inwards and put tape along them to close the holder and have a pocket to hold the gift card.  

I also died ribbon to match my envelopes and tied them around my gift card to give them fancy toppers and to pull the card in and out of the envelope.  (With that addition it doesn't even require the bottom to be taped closed. :) 

I then took a hold punch and cut out the circles on the top.  If you don't have a punch big enough you can use circle dies and position them to cut half a circle. 

Next up was to come up with some bits and bobs to use for embellishments.  Does this look familiar to anyone?  I hope other people's crafty space looks like this while they are creating. :) 


 I die cut, sprayed and stamped a few different images and pieces of cardstock in different color palettes to coordinate. 


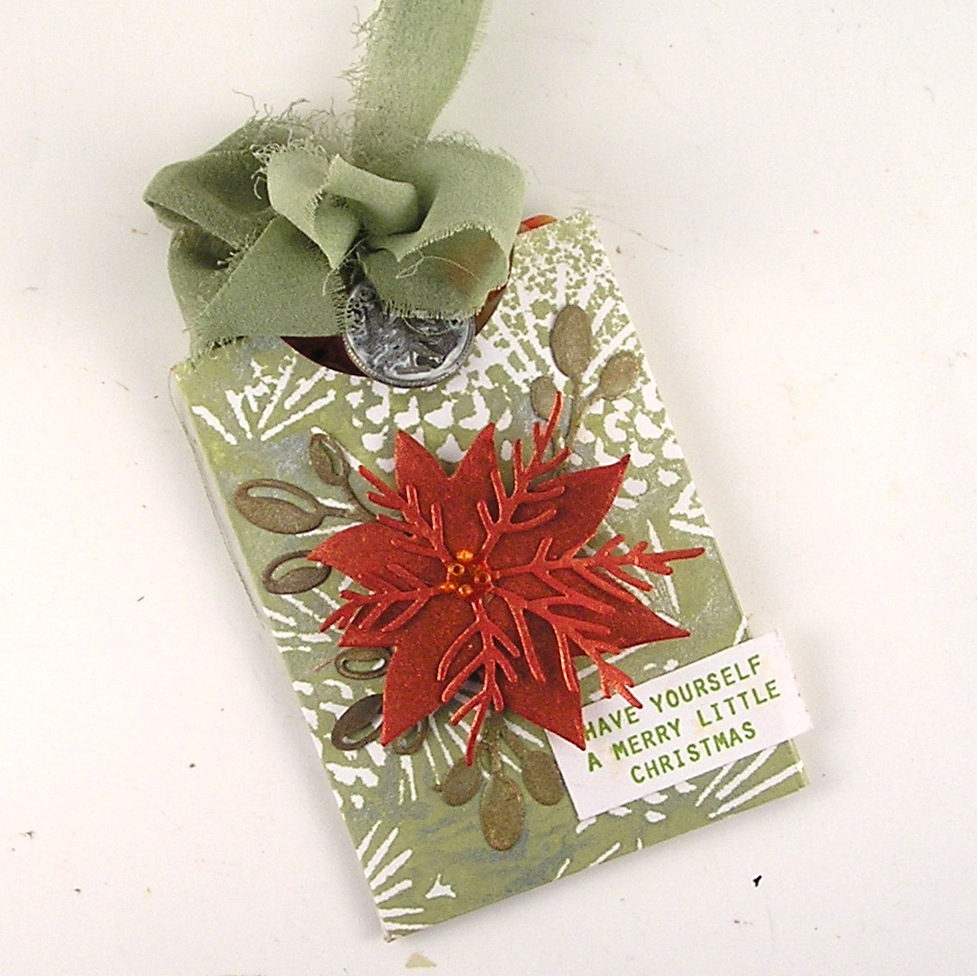
 Then it was a matter of assembling a design.  On this one I used a layered poinsettia and some of the sweet stamped sentiments.  The topper included the died ribbon and a holiday token.

When pulled out you can see how the ribbon was tied around the gift card to make it easy to pull in and out.


The background was the revers of the stencil.  After I had sprayed another piece of cardstock with the stencil I took the stencil saturated in ink and laid a piece of white cardstock and got a beautiful reverse image on the paper.  I cut it up to create the holder shown above. 

Up next is my ugly sweater card holder.  For this one the background is opaque crackle distress paste.  After it dried it was sprayed with the pretty tart cranberry mica stain spray.

I stamped the fun puppy image and gave him a sweet twine bow and bell and tag!  I color coordinated the ribbon with a silver bell.  

Then I wanted a holiday plaid and used the cocktail party mica stain with the plaid stencil.  I decided to pair the Shiny bauble colors with the pretty pink.

The Santa image was stamped with the archival ink and surrounded with the cool Tim Holtz ideology tinsel. 

Next up continuing with the same color scheme I reversed the background and accent colors.

I stamped the images and sentiment with a pretty pink raspberry ink and added a star to the mix. The background was a mini stencil with the mica stain spray spritzed over it. 

I hope this has you inspired to make a few gift card holders and get out the fabulous mica stain sprays.  The shimmer is fabulous! 


Suzz

Products: 

Friday, October 28, 2022

Tree Rings

The Funkie Junkie Boutique Inspiration Avenue is highlighting a the Sizzix Chapter 4 release.  I knew right away I wanted to feature the beautiful tree rings texture folder.

The rings of the tree are so beautiful and showcase the life of the tree.  I knew I wanted to use them to create beautiful layers of texture.

I generated many pieces of embossed backgrounds and ended up highlighting two of them. The backgrounds were both white cardstock that were embossed using the texture fade.

The next step was to take that embossed background and add color.  I had all the beautiful Distress Mica Stain sprays from the fall and winter releases sitting on my desk and decided to use them on my cards.

For my first background I used the Antique Bronze spray and spritzed the background completely.  After it dried I decided to tear the edges to create a rough effect.  I spritzed some of the edges to blend in with the effect. 

After I had that beautiful background ready it was easy enough to die cut a variety of leaves and spray them with a mix of the mica stain sprays and layer them into a wreath.  

I finished the wreath off with a sweet bird and a little message across the wreath.

On my next card the background started again from a white piece of cardstock.  I embossed the cardstock using the texture fade tree rings.  The background was spritzed with a mix of mica stains starting with the pretty Harvest Moon.  While that was still wet I mixed in some of the Decayed colors and spritzed on water to move the colors and blend them together.  

After it had dried completely, I used a layer of clear embossing powder to highlight the colors and add a shine.  I die cut the center of the tree rings (to be used in the future).  I used a remnant of an inky background to pop behind the tree rings. 

I die cut some feathers and another bird to use as accents.  The feathers were cut from the same inky background.  I added a hint of stamping to the bird and feathers.  
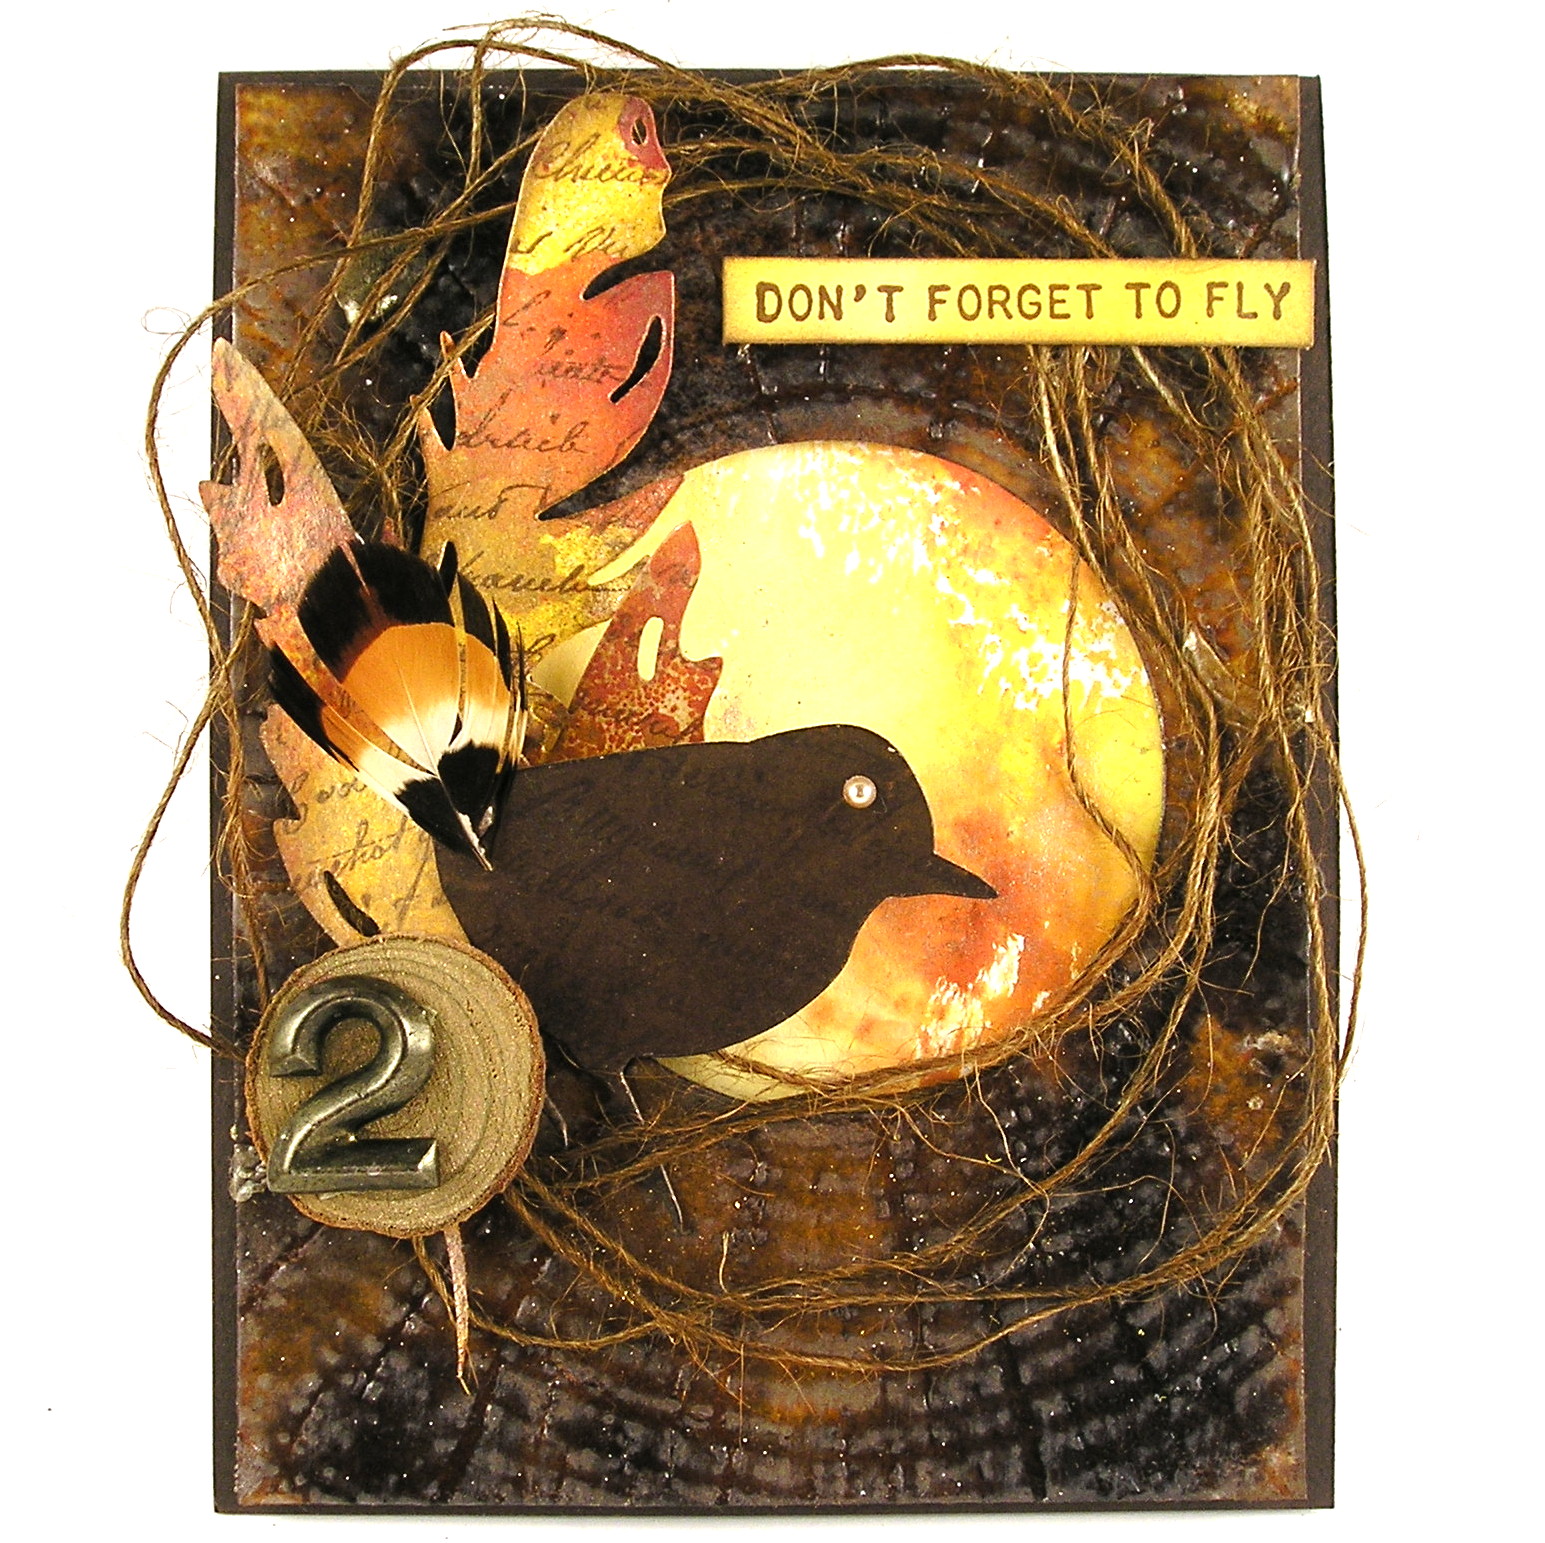
The rest was just layering up the embellishments to the card and adding a sentiment. 

Suzz

Friday, October 14, 2022

Inky in October

Welcome back!  The Funkie Junkie Boutique is hosting an "Inky in October" inspiration post.  Here is a description of what inspired the team:

Get out your Distress Inks, Sprays, and Mediums. Create a vintage or shabby chic project featuring Distress products. Let’s have some creative fun and get our fingers inky this month, happy crafting!


I was inspired by the mica distress stains.  I had this scrap left over from a previous playing with the seasonal distress mica sprays and decided to build upon it. 

I stared with embossing the beautiful flourish with the crackle paste.  I then sprayed over it with the mica inky spray.   After that dried I covered the entire surface with versamark ink pad and embossed with a clear coat of embossing powder. 

You can't see it in the photo but that clear coat made all the magic of the mica sprays shimmer and shine!  

Finally I spritzed up some flowers, leaves and ribbon to accent the tag.  The vellum has a soft stamped image in gold of flowers. 

Come share your inky goodness a the Funkie Junkie Boutique Challenge blog! 

Thanks for stopping by! 


Suzz

Products: 


Suzz