
Friday, May 12, 2023

We love you Mom!

Hi!  The Funkie Junkie Inspiration Ave is highlighting the love of our mothers, mother figures or other mentors who have inspired us. 


I wanted to do a monochromatic card using the brushstrokes die flower.  I tried it with just plain white but I wanted it to have more depth and decided that the soft lavender would help to give it a softness but highlight the shadows. 


The dies were cut from white cardstock and then sprayed with the distress oxide ink.  Then they were sponged with paper towel to dab off the excess color.  This gave a lovely speckled effect. 

The background was stamped using the same distress oxide stain spray on the rubber stamp and pressed onto the white cardstock.  This created a soft background that coordinated with the flowers.  

The layers of the flower were attached using a small thin foam dot.  This gave the flower some depth without too much height.   

The leaves were sponged with a dye ink over the sprayed background and tucked into the flowers.  The sentiment was cut up from multiple theories blocks and placed across the cardfront.

This is to celebrate all the strong women who care for others every day! 

Suzz

Products: 

Friday, April 28, 2023

It's In the Details

 Happy Friday!  Time for some Idea-Ology!  The inspiration at the Funkie Junkie Inspiration Ave this time around is details.... meaning embellishments and Tim Holtz Idea-ology!  

 I am obsessed with the new transparent layers.  They are so beautiful and easy to create with!  I quickly created 2 tags using the flowery inspiration by simply layering them over existing manila tags!

The colors are so vibrant and beautiful that any backdrop makes them shine!  All I had to do was add a sentiment a few transparent butterflies and the ribbon.

The sentiments were from the Tiny Text stamps and the butterflies are from a very old punch I have held onto.  They were punched out from my leftover transparent pieces and colored with a touch of archival ink.

The final tag started with the circular transparent layer.  The center was cut out and a snapshot image was fussy cut and placed in the center.  

Behind the image a soft stamped text was added with ranger dye inks.  The sentiment was a tiny text rub-on sponged over with a layer of dye ink. 

The background is a mini layering stencil sponged over with a mix of dye inks.  

Then to finish the tag ribbon was died with a stain spray and a charm was added with a pin. 

Hope the details have you inspired to embellish up your next project! 

Suzz

Products: 


Friday, April 14, 2023

Tag Team Time

 Hi!  The Funkie Junkie Inspiration Ave is sharing the tag love this time around!  I love tags ever since a certain someone (Linda) started inspiring me with her creations! 

I decided to play with one stencil and use it to layer different sizes and shapes of tags on a few different cards.  

My first card uses the stencil on multiple sized tags with lost shadow ink, white embossing powder, and versamark ink. 

I started by sponging the versamark ink over the white cardstock background and tags.  I repeated until the background/tags were covered with the pattern.  Next the ink was covered with white embossing powder.  (I could have left it with clear embossing powder but the white embossing powder also raises the image and adds more texture).  I heated up the embossing powder on all the pieces.  I then sponged the gray distress oxide ink over the embossed surface.  After I had finished sponging on the level of ink and depth of color, I buffed off the excess ink from the embossed surface.  (I call that the magic as the white really pops after you buff off the excess ink). 

Next the tags were mounted on white cardstock and all were layered over each other on the front of the card.   The sentiment was stamped on vellum and cut to fit on the side.  I accented with little gems. 

For my next card I mixed up my colors and simplified the background.

I started with using the picked raspberry distress oxide ink and the lost shadow ink to create a pattern on my tags.  I also used a scrap with a hole punched out of the tag.  I liked the idea and used it to place it and the sentiment artfully over a flower. 

I also used a watercolor pencil and a waterbrush to add a hint of pink to the grey background.

I hope this has you inspired to create tags and layer them! 

Suzz

Products: 
Saturday, April 1, 2023

This Happened!

 New stamps!  Yay!  Darkroom Door just released a new set of stamps and I was lucky enough to get to play with some of them!  

I played with the new small stamps called This Happened. It has great sentiments that inspire scrapbooking and journalling including: This Happened, Here's the Story, For the Record.

I used another of the new backgrounds to create a moroccon tiles pattern in the background and framed the edges with book inspired stamps.  

I then added a frame for the middle to allow me to journal or put a photo on the page.   I was thinking about spending a day just reading books. 

I accented the colors with the salvaged patina ink.  I created a multiple page mini book on the front to allow dates or other little notes! 

I hope you love the story I shared today! :) 

Suzz

Products: 

Friday, March 31, 2023

Let's Be Neutral

 Hi!  How about showing off the neutrals!  I love all neutral cards and are drawn to the layers and richness of the hues of one color.  I am showcasing the beautiful new Lost Shadow Distress Ink. 

 I started with these sweet bunnies cut out from ephemera that were a lovely shade of gray and then used the layers of the lost shadow to add more textures.

The background began with the Dina Wakely Coasters 2 stencil layed on white cardstock.  The distress ink spray lost shadow was spritzed over the stencil.  Then the stencil with the ink still on it was placed face down on another piece of white cardstock.   

While the first backgrounds were drying the same stencil was placed on an index card and opaque distress paste was applied over the stencil.  After the stencil was removed then the distress stain spray was spritzed over the embossed background to add the lovely layers of gray. 

When both backgrounds were dry The leafy branches were stamped with gray ink onto the corners of the reverse image of the stencil background.  Additional watercolor was added on the leaves for shading and then white gel pen added the dots. 

The index card was torn into multiple pieces and layered over the stamped and stenciled background.


Then the sentiment was stamped on a scrap of the spritzed paper to add to the front of the card.  The eggs were coated in a mix of white paint and the distress stain spray.  After they were dried using the heat gun. (They held up well to the heat!)  Another layer of ink was spritzed and pooled on the eggs and another round of heating to dry them up. 

The eggs along with some flowers formed a sweet little hiding spot for the bunnies,


Happy Hopping!  

Suzz

Products: 

Friday, March 17, 2023

Spring Frolic

 Hi!  Today I am sharing a card inspired by Spring Frolic!  The Funkie Junkie Inspiration this time around is highlighting spring!  

I started this project with the inspiration of the beautiful new Tim Holtz Transparent Layers. 

The subtle flowers through the beautiful acetate lends itself to a beautiful window.  

I started with a few gentlemen die cut from various backgrounds.

I used embossing paste which was sprayed with a pretty distress ink.  I then cut out a second gentlemen who was sprayed with the mica stain spray. 


The window gave the perfect opportunity to have a shaker card filled with shimmery coordinating bling.


Then the flowers were died in coordinating pink spray mixed with white acrylic paint.  They were layered around the edge of the window. 

Then a mix of sequins and pearls were randomly scattered around the edge.   The background of the card was sprayed in coordinating mica stain spray. 

The sentiment was stamped in the same ink as the flowers and attached to the front of the shaker card. 

Hope this has you thinking of spring flowers and sunny days to come! 

Suzz

Products: 


Friday, March 3, 2023

Aren't We Lucky?

 Hi!  I am back today to share a post for the Funkie Junkie Boutique Inspiration Ave.  The team are sharing their inspiration around Aren't We Lucky?  

In my family we have a few St. Patty's Day birthdays coming up and it had me thinking about the 3 leaf clovers and how they bring luck.  I decided to use the hearts dies to create the leaves of the clover and  a few flowers. 

I thought it would be fun to use alcohol inks and yupo paper to create some clovers and flowers using the stacked hearts dies. 

The alcohol inks are magical in how they apply to glossy surfaces.  I have found that playing with them is the best way to get to something that you like.  For this effect I will give you just a few tips and let you explore and see what effect you can achieve.

  1. Start with Yupo paper.  This will help the inks move on the surface.You can use translucent or white Yupo.  
  2. I usually put down a base of alcohol blending solution to allow the alcohol ink I am applying to spread.  
  3. Then I will drip on the different colors allowing them to spread.  I will usually let the circles I drip dry. 
  4. Next drip a different color or the alcohol blending solution over the original circles and by themselves. Let the second layer dry. 
  5. Repeat with as many layers until you have beautiful circles overall. 
  6. Using the alcohol application tool drip several drops of blending solution onto the felt.  Dab over the surface
  7. This wills soften the edges of the circles and give the small bubbles of white across the surface.  If you blend too much you can always come back and add more drips of color and blending solution.


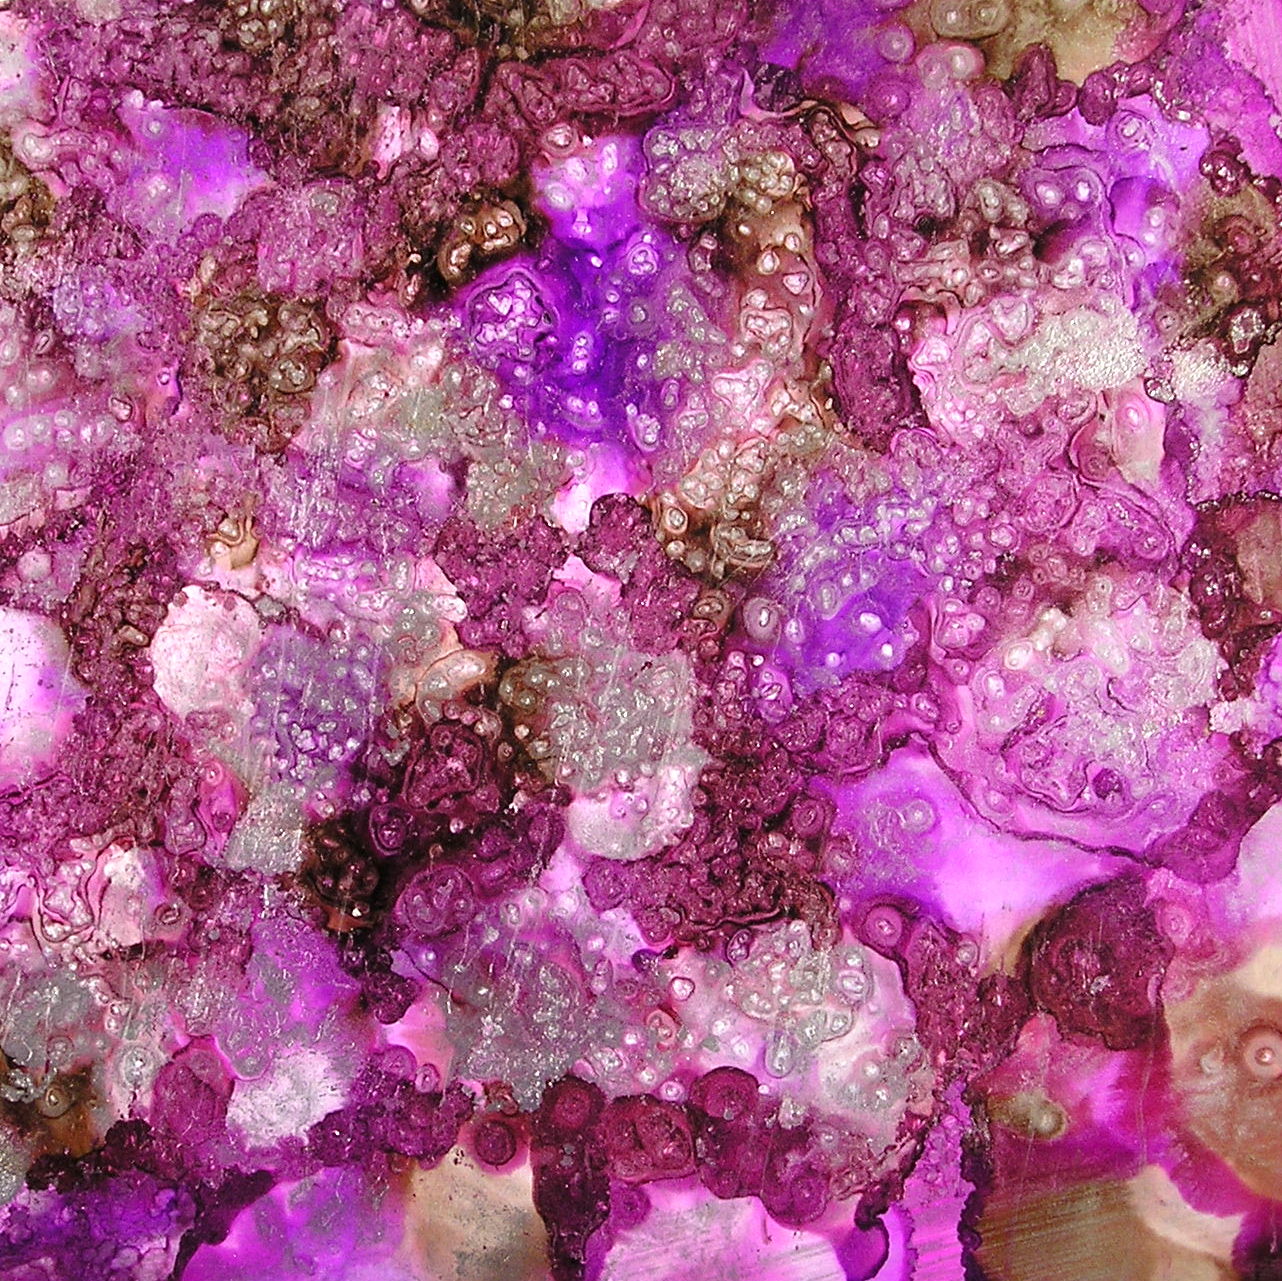
For the purple alcohol ink background I did two additional steps.  I added an alloy to give a silvery metal effect and I added salt to the pools of alcohol ink.  After it dried I brushed it off and it removed the pockets of color. 
 
Then I decided to cut out my many many hearts in varying sizes to make my flowers and clovers. 


Assembling them was easy as I took a big circle glue dot and attached it to a scrap piece of cardstock.  I then arranged the hearts around the circle.  I cut little stems from the extra pieces.  

I also decided to use some mica stain sprays to create a series of hearts and made a second card.

I stamped a mix of images using coordinating brown and green dye inks and then attached a few of the clovers along with a few embellishments.  

Thanks for stopping by! 

Suzz

Products: