Showing posts with label Mists. Show all posts

Sunday, October 30, 2016

All Hallows Eve

I have been a quick Halloween Card making mode.  I needed a few cards and with the big event happening tomorrow I had to whip out a few cards.

I had fun playing around with a few different Halloween sets.  This was created for my daughter who liked my card last year for her brother because of the eyes in the beaker.

 I decided to create a similar card but switch up a few of  the elements.
I stamped the beaker a couple of times to create the clear surface and gap for the eyes to float around.  I decided that I would add a second vessel to mix up some Halloween potions in.

The lovely sayings were from various sets (Stampers Anonymous) and the chemist containers from Inkadinkado.

I think she will get a chuckle out of her spooky card this year. 

I am entering this in "A Vintage Journey's October Challenge: Make it Spooky".   The design team's creations for the challenge as well as all the entries are fabulous. 

Happy Halloween!

Suzz

Wednesday, August 5, 2015

Dragonfly Magic

Good Day to you!  I am feeling magical today with a tag that is inspired by a few different challenges.  Anything But Cute has a glorious mood board that is magical,  Words & Paintery has a gorgeous mix of colors and the Mixed Media World is all about the stencil.  How does that all come together?


I started with pulling out all my paints, mists, and sprays in the colors in the challenge.  I then splotched, splattered and misted on the paper. I cut it into pieces one tag and a couple other pieces.  This is the tag: 
 I started with creating a magical environment with the background and a mix of glitter, mica and sequins.

Here are the challenge photos:

 Have a splendid day!

Suzz


Saturday, July 11, 2015

Misty Garden

Stencils + sprays/mists  + flowers = Misty Garden!   A mix of cards made with these combinations.  I love sentiment stamps and used some of my favorites garden inspired sentiments by Impression Obsession on these cards. 

Although I see I have been in a summery color kick with lots of yellows and oranges. I was trying to pair it with the grays to give it a soft color and new edge.
I even added a layer of paste on this one to raise up the texture in the background.
and three more scraps that didn't finish up on a card.
The stencil is from Memory Box.  The sprays were a mix of Dylusions, Ranger Distress Stain Sprays and Tattered Angels Glimmer Mists.  The embossing paste is Wendy Vecchi.  The sentiments from Impression Obsession.  The tiny words is from Stampers Anonymous. The shadows on the images are from STAEDTLER watercolor Pencils.   I did use Darkroom Door - Texture stamp- Script, Background Stamp - WoodGrain, Texture Stamp - Splatter on the different cards.

Have a wonderful Saturday!  Off to play with my inks!

Suzz


Sunday, June 21, 2015

Don't Forget

Stamping and using sprays to mist are two of my favorite things. I was a very happy camper this week because that is the challenge at Simon Says Stamp Monday Challenge this week.  You can emboss or stamp an image and spray over it. Use mist to ‘ink’ a stamp. Apply mist color with a paintbrush to a stamped image. Any which way will do!  


I had my sprays out in shades of pink and decided to use those for my project.  I had a variety of pinks and a hint of lilac.


I started trying something new for me.  I took and unscrewed the top of my mister and pulled it out. Now usually I would flick the end and drip all over but I decided to push the head of the sprayer down therefore shooting out what was in the tube all over my paper.

I loved the splotchy effect and repeated a few times and then flicked some of the sprays across the paper.  To soften my pinks I did the same with my white pickets spray over my original pink spots. Of course it isn't an exact science so it partially covered it. 

I repeated this process on several pieces of cardstock and then came back and spritzed in a soft lavender color over the surfaces. 

When  that had dried I mixed up some white acrylic paint with water and flicked it over the surfaces.

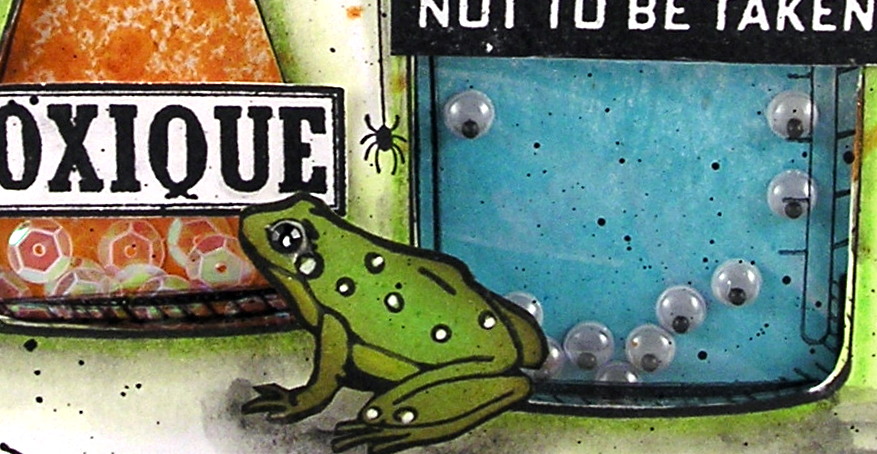
I then stamped the butterflies in gray ink on some of the paper and cut them out.
I stamped the chicken wire over the background of the tag. Embossed the tiny safety pins by covering them with versamark and dipping them into white embossing powder and then holding them with my tweezers I heated them up. 

I used the top of some of them for my baby butterflies and the rest of it for my antennas! I thought they looked very clever.

By the way when pushing out the spray make sure to mask/cover the spray opening otherwise you will be sporting a lovely palm of pink like myself! :)


Products:   Ranger Distress Stain Picked RaspberryDylusions Bubblegum Pink,  Ranger Distress Stain Picket Fence,   Ranger Distress Stain Spray - Milled Lavender,   Prima Marketing Finnabair Rust and Dust,  Ranger Archival Ink - Watering Can, Idea-Ology Filmstrip, Idea-ology - Safety Pins, Versamark Watermark Ink, White embossing powder, DarkRoom Door - Chicken Wire Stamp, Prima Marketing - Don't Forget to FlyPrima Marketing - Now is the Right Time

Simon Says Stamp is offering a $50 gift voucher to a randomly selected participant in the challenge, come play along!

Thanks for stopping by!


Suzz