Showing posts with label Memory Box. Show all posts

Friday, December 31, 2021

Happy New Year!

 Wishing you all a very blessed and  joyful New Year!  

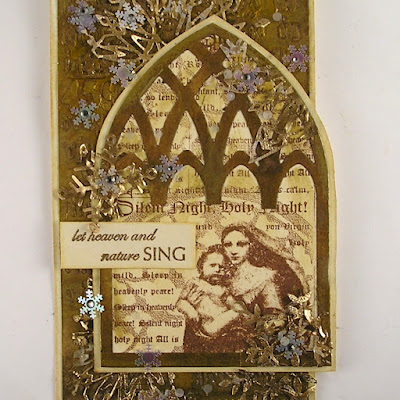
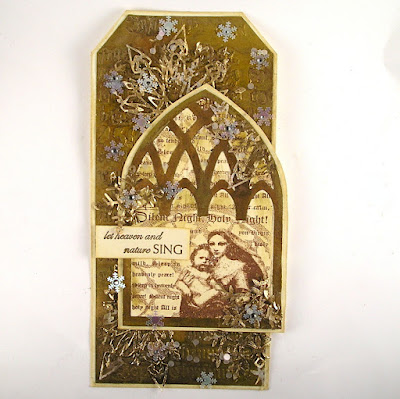
I started this before Christmas but couldn't find the backdrop to make this image shine.  I finished it this morning and was hoping it could bring us joy in the new year! 

This is one of my favorite images and is an old stamp from Hero Arts in their ArtStamps collection. 


I spent a lot of time trying to frame it in a way that would make it shine.  I embossed the background of the tag with embossing paste and the gothic lettering.  I sprayed it with a mix of Antique Linen, Mica Spray, and Tarnished Brass.  After that I added random spurts of gold paint.  I die cut the frame and mixed the same colors.  I cut out the area for the stamped image.  I love this sentiment stamp as well which is from Memory Box and an older stamp as well. 

I then glitzed up the background with die cut snowflakes from tissue paper which were embossed with Ranger Queen's Gold.  I then sprinkled on snowflakes and gems.  

My wish for everyone in the New Year is a healthy pandemic free world.  :) 

Suzz

Friday, October 13, 2017

Golden Texture

I am back with my week 2 tag inspired by Linda at the Funkie Junkie's week number 2 tag from her  annual 12 Tags of Christmas!  If you play along with her for the 12 weeks leading up to the holidays you have a chance to win gift cards at her wonderful boutique The Funkie Junkie Boutique. 

The fabulous inspiration from Linda for week 2 had me thinking of how to create a similar background follow her lead with the snowflakes / design.   
Linda's tag has this soft white patina built with crackle and soft shabby golden brown hues.  This had me pulling out the crackle embossing paste along with a variety of stencils. 

I created about 4 different tags using different stencils and the crackle paste.  After they dried I decided to go with gold  and brown mists to show off the texture in my background.

Inspired by Linda's design/layout I started searching for an image/focal point for my tag.   I wanted to make sure you could still see the beautiful design and texture on the background.  After digging through my leftover die cuts, I was lucky to find the weathered clock (already bronzed up) and the deer which fit perfectly into the center of the clock. 

I sponged the deer with brown dye ink and then put it inside of the clock and attached it off-center onto the tag. I found all the snowflakes in my die cut extras. (I really don't like die cutting so I will usually die cut a bunch of any image and then store them for future use) The snowflakes were spritzed with the gold mist lightly so they remained mostly white with touches of gold.

The sentiments were stamped in coordinating brown ink on a gold misted background.  I took a few vintage buttons and threaded them with gold thread.  I added a hint of gold ink to the buttons and attached them to the snowflakes. The best part is I also have two or three more backgrounds to play with! 

Thanks for stopping by!

Suzz

Sunday, March 19, 2017

Happy Spring

Hi!  In looking at the forecast the next ten days looks very spring-like.  Wet, warmer and a few dips into the 40's.  I was looking at a little scrap of distress oxide inks and thought it would look pretty with a row of flowers.

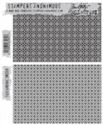
I just stamped the flowers using cobalt blue and then colored with water color pencils.  I added the tiny sentiment and the pretty little butterflies and I was done.  (Products: Stampers Anonymous - Flowers, Memory Box - Happy Spring, Stampers Anonymous - Butterflies, Ranger Distress Oxides, STAEDTLER - Aquarelle Watercolor Pencils)

A tiny card to be sent off and share a little spring with a friend.

Happy spring to you!

Suzz

Sunday, September 4, 2016

Tags & Techniques

Howdy!  A blessed Sunday to you.  I have to say the beginning of the month when Tim posts his new tag for the month is always something I look forward to.  His techniques always inspire me to create.  Tim's September tag used the alcohol inks and yupo paper for one of the techniques. 


I am happiest when I am stamping.  I love mixing the stamped images together and creating a blend of stamps together into a cohesive design.
This month's tag and technique used a resist technique which game me lots of fun ways to play with my stamps and stencils.

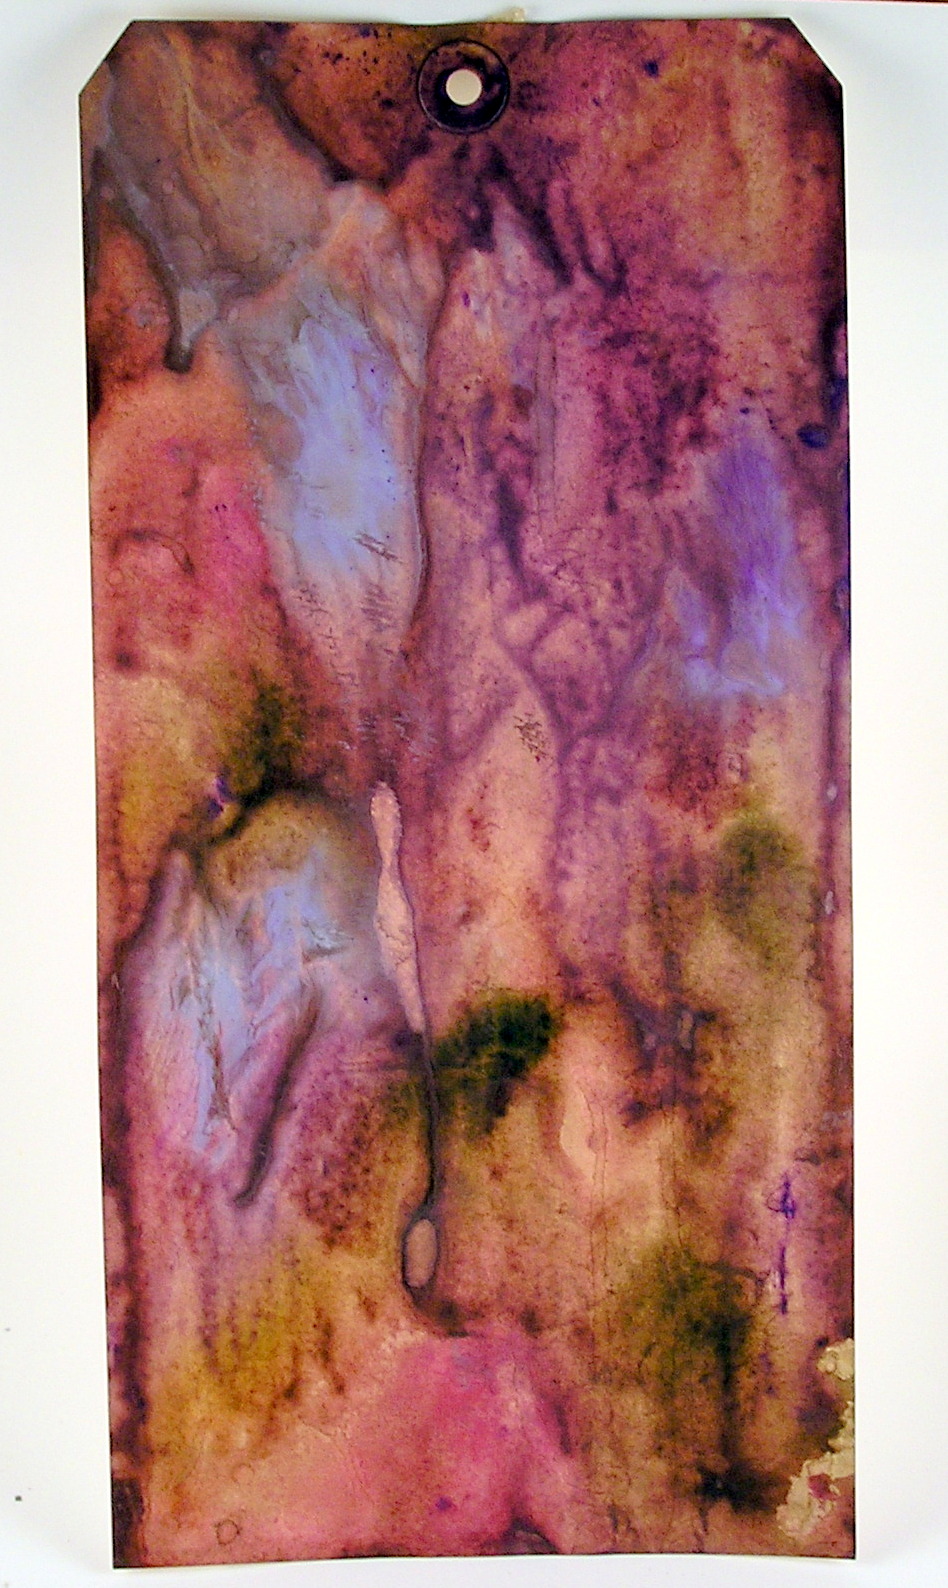
I started with a patina background on the tag.


 I admit I ended up not using this tag in my finished project as I wanted to get close to the colors on my stamped background.  I will save this one for another project. I love how the patina looks and could have created many of these backgrounds in different colors.

Next I tried about 3 failed attempts with the alcohol ink backgrounds. I was trying to mix colors and they were beautiful but not cohesive to give a strong imprint and I also tried a few stamps that weren't solid enough in the image to translate well on the resist.

I finally settled on an alcohol ink background with a mix of slate, eggplant, and mushroom.

 Next I used an ultra-violet archival ink to stamp the butterfly and script onto the background. I stamped the butterfly first and cleaned it off following Tim's instructions and then I did the script.

I then tried on several scraps to use the blending ink with the stencil to get the numbers/words. The blending alcohol will bleed and I didn't like how I was applying it so I decided to sponge on the same archival ink through the stencil and was very happy with the crispness of the letters.

Another tip:  The Yupo paper is so wonderful that I was able to flip over one of my failures and use the reverse side for my card.  I also had another failure with the resist which I was able to just ink over again with alcohol inks and start again.  Like a magic eraser!  

I was having so much fun stamping with the resist that I decided to create another stamped collage.

 On the bottom  you can see some smearing this was because I didn't carefully remove the excess ink.  Tim talks about it in  his tutorial.  Just thought I would mention it because I did try very carefully but I am a very messy stamper and missed some ink. :)

Have a lovely Sunday!

Suzz

Products:  Memory Box - Dreams (Text), Stampers Anonymous - Butterfly, Stampers Anonymous - Branch, Inkadinkadoo - Birds, Wendy Vecchi - Stencil,  Tim Holtz Layering Stencil, Hero Arts - French Script, Ranger Archival Inks - Ultra-Violet, Alcohol Inks - Eggplant, Slate, Mushroom, Blending Solution, Ranger - Paints - Wilted Violet, Lavender, Gold, Picked Raspberries, Silver


Wednesday, August 10, 2016

Bright Hopes

Hi!  Back for a quick share. I needed an anniversary card to be sent off and had a little time to create one quickly.

I stamped the Verses Sentiment using the Ranger Archival Ink - Watering Can in the center.  I laid the stencil over the stamped sentiment and softly sponged Worn Lipstick around the edges with a hint of the pattern over the sentiment.

I sponged the edges of the background and splattered with Heidi Swapp Color Shine - Gold Lame. It dries with a gold shimmer.

Then I needed texture but wanting it to stay flat to travel cheaply I die cut a few flowers and sponged them in a coordinating color. They also got a splattering of gold.

I layered the card front and a quick card in less than 10 minutes (I big win for me. :)  and off it goes!

Thanks for stopping by!

Suzz

Tuesday, May 31, 2016

Our House

Happy Tuesday! I was inspired yesterday by the PaperArtsy Challenge #11 which focuses on the idea of houses created in all kinds of mediums.  I happily created little paper houses in a variety of styles.


I have been doing a little and I mean little bit of cleaning in my craft room. (I need a big clean again to keep it under control)  In doing so I went through my background scraps and tried to decrease the scraps pile.  I re-organized my recent scraps and die cuts and pulled them out to try to make an eclectic series of houses.  I tried to keep in the same color schemes for my backgrounds to coordinate the look and feel.


Beyond that the houses all began to take on a life of their own and changed the cohesiveness. As I worked through them I also began to use the inspiration of other challenges.  This particular house is based on the glam grunge challenge at Mixed Media World and the Butterflies and Blossoms Challenge at Mixed Media Monthly.
The next house started from a scrap and incorporated some beautiful gears that were sent to me as part of a purchase from the Funkie Junkie Boutique. There is always a lovely little gift included with each purchase and this time it was the gears.  I decided to let that be part of my focal point and the gent seemed like a perfect image to imbed behind the gears.  The gears and my previous house used a mix of inking up the gears with dye ink and while it was still moist sprinkling on Stampendous Aged Bronze embossing powder giving a nice chunky gold effect.
The next two came from two scraps left over from some project where I had the citron color sprinkled with touches of silver.  I didn't highlight the silver in this house as I used tissue tape instead along with a touch of black embossing paste and powder to create striking black texture and images.


For my final one I had this beautiful Memory Box Arch already cut and thought it would be pretty to do more of a church interpretation on my house.  I added the silver embossing around the edges and bottom of the house. I then embossed the arch in silver.  The rest were bits and pieces of leftover projects pulled together. 

I had fun but I think I am going to try play a little bit more with the houses but create a painted village.  I am loving the Paperartsy challenges as they have me thinking about different types of art mediums and how to use those ideas in papercrafting. 

The MMM Challenge 


Have a wonderful day! 

Suzz

Wednesday, May 11, 2016

Shabby Chic

The Frilly and Funkie Design Team was challenged this week to create for the opposite style.  I love Shabby Chic and enjoy being able to channel my inner Frilly for the challenge. To play along, we're asking you to dig deep and create any kind of project you choose, as long as it is not done in your usual style and color palette.


The guidelines for entering are simple: create a new vintage or shabby chic project following the challenge theme, link it below to your post (not just your blog) and also include a link back to this challenge in your post. For this challenge, we'd also love to hear how you did something OPPOSITE of your normal style (and we'll be taking a peek at your regular projects to see your normal style).

I decided to go Shabby Chic and very romantic with the pinks, ivories, and gold tones and lots of pretty embellishments. 


I love to create in all styles but for the Frilly and Funkie challenges I am on the Funkie side with more edge so for the challenge this week I went Frilly! 

I started with this beautiful big jumbo tag and coated it with a layer of paint. I then stamped and stenciled over the background.  After that I heat dried the background to ensure the dampness form the dye inks were completely set before I stamped the pretty doily on the backround using Versamark.  Then I heat embossed with ivory embossing powder to have it pop.

You can see a bit of the stenciling and stamping on the background in this close up.

Then I looked around for all kinds of embellishments to accent my card.
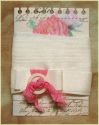
 I used the Pink dye ink on my craft mat sprayed with the Antique Lined Distress Stain Mist to color my ribbon and my flowers and my string.   It gave a lovely soft pink with touches of aging to the colors.

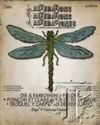
The dragonfly started as chipboard and was painted and embossed and highlighted in gold.  This card is for my MIL who has a birthday right around Mother's Day so she got two tags on the card.  (She will get another card for one of them)

Don't forget to go check out my team-mates fabulous creations and join us in the challenge! 

Thanks for Stopping by!

Suzz 


Saturday, March 5, 2016

Butterflies

Every creation is a journey. I start with the inspiration or idea which today is Tim's March tag for 2016.  I then end up creating many different variations of ideas because I want to explore different avenues and at the end try to bring it all back together into a finished piece. Sometimes I can't end up at a destination but even when that happens I learn along the way. 

 I ended up with two versions of the tags but wanted to explore more because the underlying elements are so beautiful I hated to cover them up.
 Here are my two finished tags. 


 and my second version


 Here are a few of the pieces before assembled:


I die cut a tag using the dies and laid it over a stamped background. Then I used the watercolor crayons to create a mix of pinks, purples and yellows to color the background.
 I also played around with embossing the background with the same dies.  I wanted to see the effect.  A more subtle effect and the white areas don't pop as much.


 I tried something different with the cardboard overlay and painted it white on one of them to bring in a lighter background and on the other I switched out the splatters to pink and white paint to add more highlights. I wish I had tried one more with the white painted background and the light pink and silver splatters.


 Here are my leftover butterflies waiting to be used on another project.


A very fun Saturday morning play session! Have a wonderful day!

Suzz

Tuesday, December 22, 2015

Funkie Junkie Tag # 11 & 12

Happy Christmas!  It is getting very close to the big day!  I snuck in some time this morning to finish up my tags for Linda's Funkie Junkie Twelve tags of Christmas.  Her on-line store the  Frilly and Funkie Boutique sponsors her challenge. 

Linda's tag #11 is a beautiful shimmery tag with lovely hints of blue and a snowy snowflake inspired tag.  I tried to play with the ideas of the embossing paste, snowflakes and the shades of blue in my take on her tag.


I started with a coat of embossing paste on my tag.  I laid a layer of tissue paper over the embossing paste and inked up the snowflake stamp and stamped into the tissue paper. You get the stamped image and an impression in the embossing paste. I repeated randomly and at the end I sprayed the entire surface with a blue mist.

I let that dry and while it was drying I decided to cut out a series of snowflakes in vellum. I thought I would use the soft vellum to place the snowflakes onto my background. 
When I finished I realized you couldn't see them so I decided to edge them in silver which lead to embossing them with Aged Silver embossing powder and then of course I had to emboss the edge of my tag as well. :)
It ended up darker than I intended with the aged silver embossing powder but I love the heavy metallic feel of the snowflakes.
Next up is Linda's rustic charming tag # 12.  I love that Linda' folded her tag to create a folded tag with a message inside.  I was sketching this idea and trying to figure out what I wanted to do with her lovely plaid on the outside and holly on the inside, when inspiration struck.  What if I cut off both sides of the fold to make it a tag on either side.  After I sketched this and thought about the plaid I realized it would look like a dapper Christmas vest.  So here is my Santa's vest folded tag.
 I used the Tim Holtz stripes stencil with Candy Apple Red and Lucky Clover to create the plaid on the front.  I used Antique Linen in the back with the same plaid pattern.   I added a few buttons and died my suspenders to coordinate.  Linda had the adorable tag and holly on her band which inspired my tag on the suspender.
 When you open it up inside there is a smattering of holly with red stickle berries


I added Christmas music in the background using the Antique Linen Dye Ink and then the berries over that with the Penny Black sentiment stamped in the center. 
A close up of the tag and holly:


Thanks for stopping by!

Suzz