Showing posts with label card. Show all posts

Wednesday, June 2, 2021

I'm Feeling Like Royalty!

 Happy Wednesday!  Today we have a new challenge at The Funkie Junkie Boutique and I am hosting it.  The challenge is called: I'm Feeling Like Royalty!

Here is the description of the challenge: 

"On June 2,  1953 the then 27 year old Elizabeth II was crowned Queen of the United Kingdom.  I thought why not honor this event by having a challenge that includes inspiration from royalty.  Think crowns, castles, elegant and regal patterns, or gilding your project  with touches of gold!  Create a shabby chic or vintage project inspired by royalty!" 

I was thinking of how I was going to approach this challenge when I was having a conversation where I said "She is the Queen Bee"  and that was it. 

I thought of the beautiful layered bee and how to use it in a card inspired by royalty.  I was playing with the Mandala die trying to form a crown.  I cut a little bit of the inside circle to frame the Queens head. 


The background consists of: 

  1. Sheet of Backdrops sponged around the edges with brown dye ink.  Embossed with a touch of gold embossing powder. 
  2. Mandala die cut from white cardstock and misted with a mix of blue and pearl ink spray. 
  3. Die cut the embossed frame from gold paper and emboss with a touch of gold/black embossing powder. 
  4. Die cut the bee from the backdrops paper and sponge the edges with vintage photo and emboss with gold embossing powder. 
  5. Cut the inside ring of the mandala and use as crown for the bee. 
  6. Accent with gems. 
  7. Cut sentiment from Clipping and emboss edges with gold embossing powder. 
  8. Spray flowers to match and accent frames. 
  9. Assemble Card. 

A different angle on the bee and frame:


Come join us in the challenge and check out the awesome projects the design team  has created! Everyone who enters and follows the rules will go into the draw for the chance to win a $25 spending spree at The Funkie Junkie Boutique. There are also Top 3 Badges for three additional outstanding entries, chosen by the Design Team.

Thanks for dropping by! 

Suzz

Products: 

Wednesday, August 8, 2018

August

Hi! Suzz here. I am hosting the current challenge at Frilly and Funkie Challenge called "August".  No surpise that it is inspired by the month of August. :) In doing a little online research I learned that the month of August was re-named for Augustus Caesar. He was the first Roman Emperor and was very proud of the influence he had on the architecture of the country. For this challenge I am asking you to be inspired by marble, arches or columns. You will need to create a vintage or shabby chic project using some type of marble effect, arches or columns.

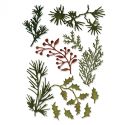
Ranger Distress Re-Inker Black Soot Idea-Ology Bouquet Findings Sizzix Holiday Greens Marbling Arches For The Funkie Junkie Boutique


I really wanted to do some marbling and so I created a huge pile of marbled backgrounds.  I tried shaving cream, alcohol inks, water, etc.  I liked the shaving cream the best and ended up doing multiple backgrounds just for this card:

Ranger Distress Re-Inker Black Soot Idea-Ology Bouquet Findings Sizzix Holiday Greens Marbling Arches For The Funkie Junkie Boutique

To create the marble background I did the following:

1. Spray a mount of shaving cream (Cream not gel)  onto your craft mat or a sheet of acetate. Basically anything that won't hold the color after you are done and is easy to clean up or throw away.
2. Drip re-inker or spray inks into the shaving cream.
3. Now you can try alot of different ways to marble. You can swirl the ink into the shaving cream with a plastic knife.  You can just smoosh it into the shaving cream with an acetate sheet on top and pushing and moving the shaving cream and ink around.  You decide.  This is the fun part and my shaving cream smelled good and conditions your paper!
4. After you get your ink and cream mixed you lay your paper ontop and smoosh it around until it is covered in inky shaving cream.
5. Pull back the paper and lay flat.  Using a flat edge scrape off the excess shaving cream.  I use my plastic rulers and shave off the cream.
6.  Let dry.

I ended up with so many pretty backgrounds it made it difficult to decide what to do next.  I spent a few days trying some ideas.  (I cut out some arches as I knew I wanted to incorporate arches into my project)  I think it was my husband laying bricks outside in a pattern that triggered the idea of creating a herringbone tile effect.

Ranger Distress Re-Inker Black Soot Shaving Cream Marbling Herringbone For the Funkie Junkie Boutique
 I love how this turned out and my family wandered in and out while I was laying my faux tile and were very impressed. :)

I googled an image of herringbone to get me started.

1. Cut your tiles to the size you want.  I cut mine 1/2" by 1 1/2".
2. Cut the background to the size you want before laying down the pattern. 
3. Sponge the edges of your tiles with a grout color.  I chose black.
4. Start in the middle with one of your tiles and start taping and laying them.

Ranger Distress Re-Inker Black Soot Shaving Cream Marbling Herringbone For the Funkie Junkie Boutique

5. Tape down the first on in the middle of you paper.
6.  Lay down the next one and line up to the edge.
7.  Repeat... Repeat.. Repeat..

A couple of tips:
  • I first laid this without sponging the edges. They didn't pop enough because of the marbling. They needed a grout effect.  You could do this by leaving space between the faux tiles but would need your space to be even. 
  • I had a few faux tiles that were slightly wider or longer.  Your pattern wont' work if that happens. :) I had to pull mine up and re-cut a few more. 
  • When you get to the edge of the page attach them as a full piece.  When you get done you can cut the pieces off to use as filler for the areas where you don't need a full piece. 
After that it was deciding how to incorporate my arches with the background. I decided it reminded me of the church and what a lovely wedding card it would make.

Ranger Distress Re-Inker Black Soot Idea-Ology Bouquet Findings Sizzix Holiday Greens Marbling Arches For The Funkie Junkie Boutique

I hope this has you inspired of playing with the marbling or the arches!  Come join us in the challenge.


The winner will earn the chance of a Guest Designer spot at Frilly and Funkie, and everyone who enters and follows the rules will go into the draw for the chance to win a $25 spending spree at The Funkie Junkie Boutique. In addition, the Design Team will select three further outstanding entries and those creators will receive a Top Pick badge to display on their blogs!
Thanks for stopping by!
Suzz


Tuesday, December 19, 2017

Snowflakes

Howdy!  I hope you are getting some time off to get ready for the holidays!  I have been busy playing and catching up on Linda the Funkie Junkie 12 tags of Christmas challenge.   This card is based on her beautiful Week# 8 tag.  The challenge is sponsored by her boutique The Funkie Junkie and she is offering prizes for playing along.


Linda's design and snowy background had me thinking of how to create snowflakes and add a banner as my focal point.

I used the snowflake stencil and crackle embossing paste to create a snowy background.  I then used a mix of sprays to create a blue green backdrop. 

I added the vellum banner and then pulled a few die cuts from my scrap pile and finished with a simple sentiment stamped and embossed in the center.

Thanks for stopping by!

Suzz


Wednesday, March 22, 2017

All Folded Up

Welcome back!  It is Frilly and Funkie Time again and the current challenge is hosted by Kathy.  Kathy's Challenge is "You've got to know when to fold em".  She describes the challenge as:

"This challenge is all about using folded paper in a way that goes beyond just folding it in half. Create a vintage or shabby chic project that uses folded paper in a way that elevates the design. You can make a fancy fold card, or add folded embellishments to a card or layout."


At the end of the challenge the team will choose their top four picks. The first place winner will be invited to join as a Guest DT spot at Frilly and Funkie. Three additional talented participants will receive badges to display on their blogs. Everyone who enters and adheres to the challenge guidelines will be entered into a drawing to win a $25 spending spree at The Funkie Junkie Boutique!Frilly and Funkie Folded Challenge

I saw a fun fold the other day and have been wanting to try it out, this challenge gave me the perfect opportunity to play.
Head over to Splitcoast Stampers where Deb Valder shared her Z pop up card for all the details on how to cut, score and to create the fold.

I was still playing with my Wendy Vecchi goodies this week and used them to create a fun little spring scene.

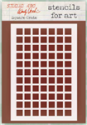
I used the square grid stencil and a black dye ink to sponge an ombre effect on the bottom of the folder. I also did this on the inside folded pieces.

I stamped the lace trim along the top of the squares.  I then use the flower stencil to create a garden of flowers along the back of the card. I stamped the rose text in the background using a soft gray dye ink.  I splattered black dye ink over the entire surface.

I finished with some little signs created with sentiments popping out of the folds on the inside.


I added a seam binding ribbon died with pink in to match and a pretty heart charm.

Please come join in on the challenge with us and hop over to the blog to see what the DT created!

Suzz


Thursday, March 9, 2017

Amazing Birthday

Hi!  This is my take on a 30 minute card which ended up taking an hour to complete.

I had a need for a birthday card for a family member in her 20's and wanted something with graphic and fun colors and design.
I decided to play with some color shines as their color is a little more metallic and not as striking in color depth.  I used the three colors to spritz and add a hint of color to the background.

I came back and stamped some splatter, the frame, stars, and word using Darkroom Door stamps and a variety of inks.

I then used some leftover stars to add a pop of fun and created a few banners to go with the pretty sentiment.

I finished with a touch of embossing pasted for texture and a few glittery confetti that I glued randomly to the surface.

Well here is my 30 minute card that took an hour. :) Have a wonderful Thursday!

Suzz

Products:  Darkroom Door - Word Block Stamp - Happy New Year, Darkroom Door - Background Stamp - Brushed Stars, Darkroom Door Texture Stamp - Splatter, Darkroom Door - Frame Stamp - Stitched Threads, Heidi Swapp Color Shine - green, blue, pink,  Archival Ink - black, Forget-Me-Not, Magenta Hue, Versafine - Orange, Ranger Distress Ink - Twisted Citron, Tim Holtz Mini-Layering Stencil, Wendy Vecchi - Embossing Paste, Simon Says Stamp - Sentiment

Wednesday, March 8, 2017

Spring

Frilly and Funkie Time!  Nancy is hosting the challenge this time around and it is all about welcoming spring.  Here is how Nancy describes the challenge:

"Our theme this time around is 'Welcome, Spring!' It's fresh, soft breezes and fragrant blossoms have finally arrived. Create any vintage or shabby chic project that welcomes the advent of this glorious season. Think budding trees, birds and nests, butterflies, and beautiful blooms!"

At the end of the challenge the team will choose their top four picks. The first place winner will be invited to join as a Guest DT spot at Frilly and Funkie. Three additional talented participants will receive badges to display on their blogs. Everyone who enters and adheres to the challenge guidelines will be entered into a drawing to win a $25 spending spree at The Funkie Junkie Boutique!

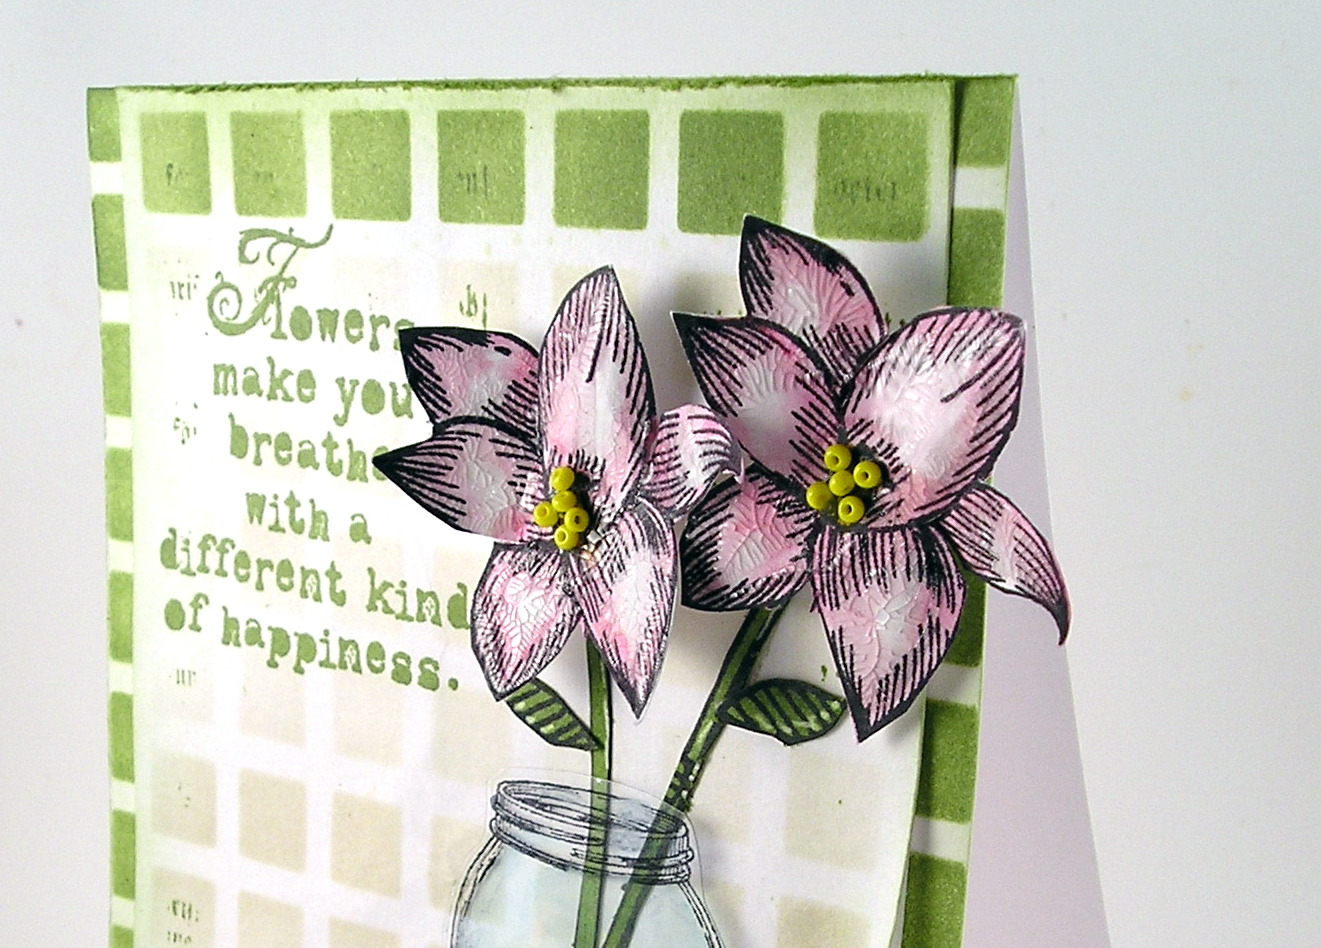
I decided to create a card celebrating the beautiful blooms of spring that are wonderful to capture and put in a simple mason jar on the table. 

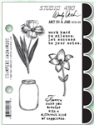
I started playing with a mix of the Wendy Vecchi products that were just released.  I was inspired by Wendy's style of cardmaking and tried to emulate the patterns she mixes so beautifully into her designs.


I started with using her squares stencil and layering in a soft shading of antique linen in the background.  I then used the Archival ink to stamp the vintage test through the stencil in various areas to add a little depth. 


I decided to cut that panel out and then stencil the edges of the cardbase  using the leaf green archival ink.  After I finished that and layered the panel on top of the card base I decided I wanted to add that same green to the top and bottom of my panel.  I sponged over my original antique linen with a green row of ink.

I then stamped the mason jar on acetate using Stazon ink.  I colored the backside of the jar with an alcohol marker to give it a hint of blue.

I cut out the mason jar.  I then stamped the flowers and stems a few times and colored them with distress markers and the same ink used on the background.  I cut them out and added a crackle glaze to the flowers.  The flowers got a smattering of glass beads for the center.

I stamped the lovely sentiment in coordinating ink on my background which decided where my flowers and jar were going to be placed.

Thanks for stopping by and please come join us in the challenge on the Frilly and Funkie blog!

Suzz